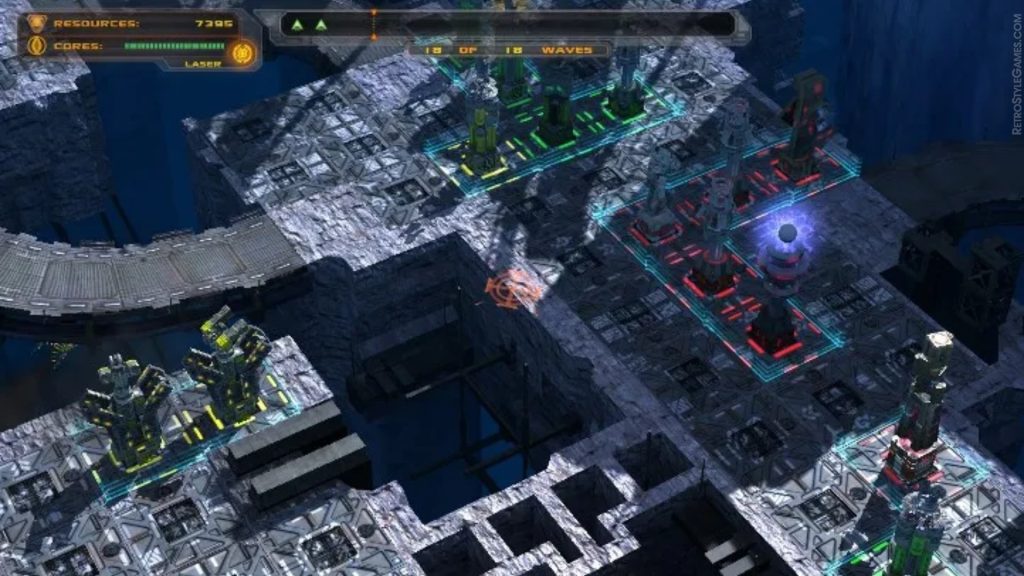
There is no feeling quite like the tension of a countdown ending, signaling that your walls are about to be put to the ultimate test. Whether you are playing a complex management sim or a fast-paced tower defense title, mastering fortress siege survival requires more than just high-level units; it demands a comprehensive understanding of engineering, logistics, and battlefield psychology. A successful defense isn’t just about holding the line—it is about creating an environment where the enemy’s own momentum becomes their greatest liability.
In this guide, we will break down the essential components of a robust base defense strategy. From manipulating artificial intelligence to manage lane flow to ensuring your civilian population remains productive even when cut off from the outside world, we cover the critical tactics needed to transform a vulnerable outpost into an impenetrable stronghold. If you are looking to refine your technical layouts beyond basic wall-building, you can explore our guide on grid based tower placement to further optimize your defensive coverage. Let’s prepare your fortress for the coming waves.
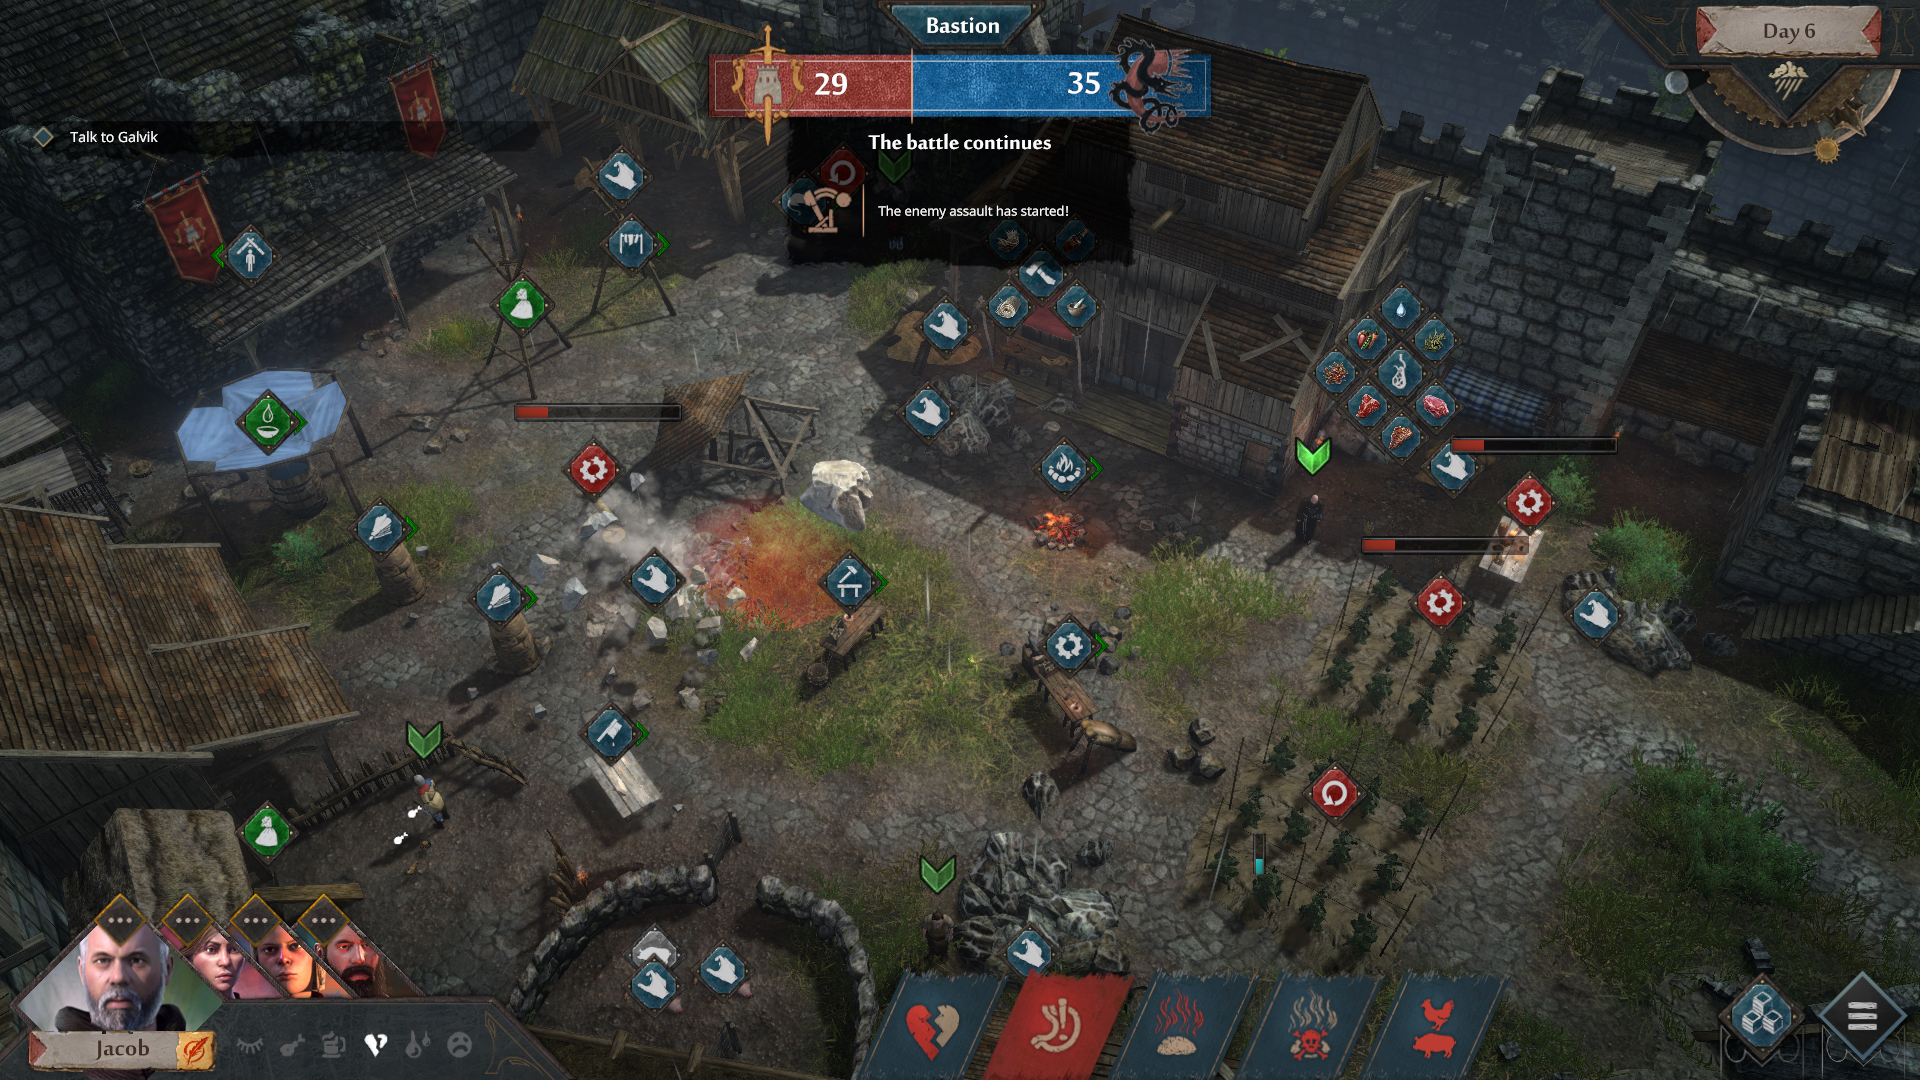
1. Mastering Fortress Siege Survival: Infrastructure and Structural Optimization

1.1 Strategic Site Selection and Perimeter Design
1.1.1 Leveraging Topography for Natural Defensive Advantage
Successful fortress siege survival begins long before the first enemy unit appears. The most resilient bases are those that turn the map against attackers. When selecting your build site, prioritize elevated ground or natural barriers like cliffs and bodies of water. High ground grants your archers superior range and line-of-sight, while water or steep ravines force attackers into predictable, narrow approach paths. By minimizing the number of sides you need to defend, you conserve resources and focus your limited manpower where it matters most.
1.1.2 Designing Chokepoints to Manipulate Enemy AI Pathing
Enemy AI typically follows the path of least resistance toward your most valuable structures. You can exploit this behavior by constructing a base defense strategy that utilizes intentional gaps in your walls. By creating a single, well-fortified funnel point, you force enemy units to bypass your outer defenses and enter a pre-determined kill zone. Keep your main pathways clear of obstacles so the AI prioritizes your intended entry point, allowing you to concentrate all your defensive fire and traps on a small, manageable area rather than spreading your forces thin across a massive perimeter.
1.1.3 Constructing Multi-Layered Walls and Gatehouse Defenses
A single wall is rarely enough to survive a persistent siege. Incorporate a multi-layered approach using primary, secondary, and tertiary walls. This ensures that even if a breach occurs at the outer gatehouse, your base remains operational while you scramble for repairs. Gatehouses should be treated as high-priority hubs, reinforced with heavy plating and flanked by internal towers. Using grid-based tower placement, you can ensure that your gatehouse is always covered by crossfire, discouraging enemies from lingering near your threshold.
1.2 Engineering Effective Kill Zones and Fortifications
1.2.1 Placing Static Traps and Environmental Hazards
Static defenses are your most reliable allies when soldier stamina fades. Distribute traps—such as spike pits, caltrops, or fire traps—deep within your funnel points. The goal is not just to kill, but to slow and weaken enemy waves before they reach your primary defenses. If your game engine allows, use environmental hazards like explosive barrels or oil vats to create area-of-effect damage, which is essential for handling large infantry groups without wasting valuable ammunition.
1.2.2 Utilizing Verticality for Elevated Archery and Artillery Platforms
Tactical unit positioning relies heavily on height. Construct elevated platforms for your marksmen, as they gain a significant accuracy and damage bonus when firing from high positions. Artillery should be placed on raised bastions behind your second layer of walls to protect them from melee rushers. By stacking your defenses, you increase the density of your fire support without increasing the surface area enemies can target.
1.2.3 Managing Structural Integrity Against Siege Equipment
Siege equipment, such as catapults and battering rams, can devastate your base in seconds. You must monitor structural health markers diligently. Reinforce wall sections under fire with temporary bracing or rapid repairs, and prioritize destroying enemy siege engines over clearing infantry. If a section of wall falls, be ready to initiate a fall-back procedure to a secondary line of defense, preventing a total collapse of your tactical integrity.
1.3 Managing Essential Logistics During Lockdown
1.3.1 Inventory Management for Food, Water, and Ammunition
Resource accumulation defense is the backbone of any long-term siege. You cannot survive behind walls if your defenders are starving or out of ammunition. Establish a strict rationing system the moment a siege begins, prioritizing the output of your most critical units. Keep a dedicated stockpile of emergency rations and projectile stocks in central bunkers to ensure that even if the outer production buildings are destroyed, your front lines remain supplied.
1.3.2 Optimizing Internal Production Chains for Total Isolation
When you are completely cut off from external trade, your internal production chains must be self-sustaining. This means converting raw material stockpiles into refined goods as efficiently as possible. Design your base with a centralized production hub, minimizing the distance workers must travel to deliver materials. Bottlenecks in your supply chain can lead to soldier exhaustion and equipment shortages, so ensure your production zones are well-protected from enemy fire.
1.3.3 Establishing Redundant Storage Systems to Prevent Resource Failure
Never rely on a single central warehouse for your resources. Implement a distributed storage system where vital supplies—like arrows and rations—are scattered across multiple, reinforced bunkers throughout your fortress. If an enemy breach targets your main storehouse, a redundant system ensures you do not lose your entire capacity. This strategy is vital for maintaining sustained resistance, allowing your economy to survive localized damage while you mount a counter-attack.
2. Advanced Tactics and Personnel Management for Fortress Siege Survival
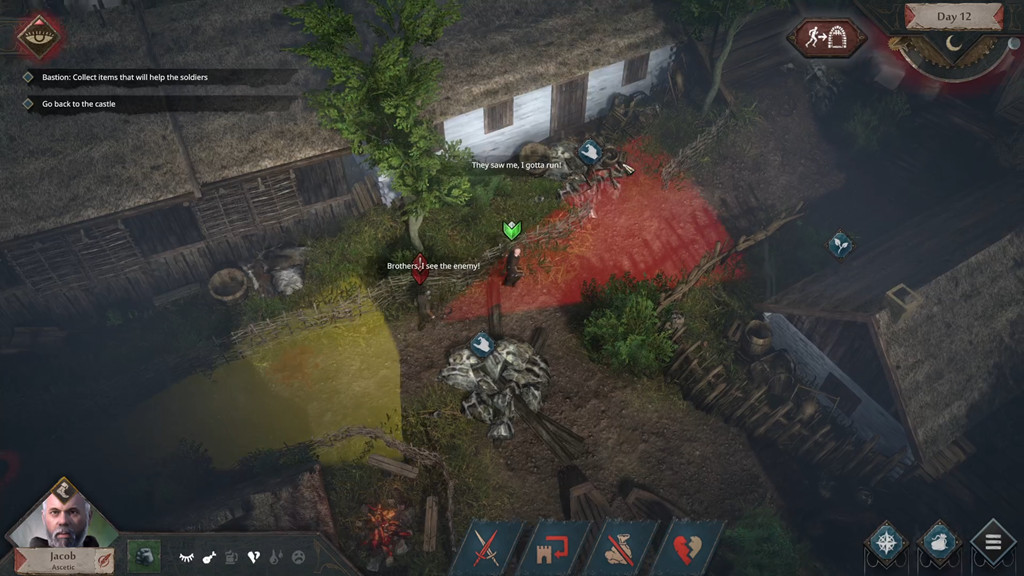
2.1 Tactical Unit Deployment and Morale Maintenance
Success in fortress siege survival depends heavily on how you organize the souls within your walls. A static defense is rarely enough; you need a flexible workforce capable of shifting from labor to combat at a moment’s notice.
2.1.1 Training and Equipping a Civilian Militia
When the enemy arrives, your professional soldiers will be spread thin. To bolster your numbers, transform your workforce into a civilian militia. Equip them with secondary weapons and ensure they have short-path access to armories near key defense points. Keeping this militia unassigned to specific combat roles until the alarm sounds allows you to maintain economic output until the last possible second.
2.1.2 Assigning Specialized Roles for Marksmen and Siege Engineers
Maximize your efficiency by segregating your units based on their attributes. Place marksmen on elevated platforms or battlements where their range is magnified. Conversely, station your siege engineers behind high-durability walls where they can repair damage in real-time. This specialized approach ensures that your combat effectiveness does not drop when a structural component takes damage.
2.1.3 Implementing Morale Boosting Protocols During Prolonged Sieges
A siege is a psychological battle as much as a physical one. As food supplies dwindle and the threat of breach increases, your units’ performance will naturally suffer. Build shrines, distribute rations strategically, or rotate units into reserve zones to maintain morale. High morale prevents panic, ensuring that your tactical unit positioning remains cohesive even under extreme pressure.
2.2 Executing Counter-Siege Operations and Defense in Depth
The most effective base defense strategy involves more than just holding the wall; it requires active disruption of the enemy’s progress.
2.2.1 Determining Optimal Timing for Offensive Sorties
While staying behind walls is safe, sending a small, elite strike force to destroy enemy siege equipment is often the only way to break a long-term blockade. Wait for a lull in enemy bombardment or a moment when their main force is repositioning to launch a quick, high-impact sortie. Always ensure your exit point is guarded to allow for a rapid retreat once the objective is met.
2.2.2 Formulating Recovery Strategies for Perimeter Breaches
Assume your walls will fall. Prepare a secondary line of defense deeper within your base to catch invaders. By utilizing Grid Based Tower Placement: Master Your Defense Strategy, you can create interior kill zones that force enemies into predictable corridors where your units can overwhelm them, regardless of how they breached the initial perimeter.
2.2.3 Countering Specialized Units Like Sappers and Elite Commanders
Sappers are the death of any well-planned fortification. Use localized audio-visual alerts to identify mining attempts. If you detect a breach in progress, deploy your fastest units to intercept the sappers before they ignite their charges. Elite commanders require a different approach; prioritize focus-fire tactics from your marksmen to negate their aura buffs before they reach your gatehouse.
2.3 Troubleshooting and Iterative Base Improvement
No design is perfect from the start. Treat every siege as a data-gathering exercise to harden your defenses for future conflicts.
2.3.1 Identifying and Patching Vulnerabilities in Defensive Logic
Review the pathing enemies took during the fight. Did they ignore your kill zone? Did they exploit a gap in your gatehouse coverage? Use these observations to reconfigure your lane management strategy, effectively funneling enemies exactly where you want them to go.
2.3.2 Balancing Automated Systems Versus Manual Soldier Control
Automated turrets are excellent for crowd control, but they often lack the tactical intelligence to prioritize high-value targets. Maintain a balance by setting automated systems to target fodder units while your manual soldiers focus their fire on elite enemies or siege engines. This micro-management is the hallmark of advanced fortress survival.
2.3.3 Learning From Siege Defeats to Harden Future Fortress Designs
A loss is not the end of your campaign; it is a blueprint for improvement. Analyze where the collapse occurred—was it a lack of resources, a failure in structural integrity, or a breakdown in unit management? Apply these lessons to your next layout, reinforcing the specific wall sections or resource production nodes that proved to be the most critical points of failure during the siege.
2.4 Frequently Asked Questions
2.4.1 What are the most cost-effective structures for early-game survival?
Wooden palisades and basic elevated platforms provide the best defense-to-cost ratio. Focus on building multiple, shallow layers rather than one expensive, thick wall.
2.4.2 How do I prevent enemies from bypassing my main gate?
Use zig-zag pathing and defensive turrets to make the main gate the path of least resistance for enemy AI, ensuring they always enter into your prepared kill zone.
2.4.3 How long can a typical fortress survive under total isolation?
Survival time is dictated entirely by your food production and storage capacity. With optimized internal farms, you can potentially survive indefinitely if you defend your production nodes.
2.4.4 Which roles should be prioritized for emergency training during a siege?
Prioritize marksmen and repair engineers. Marksmen keep the enemy at bay, while repair engineers ensure your wall integrity doesn’t collapse during the assault.
2.4.5 Are traps or soldier-based defenses more reliable in the late game?
Soldier-based defenses are more reliable because they can adapt to the enemy’s tactics. Traps are useful for initial softening but often lack the flexibility needed to counter complex, late-game threats.
Mastering fortress siege survival is rarely about a single brilliant move; it is the culmination of meticulous planning, resource management, and the ability to adapt under extreme pressure. By prioritizing robust perimeter design, optimizing your internal supply chains, and maintaining a versatile defense-in-depth strategy, you transform your base from a simple target into a formidable stronghold. Remember that every siege provides a learning opportunity—even a breach serves as a diagnostic tool to highlight weaknesses in your structural logic or unit positioning that you can harden for the next encounter.
Ultimately, the key to long-term survival lies in your capacity to balance the immediate need for combat effectiveness with the long-term sustainability of your economy. If you find your current defensive layouts are failing to mitigate specialized enemy units, consider diving deeper into the fundamentals of grid based tower placement to ensure no blind spots remain in your kill zones. Stay patient, iterate on your designs, and continue refining your tactical response to keep your fortress standing against any threat.