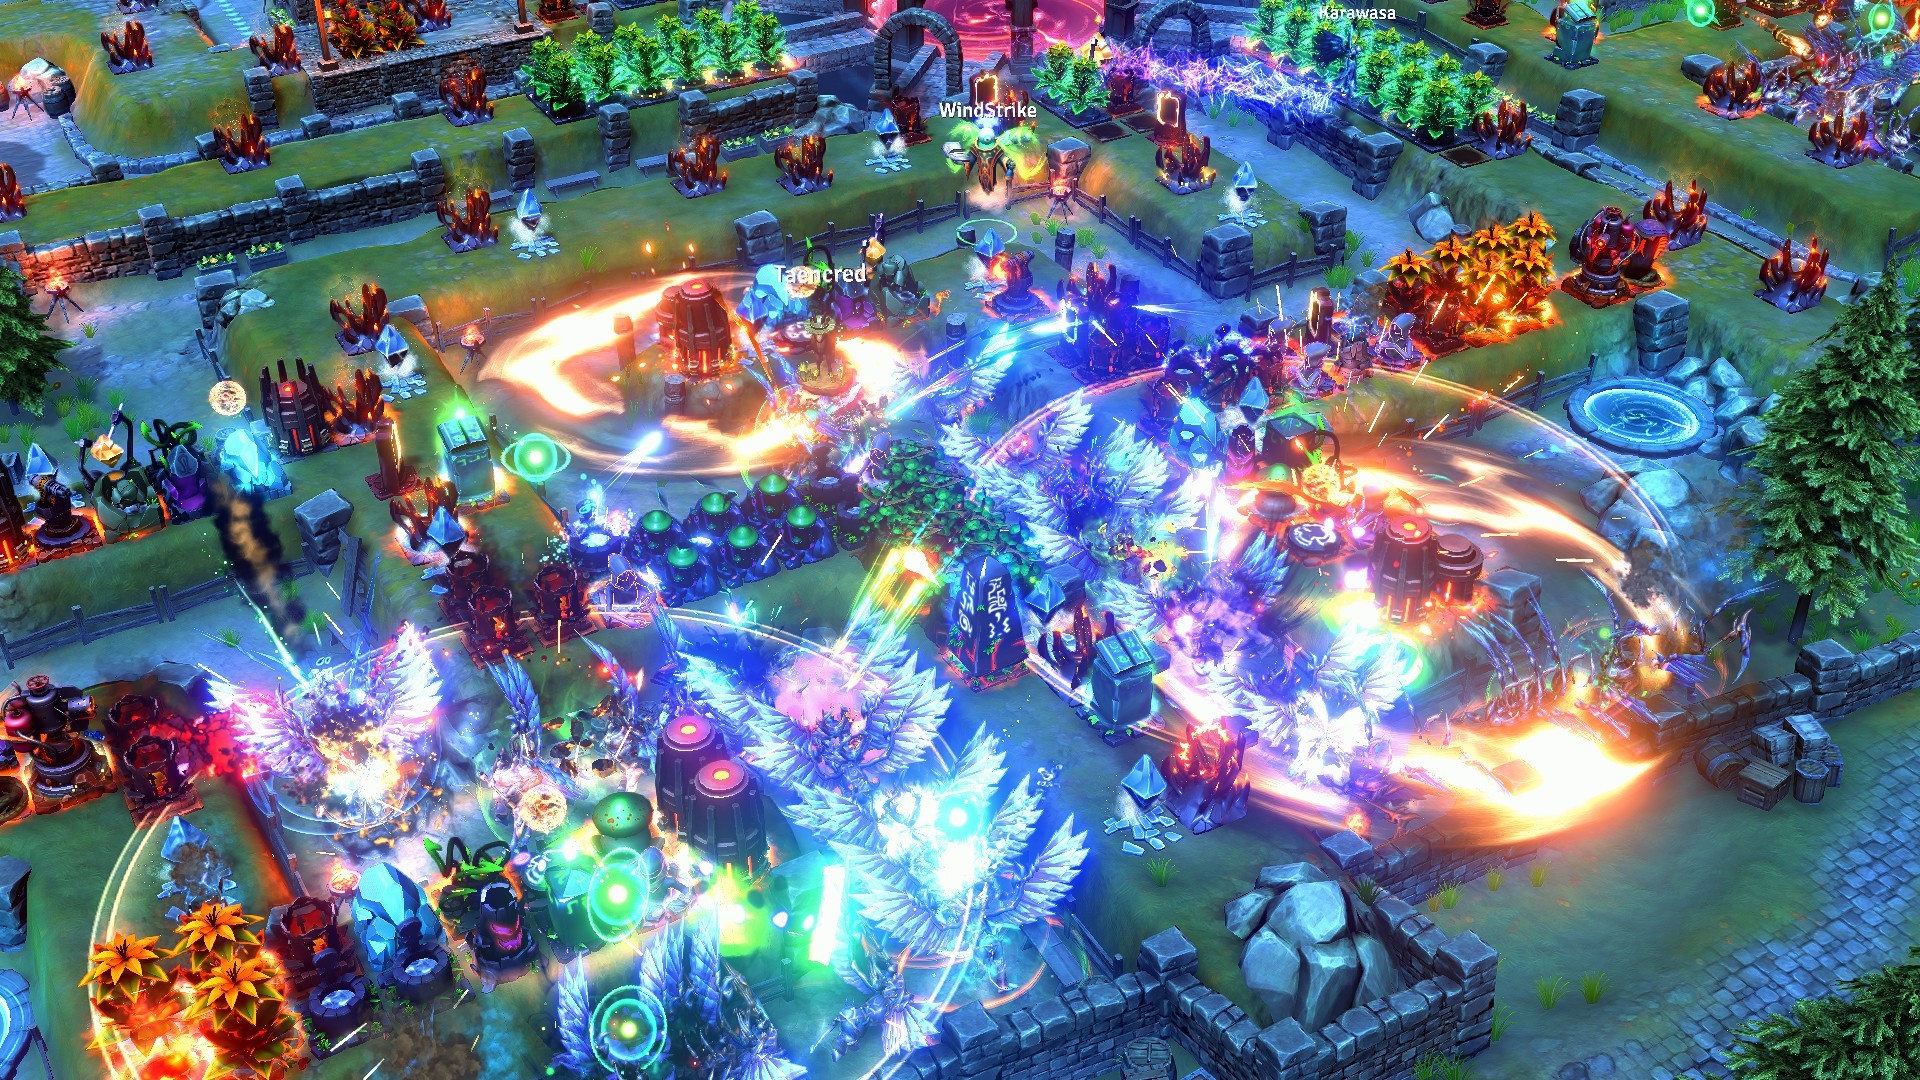
Mastering the art of elemental tower defense requires far more than simply placing high-damage turrets along a path. To survive the increasingly difficult gauntlet of enemy forces, you must learn to harmonize your defensive structures with the game’s elemental synergy systems while maintaining a rigid, efficient economy. Whether you are a newcomer struggling with early-game chip damage or a seasoned strategist looking to optimize your late-game kill zones, understanding how to manipulate enemy movement and balance your resource spending is the difference between victory and being overrun.
In this comprehensive guide, we will break down the essential tactics needed to dominate the battlefield. We will explore the intricacies of mastering lane management strategy in tower defense to keep your base secure, evaluate how different elemental affinities interact to maximize your output, and discuss the precise moment you should shift from passive interest gains to aggressive fortification. By the end of this guide, you will have the knowledge to construct impenetrable defenses and dismantle even the toughest elite waves with surgical precision.
1. Mastering Core Mechanics and Elemental Tower Defense Systems
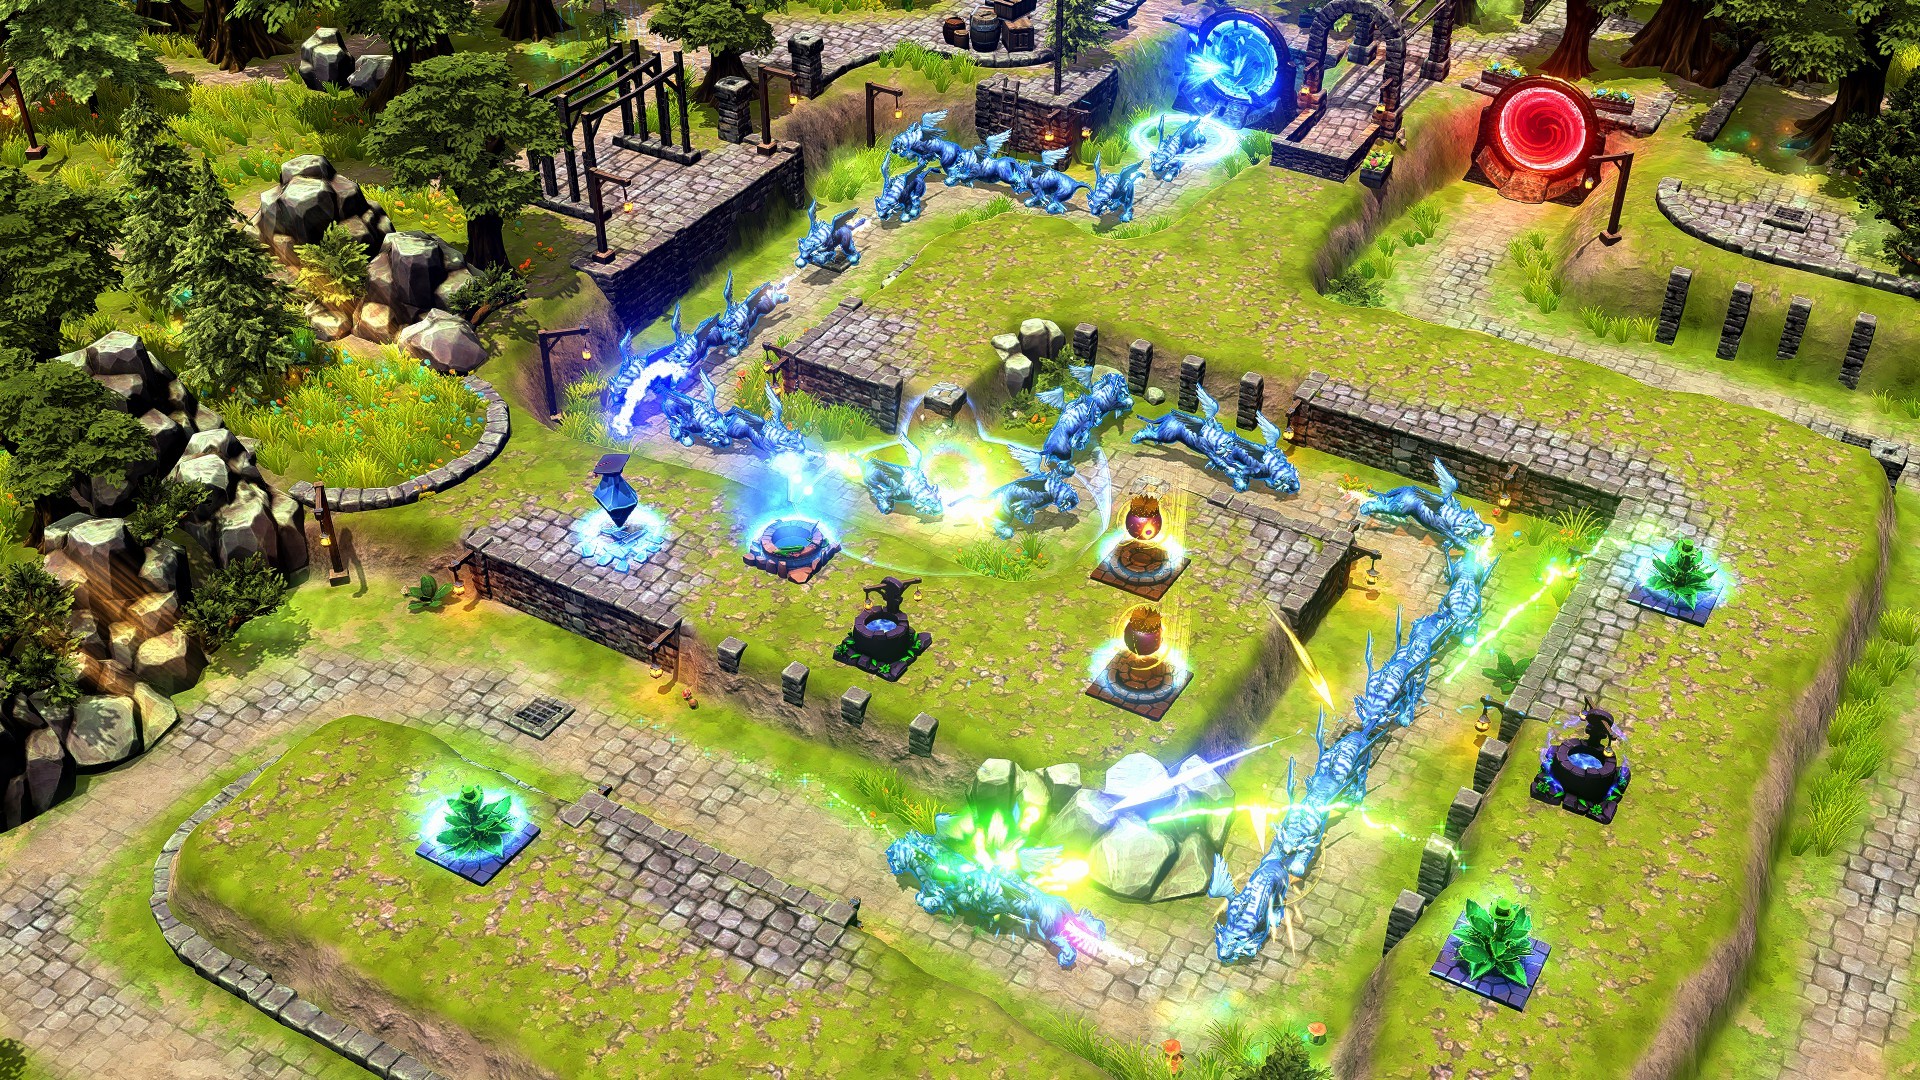
1.1 Understanding the Elemental Affinity Grid
Success in elemental tower defense hinges on your ability to interpret the elemental affinity grid. Each element typically operates within a rock-paper-scissors dynamic, meaning a one-size-fits-all build rarely survives the later stages of a match. Understanding how these affinities interact is the difference between a seamless clear and a leaking defense.
1.1.1 Evaluating the strengths of Fire and Water vs Nature and Earth
Fire and Water are often categorized as your primary aggressive elements, offering raw burst damage or consistent elemental debuffs like burning and freezing. Fire excels against armor types susceptible to heat, while Water is frequently used to provide essential crowd control via movement speed reduction. Conversely, Nature and Earth provide a defensive backbone. Nature units often feature poison or regeneration auras that wear down high-health pools over time, while Earth towers serve as heavy-hitting anchors designed to penetrate high-density armor. Balancing these pairings ensures you aren’t left vulnerable to specific enemy types.
1.1.2 Utilizing Light and Darkness for aura and utility scaling
Light and Darkness elements act as force multipliers. Light towers generally provide buffs to adjacent towers, such as increased attack speed or range, making them vital for centralizing your defensive cluster. Darkness, by contrast, focuses on utility and disruption, often inflicting status ailments or manipulating enemy pathing. Integrating these into your build allows for significant scaling, turning basic damage towers into late-game powerhouses.
1.2 Economic Optimization and Interest Management
The economy is the lifeblood of your defense. Effective resource accumulation defense requires you to weigh immediate survival against long-term growth.
1.2.1 Calculating the break-even point for early game income investment
Early in the game, every credit spent on a tower is a credit not invested in income-generating structures. You must calculate the exact moment your economy will pay for itself. Investing too early leaves you weak against early rushes, while waiting too long stagnates your late-game ceiling. Focus on buying just enough firepower to hold the line, then immediately funnel remaining gold into passive income to accelerate your transition.
1.2.2 Transitioning from passive interest gains to aggressive tower fortification
Once your income stabilizes, you must decide when to stop scaling economy and pivot to active defense. A common mistake is holding onto surplus gold while your towers fall behind the curve. Aim to maintain a “safety buffer” of interest-earning capital, then spend the excess on upgrading your frontline to handle the next difficulty spike in enemy waves.
1.3 Essential Wave Dynamics and Armor Counters
Every wave brings unique threats. Adapting to these changes is critical for sustaining your momentum throughout the game.
1.3.1 Identifying armor types and selecting the correct damage output
Enemies are rarely uniform. Some waves will consist of shielded units that deflect small-caliber projectiles, while others feature massive, heavily armored brutes that require high-impact attacks. Always inspect the upcoming wave composition. If you lack the specific damage type to counter their armor, your towers will effectively lose 50% or more of their damage output, leading to unavoidable leaks.
1.3.2 Managing movement speed and boss wave triggers
Boss waves often introduce unique movement mechanics, such as speed buffs or shields that activate upon taking damage. To handle these, you must position slow-down effects near the start of your kill zone to maximize tower uptime. Triggering boss abilities early—where you have the most defensive depth—is always preferable to facing them at your finish line.
1.4 Effective Kill Zone and Maze Pathing Design
The architecture of your defense determines how long your towers have to engage their targets. Masterful pathing is the cornerstone of advanced strategy.
1.4.1 Manipulating pathfinding logic to maximize tower uptime
Enemies will always seek the shortest path to your base. By building towers that block direct routes, you can force enemies into a winding path, effectively increasing their travel time within your range. Placing high-dps units in the center of these loops allows them to strike multiple times as the enemy navigates your gauntlet.
1.4.2 Techniques for building chokepoints and effective slowing zones
Chokepoints are the most efficient way to manage massive enemy waves. By narrowing the path, you force enemy units to stack on top of each other, making them perfect targets for area-of-effect (AoE) towers. Complement this by placing slowing towers at the mouth of the chokepoint, ensuring that every unit spends the maximum possible duration inside your strongest defensive overlapping zones.
2. Advanced Elemental Tower Defense Meta Strategies and Unit Analysis
2.1 High-Level Synergy and Composite Tower Builds
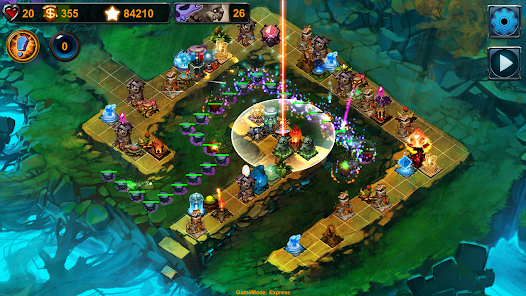
Reaching the late game in elemental tower defense requires moving beyond individual tower performance and focusing on composite synergy. While a single fire tower might suffice for early waves, the late-game meta relies on linking elemental effects to create exponential damage spikes. The most effective strategy involves overlapping area-of-effect (AoE) status debuffs with high-frequency single-target damage dealers. For instance, pairing a water-based slowing aura with a lightning-chain tower can maximize the time enemies spend within the effective radius of your highest DPS units.
2.1.1 Evaluating late-game DPS combinations for maximum scaling
To achieve maximum scaling, you must prioritize towers that benefit from multiplicative bonuses rather than additive ones. Look for units that apply a percentage-based armor reduction, as these amplify the raw damage output of your entire setup. When scaling into the final waves, transition your economy into elite elemental towers that utilize combined elements, such as magma or frost-fire, to bypass the resistances of high-level armor types.
2.1.2 Balancing crowd control utility with raw destruction power
A common mistake is over-investing in raw damage while neglecting crowd control (CC). Without effective slowing or stunning mechanics, your towers will lose uptime as enemies move through your kill zones too quickly. Always maintain a balance where at least thirty percent of your tactical footprint is dedicated to utility units. This ratio ensures that even the fastest elite enemies are forced to spend maximum time under fire, allowing your destructive units to fully deplete their health pools before they exit your defensive perimeter.
2.2 Comprehensive Unit Analysis for Mid-Game Transitions
The mid-game is a crucial pivot point where your initial layout must evolve to meet the scaling health of incoming waves. During this phase, you should focus on identifying units that provide sustained value through debuffs rather than just immediate damage. Incorporating support units that amplify the effectiveness of your primary towers is essential for maintaining a stable defense against tougher foes.
2.2.1 Identifying key support units for debuffing and crowd control
Support units are the backbone of any successful mid-game strategy. You should prioritize towers that reduce enemy movement speed or weaken elemental shields. For those refining their map control, consider mastering lane management strategy in tower defense to ensure your debuff towers cover the maximum possible length of the track. By chaining these effects, you create a death trap that turns even the most resilient bosses into manageable threats.
2.2.2 Strategic selling and upgrading to composite elemental towers
Resource management dictates that you should not fear selling lower-tier towers to make room for superior composite versions. As your gold income stabilizes, identify your weakest defensive points and replace smaller units with multi-elemental towers that cover multiple weaknesses. This transition allows you to condense your defense, freeing up grid space for additional utility structures that further enhance your late-game viability.
2.3 Multiplayer Coordination and Team Dynamics
In cooperative modes, individual brilliance is secondary to team-wide cohesion. Efficiency drops significantly when players build redundant towers that offer the same debuffs or damage types. Success hinges on a clear division of labor, where one player might focus on high-damage output while the other specializes in utility and crowd control.
2.3.1 Dividing responsibilities between damage dealers and support roles
Communication is vital for dividing responsibilities. If one player is building high-burst fire and lightning towers, the other should focus on water or earth units that provide slows and armor shred. By specializing, you avoid overlapping cooldowns and ensure that the team’s total damage potential is diversified, covering all enemy resistance types effectively.
2.3.2 Avoiding redundant tower lineups for team-wide efficiency
Redundancy is the primary killer of team efficiency. Avoid duplicating the same elemental aura if it does not stack. Instead, coordinate your builds so that every tower on the field contributes something unique, such as a specialized buff or an essential debuff. A lean, coordinated defense will consistently outperform a crowded, unorganized one.
2.4 Frequently Asked Questions for Competitive Play
2.4.1 Best starting elements for beginner and expert progression
Beginners should focus on versatile elements like Earth or Lightning, which offer reliable damage and easy scaling. Experts often opt for Water/Fire combinations to maximize utility and high-tier damage potential immediately upon building their economy.
2.4.2 Troubleshooting late-game damage drop-off against elite waves
Damage drop-off usually signals that you are relying on base-level elemental damage against armored bosses. Ensure you have invested in armor-shredding utility and have transitioned to composite towers that specifically target the resistances of the current wave type.
2.4.3 Optimizing tower placement to increase enemy travel time
The best placement strategy involves creating a winding maze that forces enemies to traverse your high-damage areas multiple times. Use slowing towers at the start of these chokepoints to ensure that enemies remain within the effective firing range of your strongest units for the longest possible duration.
Mastering elemental tower defense is a journey that balances quick tactical adjustments with long-term strategic foresight. By understanding the intricacies of the elemental affinity grid and learning how to effectively manage waves of enemy defense, you can transform from a casual player into a master of the battlefield. Remember that success rarely comes from a single overpowered unit; instead, it is the synergy between your crowd control slowing zones and your high-DPS core towers that will carry you through the most challenging late-game stages.
As you continue to refine your builds, keep a close eye on your resource accumulation to ensure your economy supports your defensive growth. Whether you are experimenting with new pathing designs or optimizing your unit positioning for maximum uptime, the key is to remain adaptable to the changing armor types of incoming enemies. For those looking to deepen their grasp on these mechanics, our guide on mastering lane management strategy in tower defense offers further insights into controlling enemy flow. Stay observant, keep experimenting with your elemental combinations, and you will find yourself consistently outsmarting even the toughest boss waves.