In the high-stakes world of survival gaming, the difference between a secure stronghold and a looted ruin often comes down to your mastery of automatic turret defense. Whether you are dealing with aggressive players or relentless server events, relying on manual vigilance is rarely enough to guarantee the safety of your hard-earned progress. Establishing a reliable, automated security network is the gold standard for protecting your assets when you are offline or occupied with base maintenance.
Effective defense goes far beyond simply placing a few guns near your front door. It requires a sophisticated understanding of electrical grids, line-of-sight geometry, and resource logistics to ensure your system remains operational under pressure. In this guide, we will break down the mechanics of turret physics, optimal base integration, and the tactical adjustments necessary to repel waves of enemy defense with ease. By refining your setup, you can transform your structure into an impenetrable fortress. For a broader look at how these systems integrate into your overall security plan, check out our guide on base expansion defense strategies for survival.
1. Mastering Automatic Turret Defense Mechanics and Infrastructure

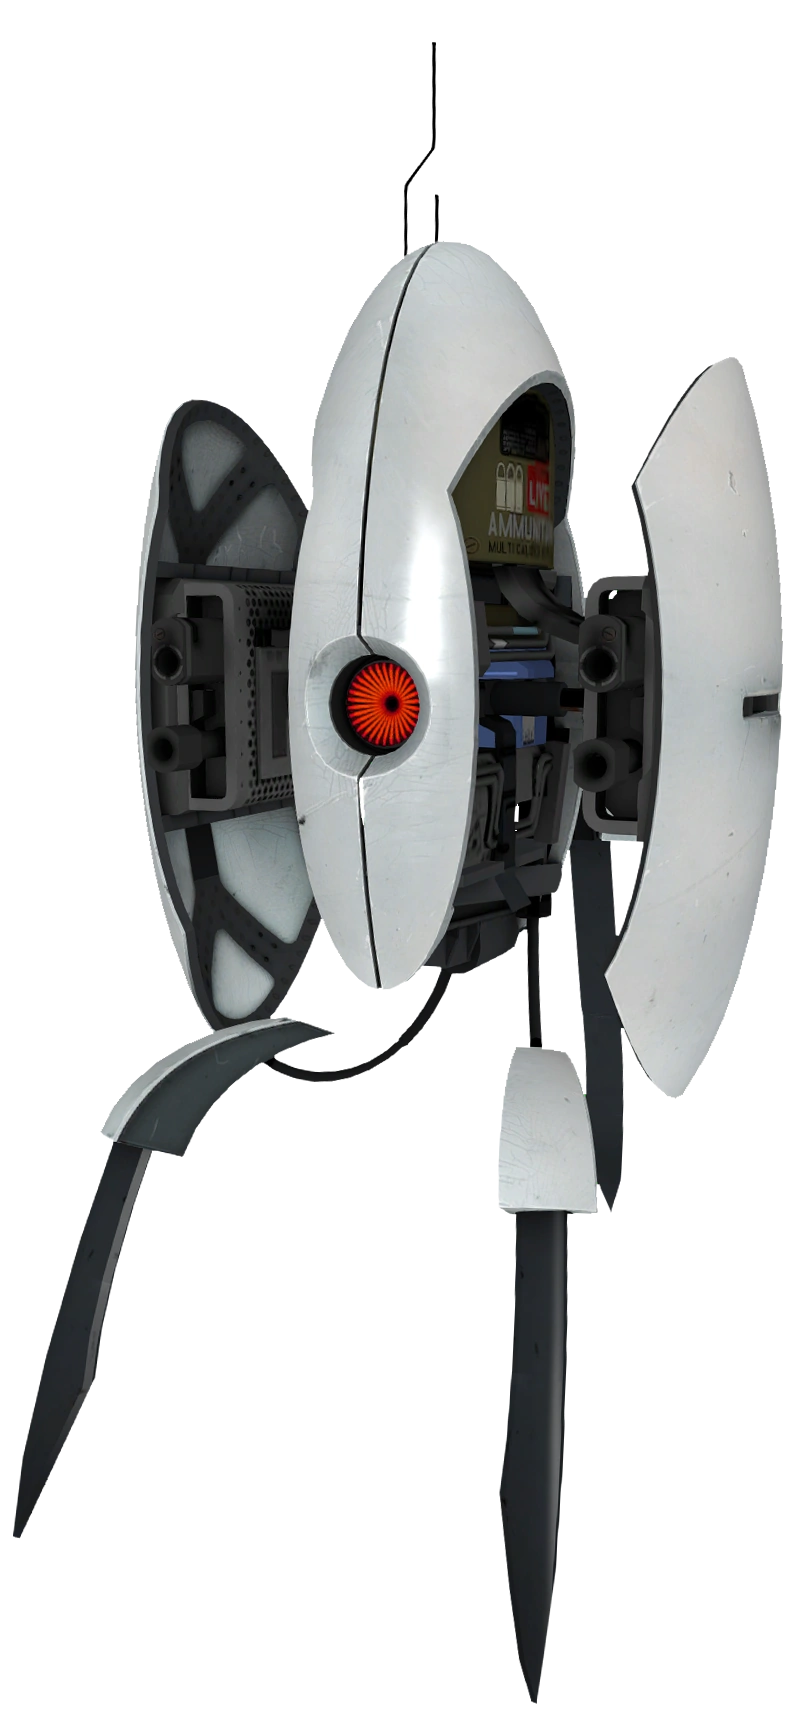
Successful automatic turret defense is rarely about simply placing a weapon down and hoping for the best; it requires a deep understanding of the underlying mechanics that govern how these systems interact with your environment. To create a truly impenetrable perimeter, you must first master the technical specifications of your equipment, from targeting parameters to the electrical grid that powers your security.
1.1 Understanding Turret Physics and Targeting Parameters
Every automated turret operates on specific physics-based rules that define its effectiveness. Before deploying these units, you must account for the turret’s rotation speed and the delay between target acquisition and the first shot fired. While high-tier systems might offer faster response times, basic models require clever placement to mitigate the time-to-kill deficit.
1.1.1 Calculating Effective Detection Range and Engagement Angles
The detection range of your turret is not a perfect sphere; it is a cone defined by an engagement angle. If you place a turret against a wall or in a tight corridor, that detection angle is effectively truncated. You should always test your turret’s line-of-sight in a sandbox or controlled environment to ensure your tactical unit positioning accounts for both horizontal and vertical detection limits, ensuring enemies cannot “hug” the wall to bypass your sensors.
1.1.2 Distinguishing Between Authorized Users, Clan Members, and Hostiles
Misidentifying friendlies is a common pitfall in base defense. Always prioritize the manual authorization process. By adding teammates to the “Authorized” list, you prevent the turret from cycling its target parameters when a friendly enters the room. This is crucial during high-pressure waves of enemy defense, where confusion in the heat of battle can lead to accidental team-kills and wasted ammunition.
1.2 Essential Power Requirements and Resource Management
An automated defense system is only as good as the power flowing to it. Without a stable energy supply, your turrets become expensive paperweights. You must balance your electrical infrastructure to ensure that even if the main power grid is targeted, your turrets remain operational long enough to deter raiders.
1.2.1 Configuring Solar Arrays and Battery Storage Systems
Solar arrays provide a sustainable, silent power source, but they are vulnerable to direct attack. Use a hybrid approach by routing your solar energy through large battery banks. This setup ensures that your turrets have a continuous, “clean” power draw that isn’t interrupted by night-day cycles or temporary power outages. For more on creating resilient base designs, see our guide on base expansion defense strategies.
1.2.2 Optimizing Ammunition Efficiency and Storage Best Practices
Ammunition is your most valuable consumable. Avoid setting your turrets to fire at long distances at low-threat targets, as this drains your stockpiles rapidly. Instead, use high-tier ammunition for perimeter turrets that guard primary entrances, and save lower-grade or standard ammo for internal hallway turrets where close-range stopping power is prioritized over long-range accuracy.
1.3 Essential Electrical Components for Base Security
Moving beyond basic power, the most sophisticated bases use logic components to create an intelligent defense. These components allow your turrets to react dynamically to intruders rather than constantly draining energy.
1.3.1 Utilizing Electrical Branches for Efficient Power Distribution
Never chain your turrets in a single series. If one electrical component is destroyed, the entire line will lose power. Use electrical branches to create parallel circuits, ensuring that each turret is independently powered. This redundancy is vital for maintaining a consistent resource accumulation defense, as it prevents a single breach from disabling your entire security suite.
1.3.2 Setting Up Heartbeat Sensors for Automated Activation
Heartbeat sensors are the key to an efficient, low-maintenance defense. By linking a sensor to your turrets, you can ensure they remain powered down until an intruder is detected within a specific radius. This not only saves power and ammunition but also provides a tactical advantage by keeping the turret’s location hidden until the moment it opens fire, surprising hostiles who thought the area was unmonitored.
2. Tactical Base Integration and Advanced Automatic Turret Defense Strategies
2.1 Architectural Placement and Sightline Optimization
Strategic placement is the difference between a secure perimeter and a wasted resource. When integrating an automatic turret defense system, you must prioritize line-of-sight geometry. Avoid placing turrets in open, exposed areas where they can be easily picked off by raiders from a distance. Instead, utilize honeycomb structures to protect your hardware while maintaining a wide-angle field of fire.
2.1.1 Constructing Dedicated Turret Pods and Honeycomb Encasing
The most effective method for long-term survival involves building dedicated turret pods. These are small, reinforced compartments attached to your main base that house the turret behind a embrasure or a reinforced window. Encasing the turret within a honeycombed wall structure ensures that even if attackers focus fire on the unit, they must destroy multiple layers of high-tier materials before reaching the device itself.
2.1.2 Mitigating Blind Spots with Overlapping Fields of Fire
No single turret can cover every angle. To create a truly robust base defense strategy, you must overlap the arcs of your turrets. By angling them so that one turret covers the blind spot of another, you ensure that any player attempting to peek or suppress one unit is immediately engaged by the supporting unit. This cross-fire setup significantly increases the difficulty for intruders attempting to dismantle your security piece by piece.
2.1.3 Protecting Turrets from Long Range Sniper Harassment
Long-range snipers represent the greatest threat to automated systems. To mitigate this, keep your turrets slightly recessed behind architectural cover. By utilizing specific roof angles or floor-level protrusions, you can restrict the angle of attack available to a sniper. Always assume that if a player can see your turret’s base from 100 meters away, they will attempt to neutralize it. Keeping them tucked away while maintaining their detection radius is a balancing act of expert base design.
2.2 Smart Automation and Remote Defense Systems
Modern base security requires more than just raw firepower; it requires intelligence. Integrating smart switches and logic gates allows your base to react dynamically to threats.
2.2.1 Integrating Smart Switches and Alarms for Real Time Notifications
By connecting your defense grid to a smart switch system, you can receive real-time mobile notifications when a sensor is triggered. This allows you to log in during a raid attempt, providing a human element to your automated defense. If you want to dive deeper into coordinating these logistics with your overall base layout, check out this guide on base expansion defense tactical strategies for survival to ensure your infrastructure scales alongside your turret network.
2.2.2 Implementing Fail-Safe Power Backups for Raid Scenarios
During high-intensity raids, attackers will almost always prioritize destroying your primary power source. A sophisticated defense setup includes a secondary, isolated battery bank dedicated solely to your turrets. By using electrical branches to prioritize power to your defense systems over comfort items like lights or furnaces, you ensure that your turrets remain operational even after your main power is compromised.
2.3 Defensive Positioning for Common Base Vulnerabilities
Understanding how players traverse your base is key to effective positioning. Most raiders rely on predictable paths, which you can exploit to your advantage.
2.3.1 Securing Air-locks and Entrance Points with Automated Coverage
The air-lock is the most vulnerable point of any base. Placing a turret inside a high-visibility, low-clearance position focused on the primary door prevents “door camping” and makes it nearly impossible for raiders to push into your interior during a breach. Ensure these units are set to target authorized players correctly to avoid friendly fire accidents when you are attempting to leave or enter your own facility.
2.3.2 Establishing Roof Defense Protocols Against Heli-Looting and Camping
Roof access is a common target for players looking to gain a height advantage or engage in heli-looting. Installing turrets on the corners of your roof, slightly elevated and protected by external walls, creates a no-fly and no-camp zone. By establishing these protocols, you force enemies to approach from the ground, where your primary base defenses are most concentrated and effective.
Mastering automatic turret defense is ultimately about finding the right balance between raw firepower and intelligent base design. By focusing on electrical efficiency, thoughtful sightline optimization, and fail-safe automation, you can transform a vulnerable structure into a formidable stronghold that remains secure even when you are offline. Remember that no defensive setup is invincible; the key lies in creating enough friction to deter attackers and protect your most valuable assets from sudden raids.
As you continue to refine your security protocols, consider how these systems integrate with your broader defensive measures. Whether you are scaling your infrastructure to handle increasingly difficult waves of enemy defense or simply trying to secure a small starter base, consistency is your best ally. Always test your coverage for blind spots, monitor your resource consumption, and adapt your layout based on real-world testing. For a more comprehensive look at scaling your security, you can explore our guide on base expansion defense: tactical strategies for survival to ensure your protection grows alongside your territory. With a disciplined approach to your automated systems, you will spend less time worrying about potential incursions and more time focusing on your long-term survival and progression goals.