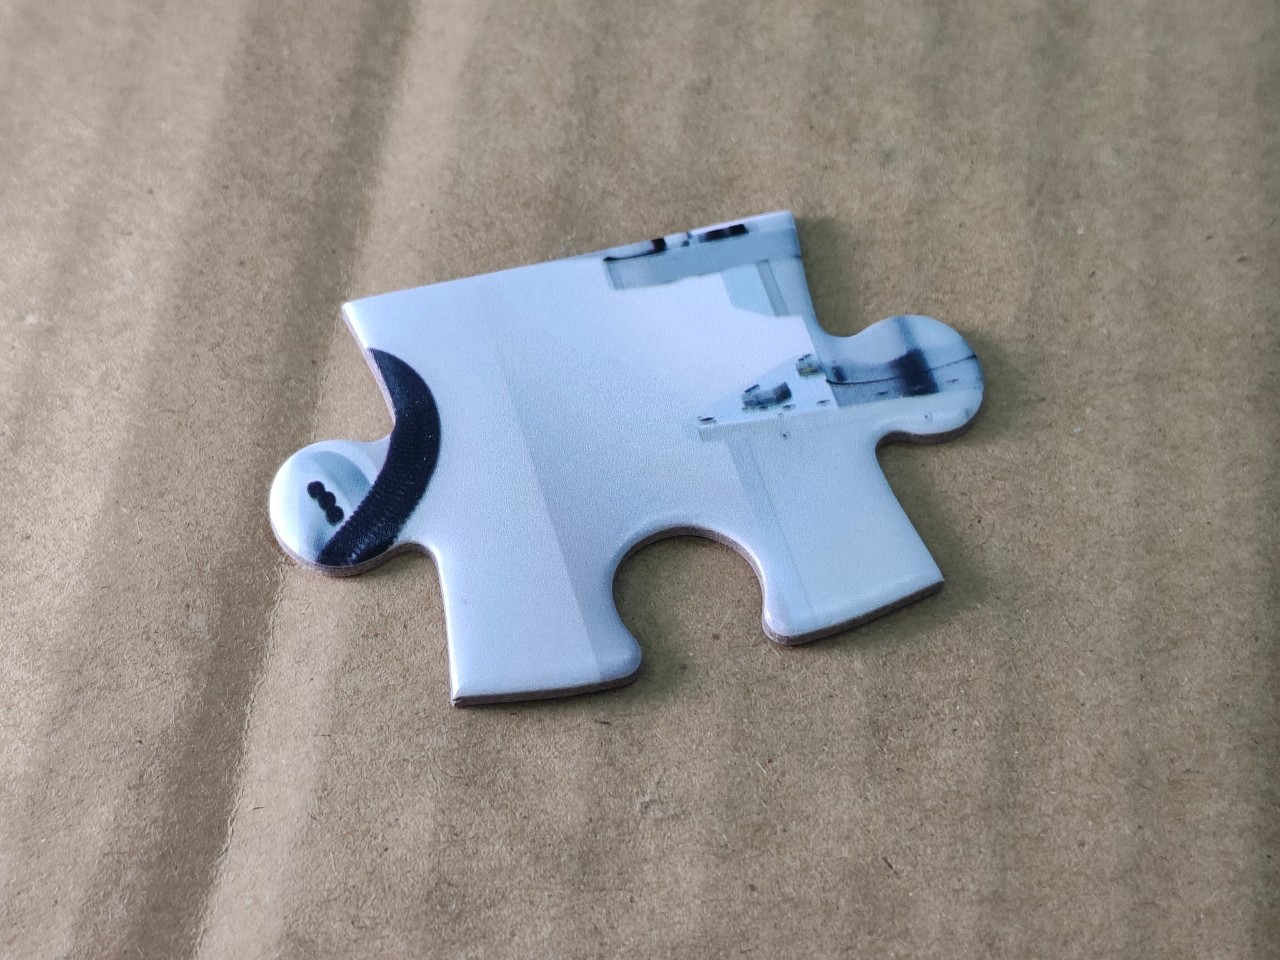
There is something uniquely rewarding about watching a person’s likeness emerge from a pile of scattered cardboard. However, portrait jigsaw assembly presents a distinct set of challenges that can baffle even seasoned enthusiasts. Unlike landscape or abstract puzzles, where you might rely on broad color gradients, portraits demand a sharper eye for subtle skin tones, intricate lighting, and the precise geometry of facial features. Whether you are working on a custom family keepsake or a complex artistic masterpiece, shifting your focus from color matching to structural analysis is the key to faster, more enjoyable progress.
In this guide, we will explore advanced techniques for navigating these specific hurdles, ranging from specialized sorting methodologies to the nuances of object recognition. You will learn how to prepare your workspace for maximum efficiency, master the grid method for high-density areas, and discover how to preserve your completed portrait for years to come. By applying these strategic tips, you can turn a daunting project into a seamless experience and sharpen your ability to tackle even the most object recognition jigsaw challenges with confidence and ease.
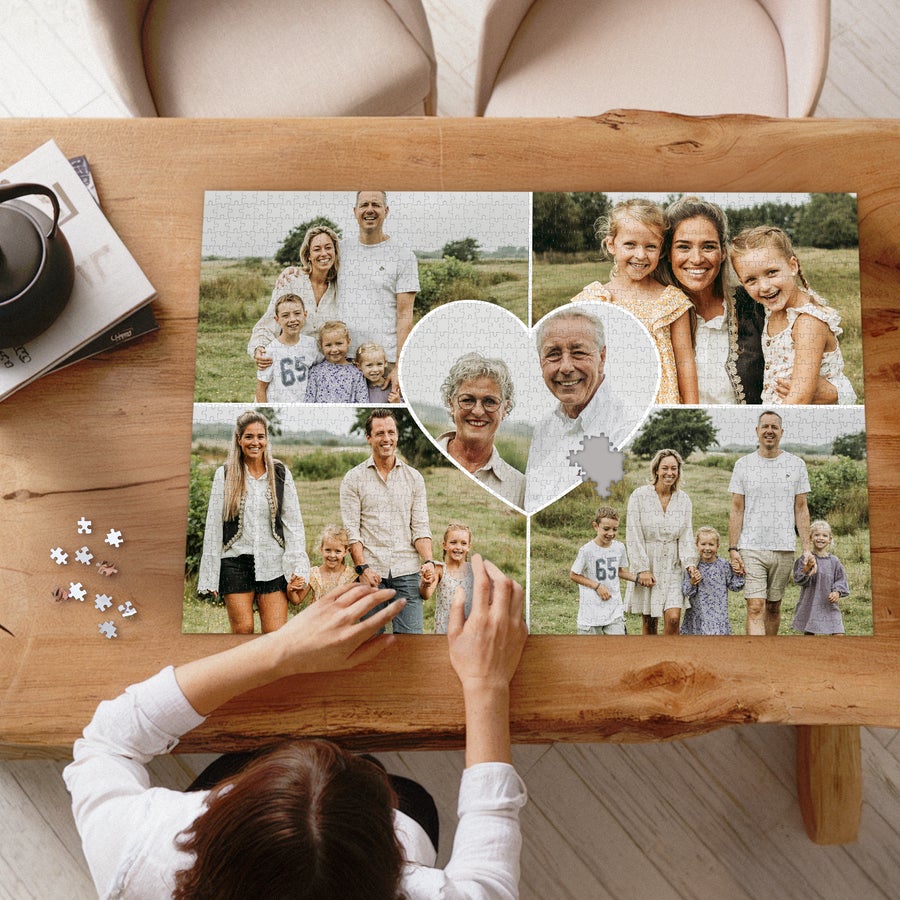
1. Mastering Portrait Jigsaw Assembly: Preparation and Strategic Sorting

Approaching a puzzle featuring a human face or a detailed composition requires a shift in mindset compared to traditional landscape or abstract sets. Successful portrait jigsaw assembly is less about mindless piece-fitting and more about structural analysis and environment control. By organizing your workspace and methodology before locking in the first piece, you set the stage for a smoother, more rewarding experience.
1.1 Essential Workspace and Tool Setup
1.1.1 Optimizing Lighting to Reduce Glare on Glossy Photo Finishes
Portrait puzzles often feature high-gloss finishes that catch overhead light, causing eye strain and obscuring fine details. To combat this, avoid relying solely on a single central light source. Instead, use adjustable task lighting, such as a daylight LED lamp with a flexible neck, positioned at an angle to the puzzle surface. Diffusing your light source or bouncing it off a wall can also significantly minimize hot spots, making it easier to distinguish subtle color gradients in skin tones and hair textures.
1.1.2 Selecting Appropriate Puzzle Mats and Sorting Trays for Small-Format Pieces
When working with portraits, you will often find yourself dealing with many pieces that share similar monochromatic or skin-tone shades. Utilize tiered sorting trays to stack categories without cluttering your main work surface. A felt or silicone puzzle mat provides a tactile surface that prevents pieces from sliding during assembly, which is particularly helpful when you are working on the intricate, smaller details of a subject’s eyes or jewelry.
1.1.3 Controlling Your Environment to Prevent Piece Misplacement
Human-centric puzzles are unforgiving when a single piece goes missing, especially if that piece happens to be part of a critical feature like a pupil or a nose bridge. Establish a dedicated “safe zone” for your puzzle assembly away from high-traffic areas. Using a cover or a board that can be moved ensures that curious pets or accidental bumps do not scatter your carefully sorted groups.
1.2 Advanced Sorting Methodologies for Complex Portraits
1.2.1 Moving Beyond Color Sorting to Texture and Brushstroke Analysis
While color sorting is a standard first step, portraits often contain large blocks of uniform color. For these, look for textures within the print. Examine the image for brushstrokes, paper grain, or pixel patterns. Grouping pieces by the direction of light or shadow—rather than just the base color—can help you identify which side of a face or object a piece belongs to, as explored in Object Recognition Jigsaw: How AI Improves Puzzle Games.
1.2.2 Categorizing by Facial Features and Anatomical Landmarks
Divide your pieces by identifying high-contrast areas first. Group pieces containing eyelashes, lips, or structural landmarks like jawlines and ears. These pieces serve as the primary anchors for the rest of the image. By isolating these distinctive features early, you create a skeletal framework that makes fitting the surrounding skin-tone pieces significantly easier.
1.2.3 Utilizing Piece Shape and Knob Patterns for Solid-Color Sections
When you encounter areas like dark backgrounds or clothing, color becomes an unreliable guide. In these instances, pivot to shape-based sorting. Organize remaining pieces by the number of knobs and blanks or by their overall geometry—such as thin, elongated pieces versus wide, square ones. This allows you to test specific fits systematically rather than relying on trial and error.
1.2.4 Managing Large-Scale Mosaic Patterns and Repeating Grid Elements
If you are working on a Photo Mosaic Assembly, you are likely dealing with repeating grid patterns. The most effective way to manage these is to sort by the internal content of the individual tiles within the mosaic. Treat each tiny image as a mini-puzzle, grouping pieces based on the primary subject within that specific tile to prevent the grid from becoming an overwhelming sea of indistinguishable textures.
2. Advanced Assembly Techniques and Long-Term Preservation
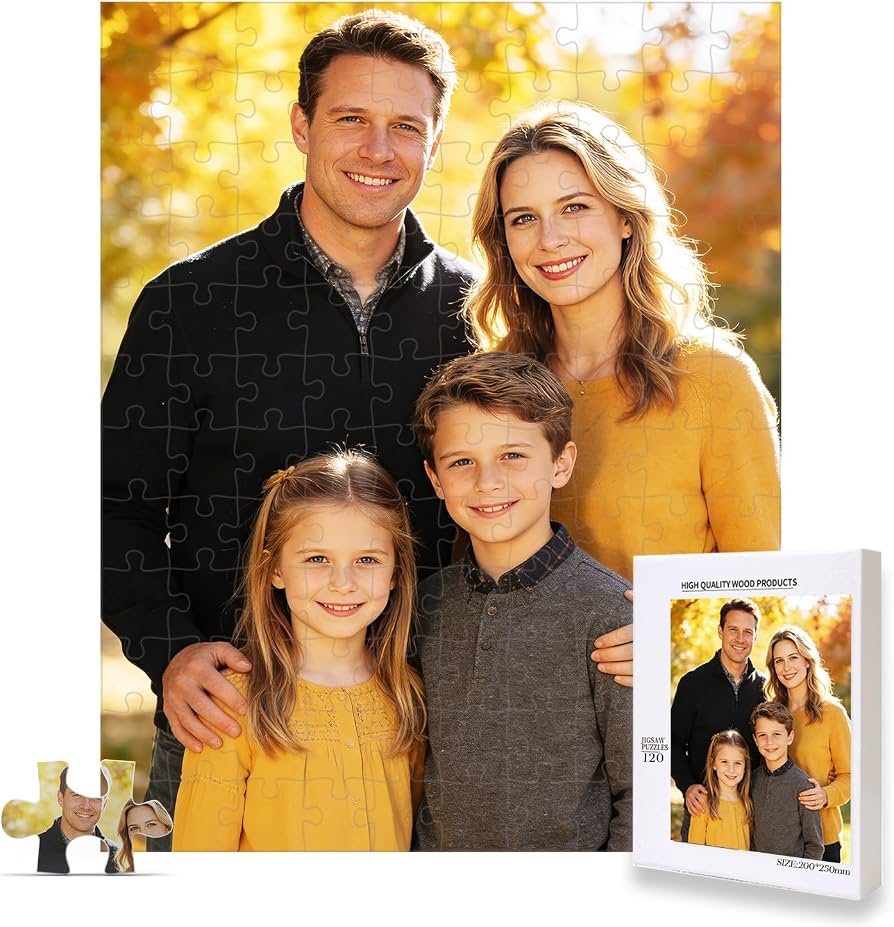
2.1 Systematic Assembly and Problem-Solving
When you transition from sorting to active assembly, portrait jigsaw assembly requires a shift from broad categorization to surgical precision. Many seasoned puzzlers start by establishing anchor points—these are high-contrast features like an iris, a bright lip color, or a sharp transition between a subject’s collar and a dark background. By anchoring these distinct focal features first, you create a skeletal structure that makes it significantly easier to bridge the gaps with surrounding skin tones or background textures.
For complex portraits that incorporate intricate designs, such as photo mosaic assembly, the grid method is your most effective tool. Even if the puzzle isn’t physically shaped like a grid, mentally dividing the image into vertical and horizontal segments allows you to isolate high-density patterns. Focus on one segment at a time, treating each block as a mini-puzzle. This prevents the feeling of being overwhelmed by thousands of similar-looking pixels.
If you are working with others, collaboration is key. Assign specific zones to different people, such as the hair, the background, or the subject’s clothing, to avoid reaching over one another. If you find your progress stalling, do not force it. Visual fatigue is a real phenomenon in portrait puzzles where subtle color gradients blur together. Implement structured break schedules—step away every 45 minutes for five minutes of rest. This resets your eye-tracking capabilities and often allows you to spot a missing piece or a false connection immediately upon your return.
2.2 Finalizing, Sealing, and Displaying Your Portrait Jigsaw
Once you have placed the final piece, the transition from puzzle to permanent display requires careful handling to maintain the integrity of your hard work. Start by ensuring every piece is seated perfectly flat. Use a rolling pin or a heavy, flat-bottomed book to gently press down on the entire surface, which helps align edges that may have slightly lifted during assembly.
When choosing an adhesive, consider your display goals. Liquid puzzle glue is the standard for long-term preservation; it fills the cracks and bonds the pieces into a cohesive sheet. Apply it thinly to prevent the moisture from warping the cardboard. Alternatively, adhesive backing sheets offer a cleaner, non-liquid option that requires no drying time and eliminates the risk of warping. These are particularly useful if you intend to frame the portrait immediately.
For high-quality results, professional framing is recommended. Use a frame with UV-protection glass or acrylic. Portrait puzzles are sensitive to light, and prolonged exposure can cause ink to fade, especially in custom-printed photos. If a piece goes missing, don’t panic. You can often cut a piece of thick cardstock to the approximate shape and paint it to match, or contact the manufacturer to see if they offer a replacement service for lost sections. Proper sealing and framing transform your completed portrait from a temporary challenge into a lasting piece of home decor.
Successfully completing portrait jigsaw assembly is as much about patience and strategy as it is about the final image. By moving beyond simple color-matching and embracing techniques like textural analysis, anatomical landmarking, and structured grid work, you can transform a daunting pile of interlocking pieces into a rewarding artistic achievement. Whether you are aiming for a record-breaking time or simply enjoying the mindful process of assembly, the right tools and systematic approach make all the difference in your final results.
As you refine your hobby, remember that every complex challenge is an opportunity to sharpen your pattern recognition and spatial reasoning skills. If you find yourself enjoying the technical aspect of these puzzles, you might want to explore how similar logic applies to object recognition jigsaw mechanics in digital environments. Once your portrait is complete, don’t forget the importance of proper preservation techniques, such as mounting or UV-protective framing, to ensure your hard work remains a centerpiece for years to come. Ultimately, the joy lies in the journey of piecing together the human face, one unique segment at a time.