In the high-stakes world of modern gaming, mastering cover-based tactical firefights is often the difference between a decisive victory and a swift respawn. Whether you are navigating the gritty corridors of a realistic shooter or engaging in a complex squad based tactical assault, understanding how to utilize the environment is a fundamental skill. Many players rely solely on raw aim, but true veterans know that the most effective combatants are those who treat every piece of geometry as a life-saving asset. This guide explores the essential mechanics behind defensive movement, the strategic nuances of positioning, and how to effectively transition between cover points to keep your opponents guessing. By refining your awareness of ballistic protection and body mechanics, you can transform your gameplay from reactive panic to calculated dominance. We will break down how to optimize your loadouts through weapon upgrade and customization, along with advanced techniques for becoming an elusive target in even the most intense projectile avoidance shooters.
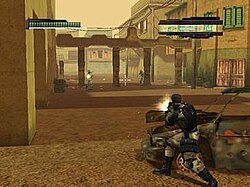
1. Mastering The Fundamentals Of Cover-Based Tactical Firefights
1.1 Distinguishing Between Cover And Concealment In High-Stakes Scenarios
1.1.1 Defining Ballistic Protection Versus Visual Obscuration
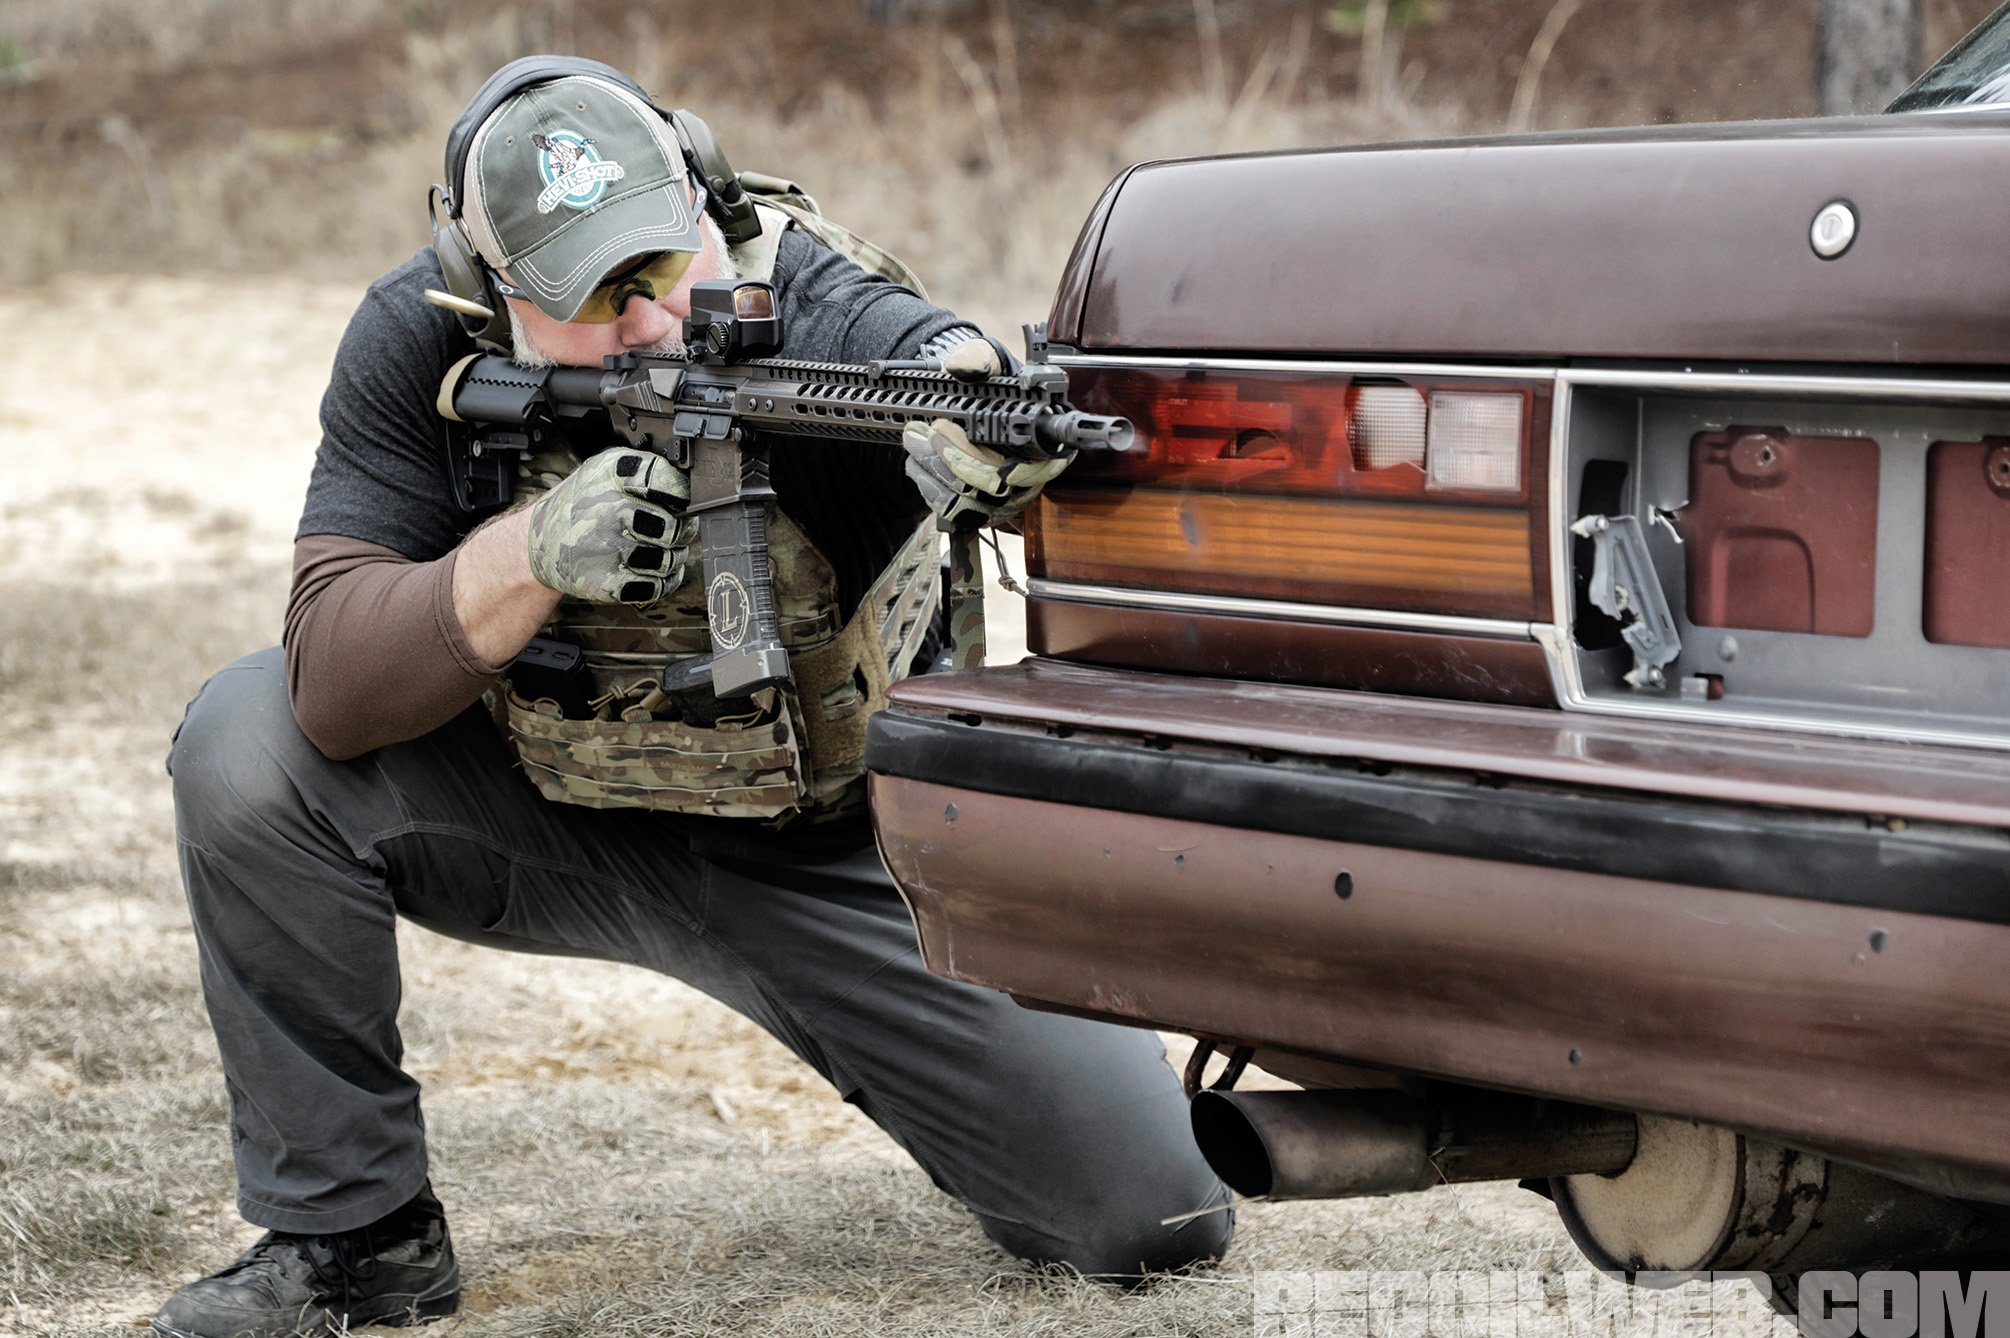
Understanding the difference between cover and concealment is the foundational skill for anyone diving into tactical shooting games. Cover refers to physical barriers capable of stopping incoming projectiles, such as thick concrete walls, engine blocks, or steel plating. In contrast, concealment only obscures your silhouette, hiding you from enemy vision without offering any protection against fire. Mistaking a wooden fence or a thin metal shed for cover is a fatal error that often separates seasoned players from novices.
1.1.2 Evaluating Material Integrity And Ballistic Resistance Levels
Effective tactical play requires quick analysis of your environment. You must instinctively categorize objects based on their density and durability. While stone and dense earth provide high-level ballistic resistance, lighter materials like furniture or dry-wall offer little to no protection. Always scan for objects that provide “hard” cover—those that can withstand concentrated suppression—rather than relying on temporary visual shields that will crumble under sustained fire.
1.1.3 The Psychological Impact Of Visual Camouflage In Tactical Engagements
Visual camouflage plays a deceptive role in firefights. By blending your character model into the background, you manipulate the enemy’s reaction time. Even when you lack true ballistic cover, effective concealment can disrupt an opponent’s target acquisition, forcing them to waste precious ammunition on the wrong area. Learning to utilize ambient lighting and textures can provide a tactical edge that compensates for moments where you are caught in the open.
1.2 Strategic Positioning And Body Mechanics Behind Barriers
1.2.1 Minimizing Your Silhouette Through Proper Stance And Points Of Contact
To survive, you must minimize the surface area you present to the enemy. Proper stance involves hugging a barrier just enough to maintain your line of sight without exposing your head or shoulders unnecessarily. By keeping your weapon close to the edge of the cover—rather than leaning far out—you maximize your protection. Remember that any part of your body that extends beyond your cover is a target; focus on maintaining tight, controlled movements.
1.2.2 The Importance Of Ambidexterity And Transitioning Between Shooting Shoulders
Flexibility is vital when navigating complex geometry. Many players default to a single shooting side, which forces them to expose too much of their body when peeking around corners. Mastering shoulder transitions allows you to stay protected behind a wall while switching your aim to the optimal side. This fluidity is essential for maintaining a defensive advantage during a squad based tactical assault.
1.2.3 Height Management Techniques: Choosing Between Standing, Kneeling, And Prone Positions
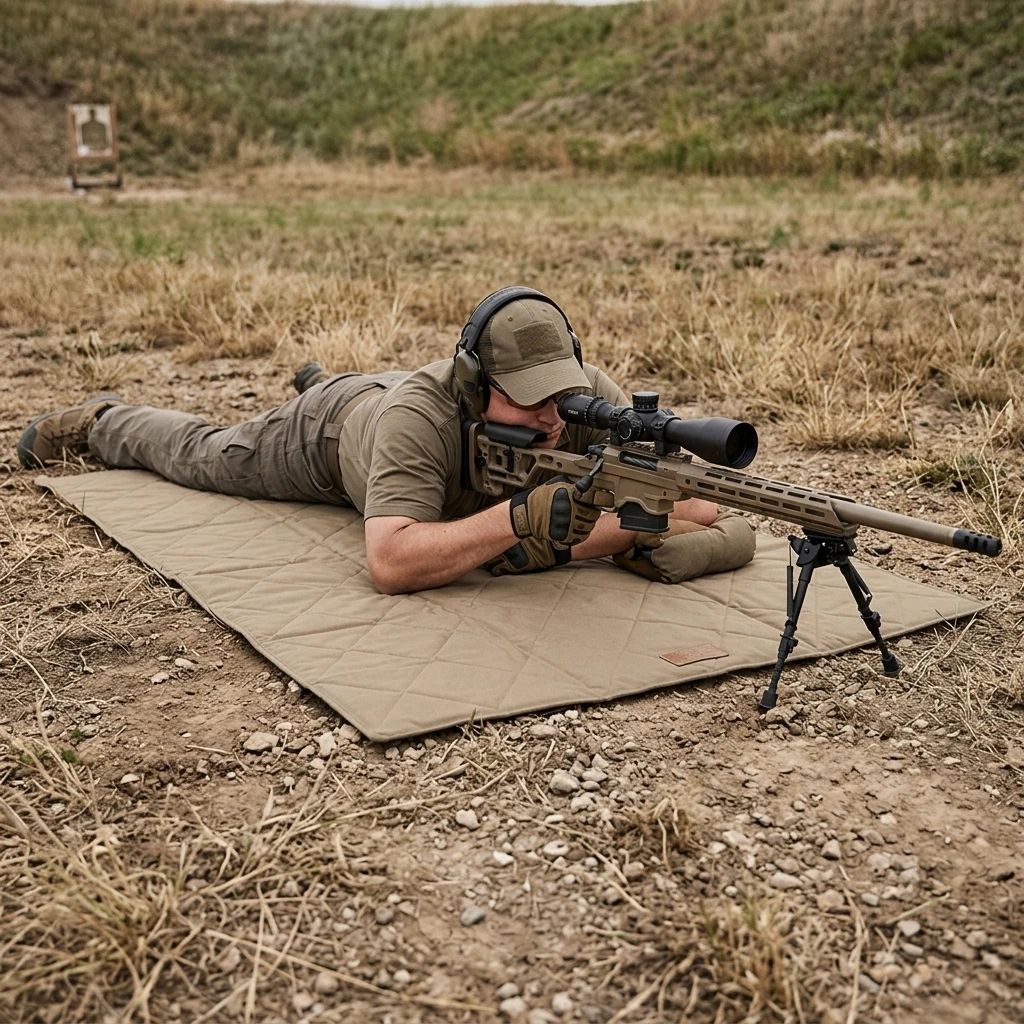
Your height relative to your cover determines your exposure level. Kneeling is generally the most balanced position, offering a stable shooting platform while keeping a low profile. Standing should be reserved for vertical cover or rapid movement, while going prone provides the smallest target profile but limits your mobility. Adapting your stance to the height of the barrier ensures that you are never left reaching for targets over an exposed section of wall.
1.3 Avoiding Common Tactical Failures And Vulnerabilities
1.3.1 Understanding The Splash Effect And Why Hugging Cover Is Dangerous
While staying close to cover is good, “hugging” it too tightly can sometimes backfire. Proximity to corners can make you susceptible to the splash damage of grenades or explosive rounds, as projectiles can ricochet or detonate against the very wall you are using for protection. Maintain enough distance to maneuver, but stay close enough to quickly retreat behind the barrier when under heavy fire.
1.3.2 Mitigating The Risks Of The Fatal Funnel During Corner Clearing
The “fatal funnel” refers to the narrow, predictable space such as a doorway or hallway where you are most vulnerable during an advance. When moving between points of cover, avoid crossing these high-risk areas without support or smoke coverage. Always clear the immediate angle before fully committing to a transition; if you move blindly into an open corridor, you are essentially walking into an enemy’s crosshairs.
1.3.3 The Danger Of Positional Stagnation And Over-Commitment
Stagnation is a death sentence in modern tactical combat. If you remain behind the same barrier for too long, you become predictable, allowing enemies to flank you or coordinate a precision strike on your position. Effective players know when to rotate, using projectile avoidance shooters techniques to move decisively to a new angle. Never over-commit to a single piece of terrain; instead, treat every position as a temporary staging point to keep your opponent guessing.
2. Advanced Movement and Engagement Tactics For Cover-Based Tactical Firefights
2.1 Systematic Movement and Clearing Angles
2.1.1 Mastering the Art of Slicing the Pie at Barrier Edges
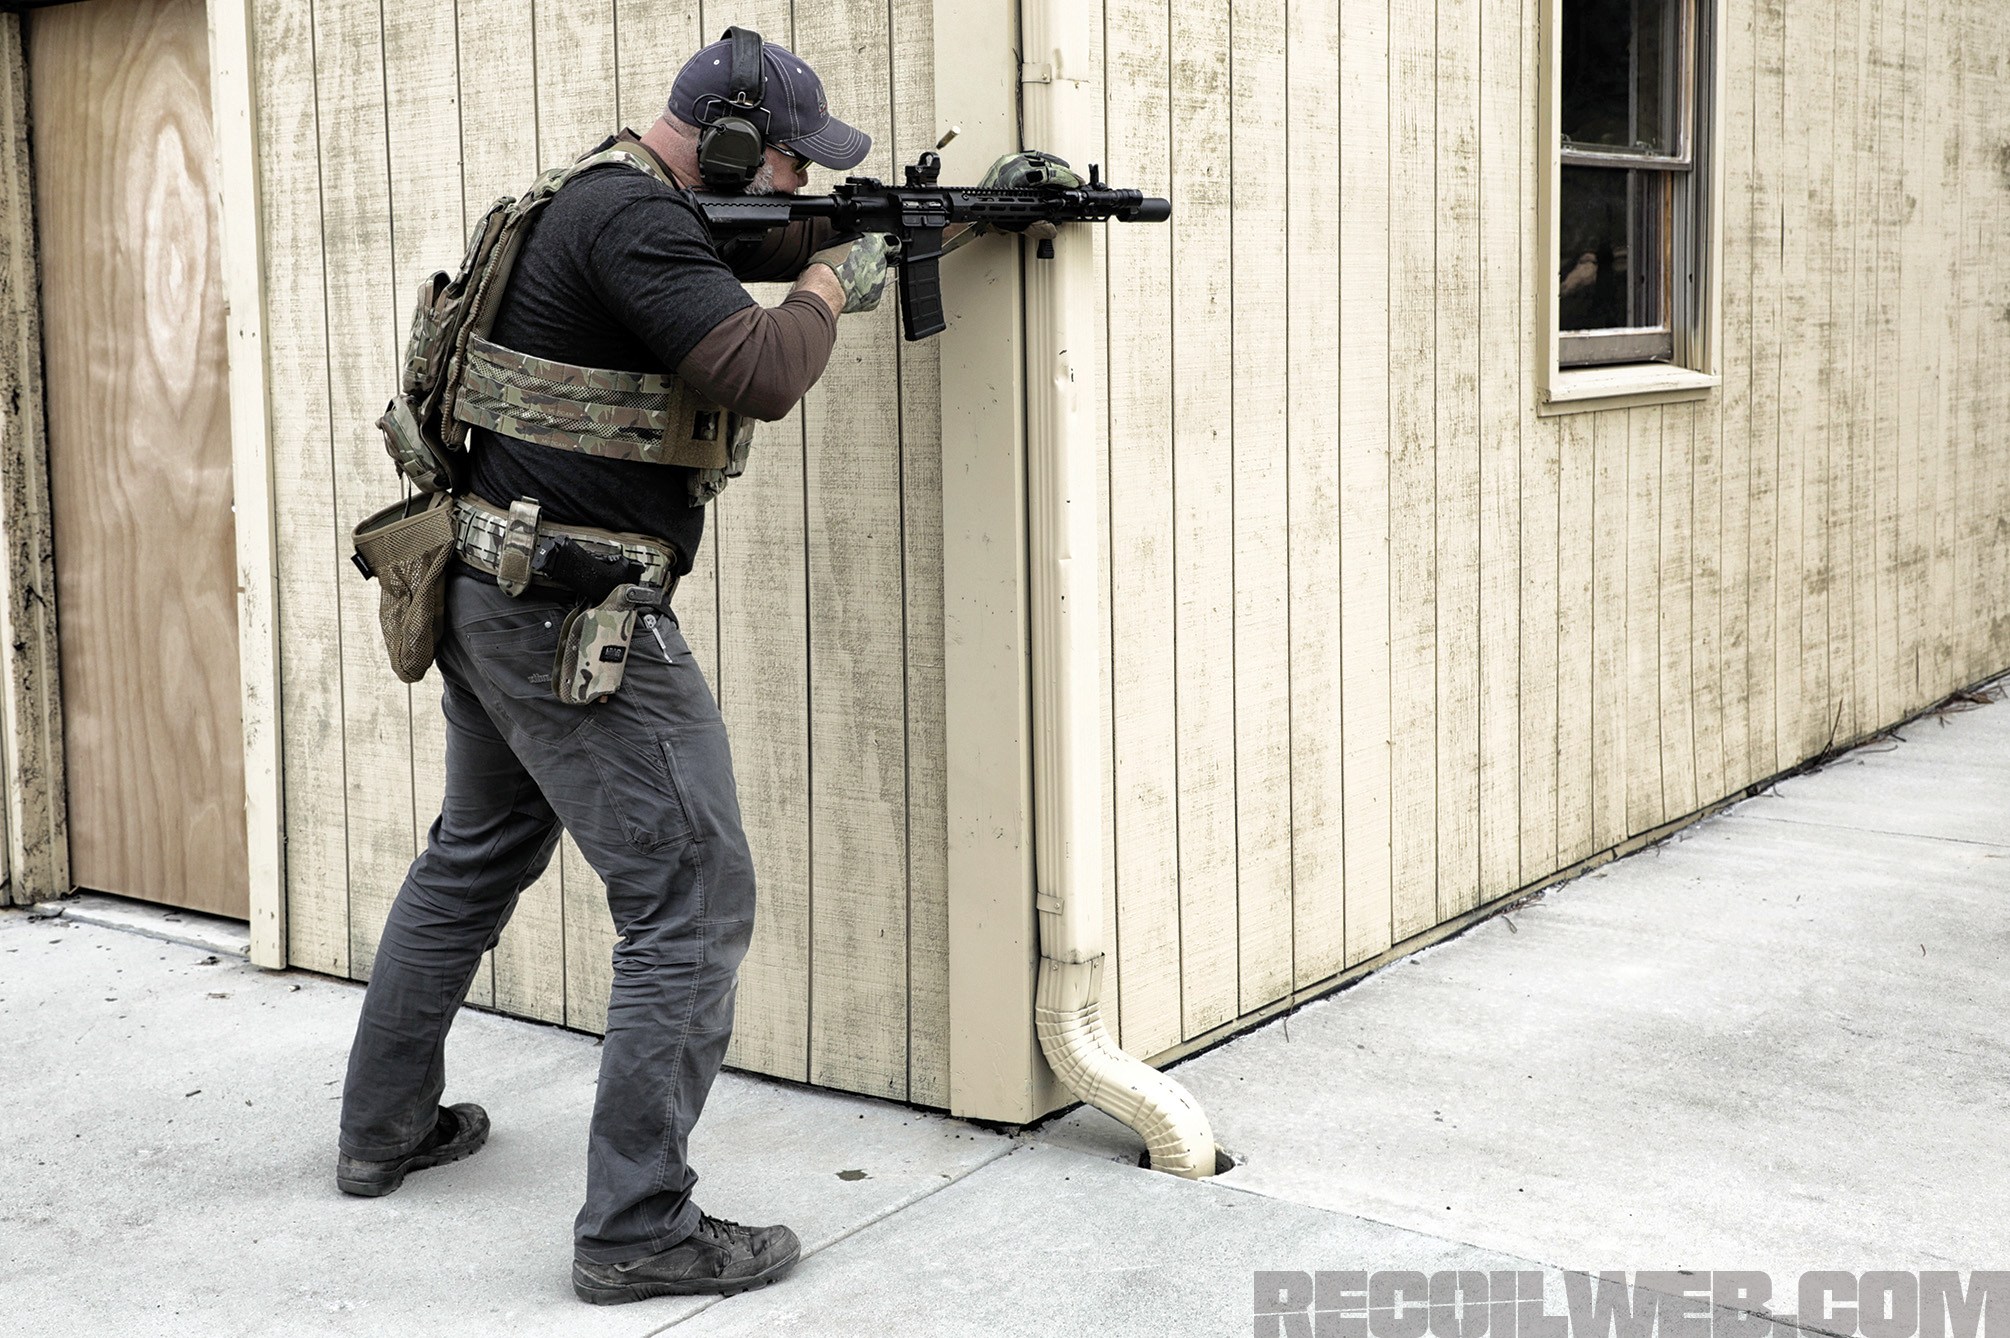
Slicing the pie is the foundational skill for minimizing exposure while gathering information. Rather than stepping wide around a corner—which exposes your entire body to multiple potential threats—you should move in small, incremental arcs. By keeping your weapon at the ready and scanning the depth of the room or alleyway sector by sector, you control the engagement. This technique ensures that only the smallest fraction of your silhouette is visible at any given moment, significantly reducing your profile as a target.
2.1.2 Safe Transition Protocols: Moving Between Points of Cover
The most dangerous moment in any engagement occurs when you must leave a secure position. To mitigate this risk, always identify your next point of cover before you initiate movement. Use rapid, decisive bursts of speed rather than a slow crawl. If you are playing within a team, utilize leapfrog maneuvers where one player provides suppression while the other moves. This ensures that the enemy is kept occupied and unable to focus their fire on your transition path.
2.1.3 Coordinating Fire and Maneuver Under Suppressive Pressure
When pinned down, individual survival depends on coordinated fire. Suppression is not just about scoring hits; it is about forcing the enemy to stay behind their own barriers. By synchronizing your team’s fire, you create windows of opportunity for teammates to reposition. If you find yourself in a high-pressure scenario, you can often improve your team’s overall effectiveness by checking out resources on mastering team based objective matches to better understand how to split duties during a firefight.
2.2 Environmental Optimization and Dynamic Decision Making
2.2.1 Identifying High-Value Defilade Positions in Dynamic Environments
Defilade is your best friend on the virtual battlefield. By positioning yourself so that you are lower than the surrounding terrain or behind an obstacle that hides you from direct line-of-sight, you turn the environment into a defensive layer. Always look for elevation changes or sturdy architectural elements that offer 360-degree protection, rather than just front-facing barriers that leave your flanks exposed.
2.2.2 Balancing Standoff Distance Versus Proximity to Barriers
While hugging cover provides protection, it often limits your field of view and restricts your movement. Maintaining a slight standoff distance—a few inches or feet away from the wall—allows for a wider range of motion and prevents your weapon barrel from clipping or getting caught on geometry. This extra space enables faster transitions between left and right shoulders, giving you a reactive edge in fast-paced combat.
2.2.3 Stabilizing Weapon Systems and Managing Recoil Against Improvised Structures
Using the environment to stabilize your aim is a mark of a tactical veteran. In many titles, resting your weapon on a window sill, crate, or ledge significantly reduces recoil and sway. Look for prompt indicators in your UI that suggest a weapon mount is available. This stabilization turns your cover from a defensive tool into an offensive advantage, allowing for pinpoint accuracy during long-range suppressive fire.
2.3 Accelerated Training Programs for Tactical Proficiency
2.3.1 Integrating Dry-Fire Exercises Into Your Barrier Transition Drills
Muscle memory is vital for cover-based tactical firefights. Spend time in an empty training map practicing your peeking and leaning mechanics without ammunition. Focus on the timing of your transitions: move to cover, snap to aim, scan the target, and reset. Doing this consistently without the stress of incoming fire builds the subconscious reflexes required to perform under pressure during actual matches.
2.3.2 Structuring Live-Fire Sessions to Stress-Test Movement Between Barriers
Once you have the mechanics down, introduce variables that simulate stress. Set up a firing range where targets appear in different sectors, forcing you to move rapidly between barriers to engage them. The goal is to make your movement between points of cover instinctual. By testing yourself against dynamic targets, you learn the limitations of your movement speed and your ability to recover aim quickly after a sprint.
2.3.3 The Necessity of Force-on-Force Simulation for Real-World Retention
The ultimate test of your proficiency is playing against other human players who are actively using their own tactics. Force-on-force combat—such as competitive 5v5 modes—is the only way to gauge how well you apply your knowledge of cover. Regularly reviewing your gameplay footage to see where you were caught out in the open or failed to clear an angle properly will accelerate your tactical growth faster than any static drill.
Mastering cover-based tactical firefights is a journey that goes beyond simple reflexes. Whether you are navigating intense boss fight combat training or coordinating complex squad-based tactical assault maneuvers, success relies on the constant interplay between disciplined positioning and environmental awareness. By distinguishing between hard cover and mere concealment, and refining your ability to manage angles, you transform from a reactive player into a strategic force on the digital battlefield.
Remember that the most effective tactical shooters are rarely won through brute force alone. Instead, victory is claimed by those who prioritize body mechanics, minimize their silhouette, and treat every barrier as a temporary solution rather than a permanent sanctuary. As you continue to refine your movement and decision-making, keep testing your skills through dry-fire drills and simulated pressure scenarios. The goal is to build muscle memory that turns these advanced engagement tactics into second nature. With practice, patience, and a commitment to situational analysis, you will find yourself dominating the competition with precision and calm, no matter how chaotic the encounter becomes.