
Growing roses from seed is not the fastest route to a flower-filled garden. Buying a potted rose is faster. Rooting a cutting is more predictable. Ordering a bouquet is faster still, although the bouquet becomes considerably less impressive after a week.
So why start roses from seed? Because every seedling is a genetic surprise. A seed collected from a fragrant pink rose might produce a plant with pale flowers, deep red blooms, single petals, double petals, strong fragrance, weak fragrance, or the botanical equivalent of bed hair. Unlike cuttings, seed-grown roses are not clones of the parent plant. Each one is genetically unique, which is exactly why rose breeders use seeds to develop new cultivars.
The process requires mature rose hips, careful cleaning, moist cold stratification, patience, and a willingness to celebrate tiny green sprouts as though they have just won a major horticultural award. This guide explains how to grow roses from seed in 13 practical steps, followed by troubleshooting advice and real-world lessons that can improve your germination rate.
Before You Begin: Understand What Rose Seeds Can Produce
A rose grown from seed may not resemble the plant that produced the rose hip. Garden roses are frequently hybrids, and their offspring inherit a shuffled combination of characteristics from both parent plants. Even when you know which rose produced the hip, you may not know which rose supplied the pollen unless you hand-pollinated and protected the flower.
This unpredictability is not a defect. It is the main attraction. Growing roses from seed gives home gardeners an opportunity to discover plants with unusual colors, growth habits, fragrances, petal counts, or disease resistance. Most seedlings will not become the next famous garden rose, but each plant is technically one of a kind.
Supplies You Will Need
- Fully ripened rose hips
- Clean pruning shears
- Gardening gloves
- A small knife and spoon or tweezers
- Fine mesh strainer
- Paper towels, vermiculite, or sterile seed-starting mix
- Resealable plastic bags or covered containers
- Permanent labels and a waterproof marker
- Seed trays or small pots with drainage holes
- Fresh, sterile seed-starting mix
- A spray bottle or gentle watering can
- Grow lights or a bright seed-starting area
How to Grow Roses from Seed in 13 Steps
Step 1: Choose a Healthy Rose Plant
Start with a healthy rose that grows well in your climate. A vigorous, disease-resistant plant is more likely to produce mature hips and viable seeds than a rose struggling with black spot, drought, or repeated pest damage.
Species roses, shrub roses, rugosa roses, and many old garden roses tend to form hips readily. Some modern roses produce few hips, especially when their faded flowers are regularly deadheaded. Select several flowers on the plant and leave them uncut after the petals fall.
If you want to experiment with controlled breeding, transfer pollen from one selected rose to another and label the pollinated bloom. For a first attempt, however, naturally pollinated hips are perfectly suitable. The neighborhood bees will handle the matchmaking, although they will not provide written records.
Step 2: Allow the Rose Hips to Ripen Fully
After pollination, the swollen base beneath the flower gradually develops into a rose hip. Do not harvest it while it is small, green, and hard. The seeds inside need time to mature.
Depending on the rose and local weather, hips may take approximately three to four months to ripen. Mature hips commonly turn red, orange, yellow, brownish red, or another color typical of the variety. They may also soften slightly. Color alone is not a universal test, but a fully colored hip collected in late summer or fall is generally a better candidate than an immature green one.
Collect several hips rather than relying on one. Rose seed germination can be irregular, and some apparently healthy seeds will remain dormant or fail to develop.
Step 3: Harvest and Label the Hips
Wear gloves and cut each ripe hip from the plant with clean pruning shears. Leave a short piece of stem attached so the fruit is easy to handle. Place hips from different plants in separate labeled containers.
Record the name or description of the mother plant, the collection date, flower color, fragrance, and any notable qualities. Labels may seem unnecessary when you have only two hips on the kitchen counter. Three months later, when several nearly identical bags occupy the refrigerator, memory becomes a much less reliable gardening tool.
Process the hips soon after harvesting. Allowing them to dry excessively can make the pulp harder to remove, and drying does not necessarily improve rose seed germination. Research and practical breeding experience indicate that fresh seeds can respond well when moved directly into moist stratification.
Step 4: Open the Hips and Remove the Seeds
Cut each rose hip in half with a small, clean knife. Scoop out the seeds using a spoon, tweezers, or the tip of the knife. Rose seeds are technically contained in hard, seedlike structures called achenes, but gardeners generally call the whole object a seed.
Work carefully because some hips contain irritating hairs around the seeds. Avoid touching your eyes or face, and wash your hands and tools when finished.
The number of seeds varies widely. One hip might contain only a few, while another may contain dozens. Do not worry if seeds differ slightly in size or color. Discard those that are clearly crushed, hollow, badly shriveled, or damaged by insects.
Step 5: Clean Away All Fruit Pulp
Place the seeds in a fine mesh strainer and rinse them under cool running water. Rub them gently with your fingers to remove clinging pulp and fibers. Remaining fruit material encourages mold during the long chilling period, so cleaning is worth doing thoroughly.
A soft toothbrush can help remove stubborn residue, but avoid cracking or aggressively sanding the seed coat. Rose seeds naturally have hard outer coverings, and careless scarification can injure the embryo. Advanced growers sometimes test specialized scarification or chemical treatments, but cold, moist stratification is the safer starting point for most home gardeners.
Step 6: Soak and Prepare the Seeds
Soak the cleaned seeds in room-temperature water for several hours or overnight. This moistens the outer coat and prepares the seeds for stratification. Soaking is not a magical viability test. Seeds that float are not automatically dead, and seeds that sink are not guaranteed to germinate.
After soaking, rinse the seeds again. Keep different crosses or parent plants separated and clearly labeled.
Clean tools, fresh water, sterile media, and good air circulation are more dependable mold-prevention strategies than complicated home chemistry. If mold later appears, remove affected material, rinse the seeds, replace the medium, and return the package to cold storage.
Step 7: Pack the Seeds in a Moist Medium
Moisten a paper towel, fine vermiculite, or sterile seed-starting mix. The material should feel damp but should not release water when squeezed. Rose seeds require moisture during cold stratification; storing them dry in the refrigerator does not fully imitate winter soil conditions.
Spread the seeds so they are not piled directly on one another. Fold the towel around them or mix them loosely into the vermiculite. Place the material in a resealable bag or covered container and add a label with the rose name and starting date.
Another option is to sow the seeds directly in a small pot of moist seed-starting mix and refrigerate the entire pot. Both methods can work. A bag takes less refrigerator space, while a pot reduces handling when the seeds begin to sprout.
Step 8: Cold-Stratify the Seeds
Place the labeled seeds in a refrigerator, not a freezer. A temperature around 35 to 40 degrees Fahrenheit is suitable for many rose seeds. Keep them chilled for approximately eight to twelve weeks, understanding that some species, cultivars, and crosses may require a longer period or multiple cycles of changing temperatures.
Cold stratification imitates the damp winter conditions that help break seed dormancy. In nature, this mechanism discourages seeds from sprouting just before freezing weather arrives. The refrigerator simply gives winter a controlled indoor office.
Gardeners in regions with reliably cold winters can sow cleaned seeds outdoors in protected pots during fall. Natural temperature changes may satisfy their dormancy requirements, but containers must be protected from rodents, drying winds, flooding, and accidental disturbance.
Step 9: Inspect the Seeds Regularly
Check the packages every one or two weeks. The medium should remain evenly moist, not soggy. Add a few drops of water if it begins to dry. If excessive condensation collects in the bag, open it briefly and allow a little air exchange.
Remove any seeds that become soft, blackened, or badly decayed. Light surface mold does not always mean the entire batch is lost. Rinse healthy-looking seeds, replace the contaminated towel or medium, and continue chilling.
Some seeds may begin germinating inside the refrigerator. Look for a tiny white root emerging from one end. Transfer sprouted seeds to pots immediately and handle them by the seed coat rather than by the delicate root.
Step 10: Sow the Stratified Seeds
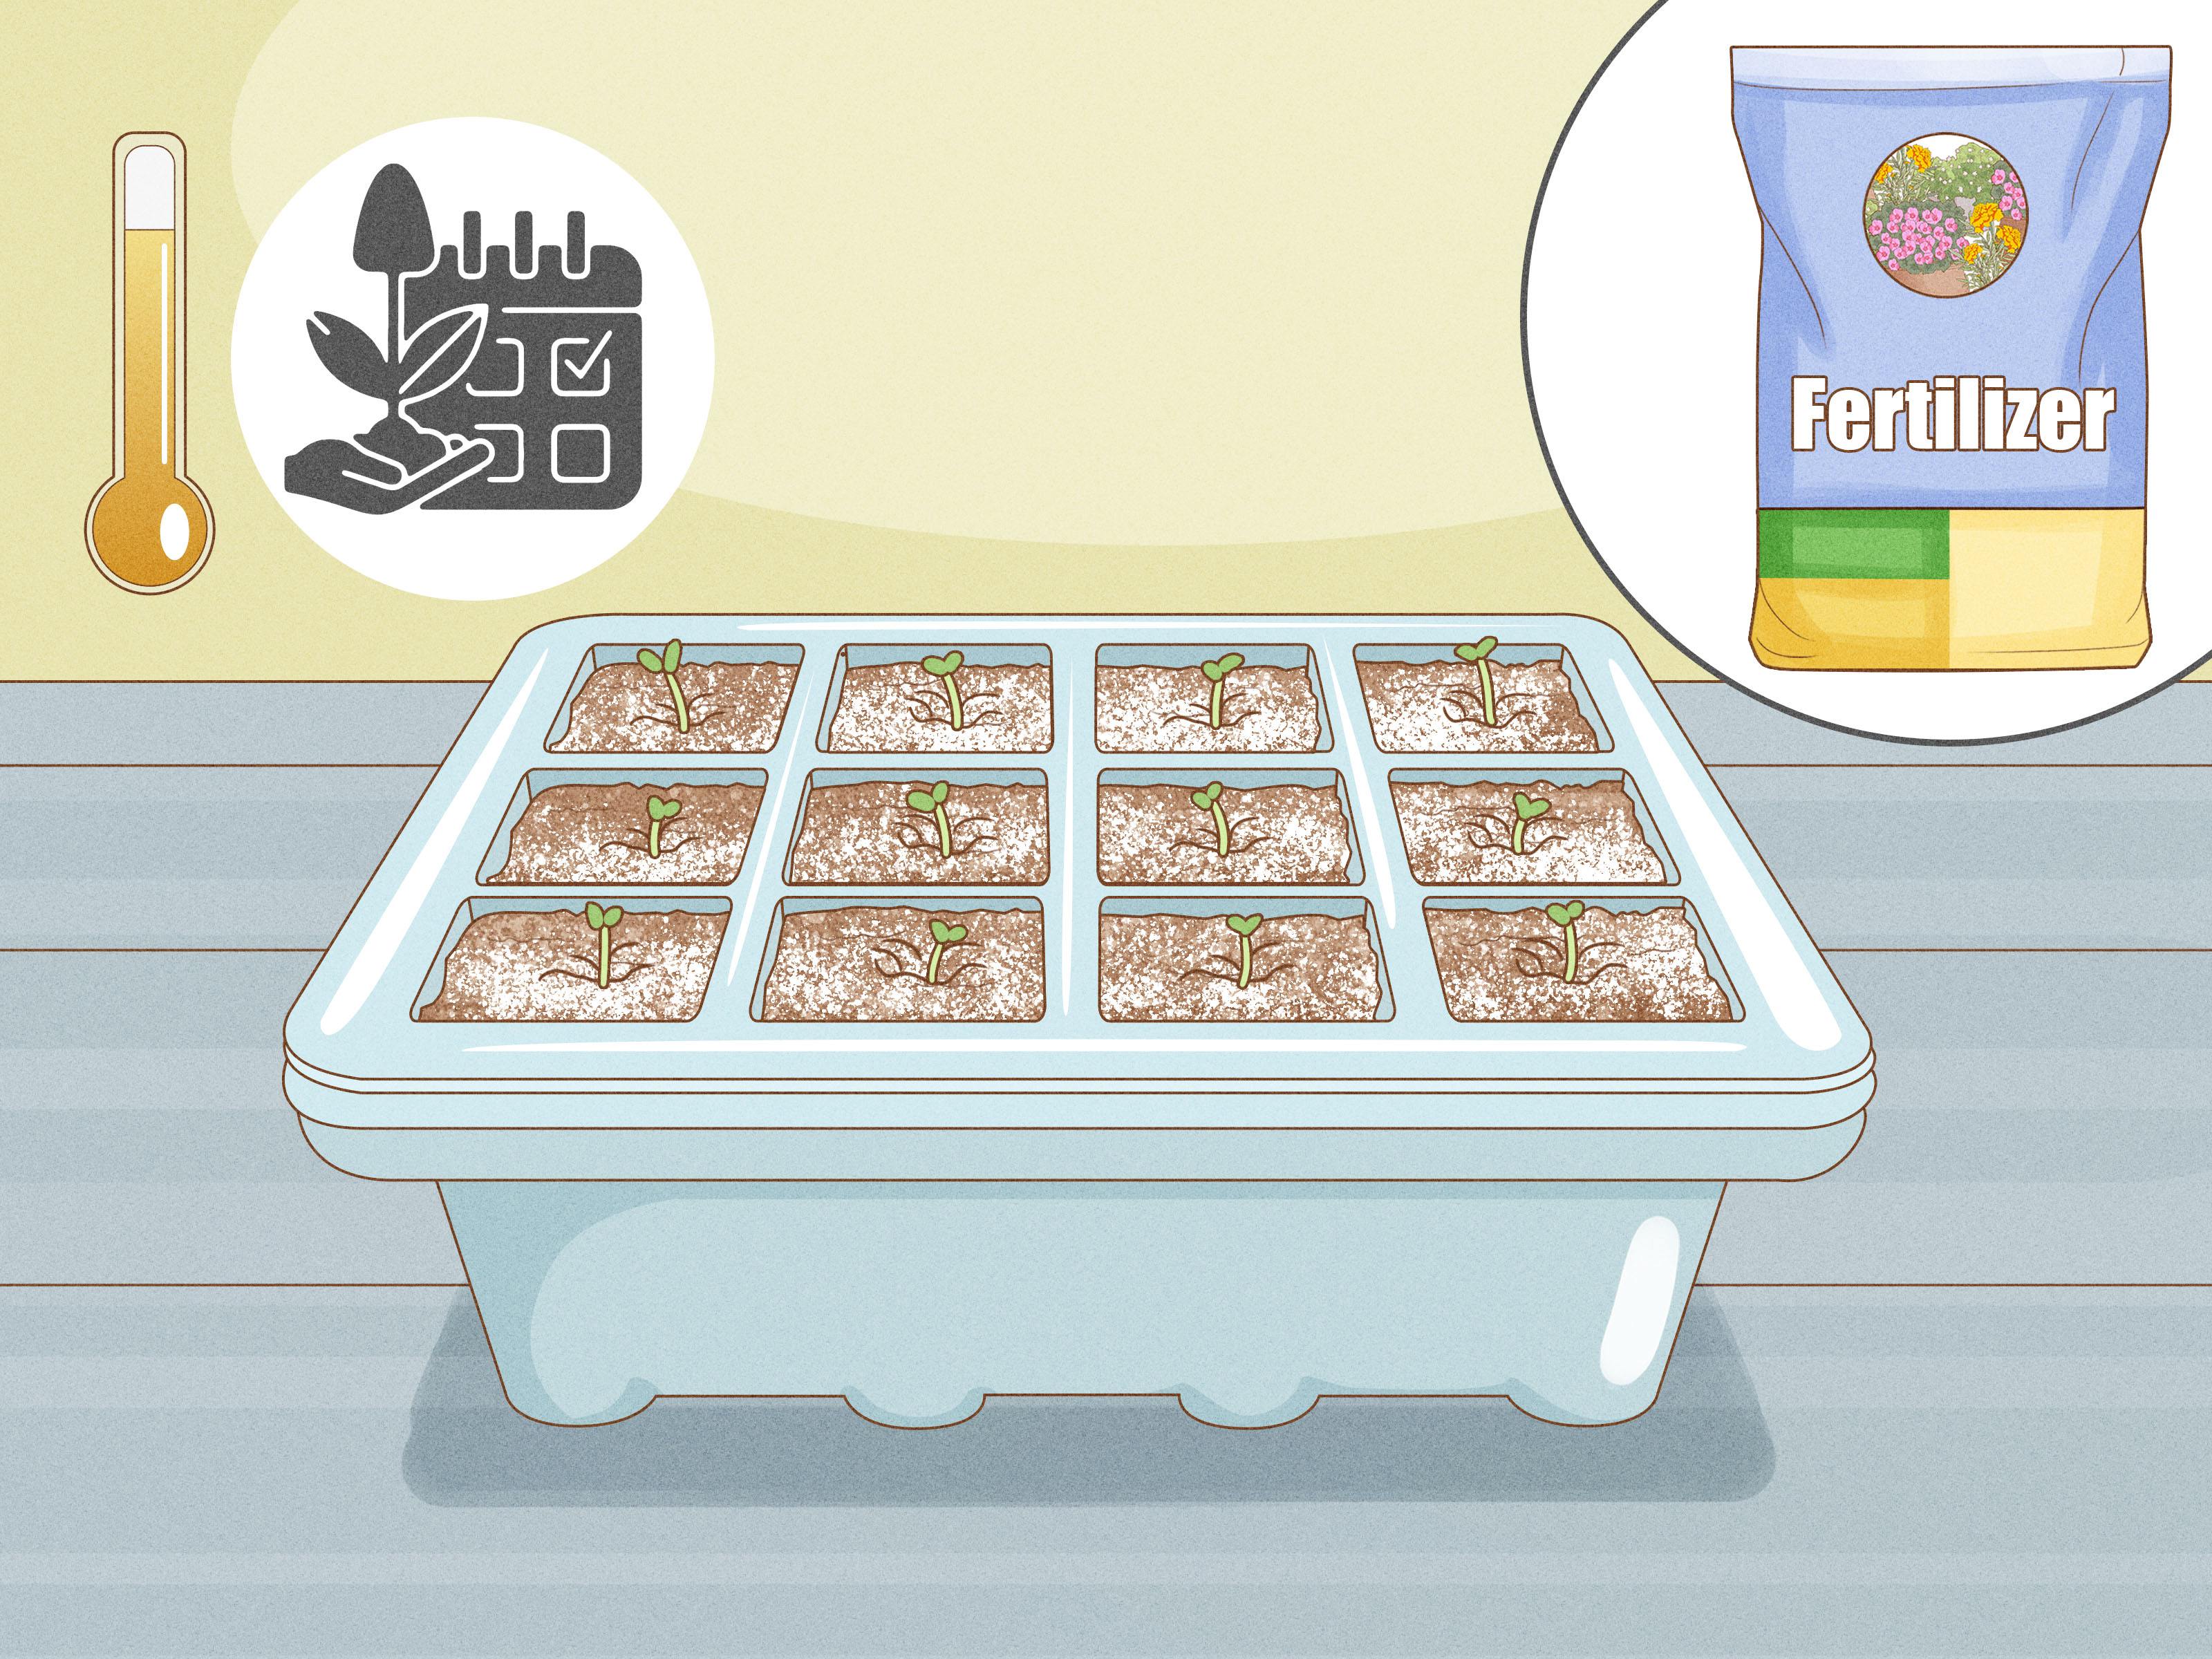
Fill small pots or cell trays with fresh, pre-moistened seed-starting mix. A sterile, fine-textured medium drains better and carries fewer disease organisms than garden soil.
Plant each seed approximately one-quarter inch deep and cover it lightly. Place one seed in each small cell when possible. If space is limited, sow several seeds in a larger container with at least an inch between them.
Label every pot. Include the sowing date as well as the parent rose or cross. Water gently to settle the mix without washing the seeds into the basement of the pot.
Step 11: Provide Warmth, Light, and Careful Moisture
Move the pots to a moderately warm location. Normal indoor temperatures around 65 to 75 degrees Fahrenheit are generally appropriate once stratification is complete. Keep the seed-starting mix consistently moist but never waterlogged.
Rose seedlings may emerge in a few weeks, several months, or not until after another period of dormancy. Do not throw away an unsprouted tray simply because its calendar appears discouraging. Rose seeds have never been famous for respecting deadlines.
Once seedlings emerge, provide strong light for approximately 12 to 16 hours daily. Keep grow lights close enough to prevent stretched, floppy stems while following the manufacturer’s safety instructions. Good airflow and restrained watering help reduce damping-off, a group of seedling diseases favored by wet conditions.
Step 12: Transplant and Harden Off the Seedlings
When seedlings have developed several true leaves and roots are beginning to fill their cells, move them into individual pots. Hold each plant by a leaf rather than squeezing its stem. Plant it at approximately the same depth at which it was growing.
Do not rush fertilizer. Young seedlings usually receive enough nutrition from a quality potting mix. After several true leaves have formed, a diluted, balanced fertilizer can be introduced if growth appears pale or slow. The University of Minnesota recommends beginning cautiously, such as with quarter-strength soluble fertilizer, to reduce the risk of root damage.
Before planting outdoors, harden the roses gradually for seven to fourteen days. Begin with a few hours in a sheltered, shaded location, then increase outdoor time and sunlight exposure. Plants moved abruptly from indoor conditions into full sun can lose moisture rapidly and develop leaf scorch.
Step 13: Plant the Young Roses Outdoors
Choose a permanent or temporary nursery bed after the danger of hard frost has passed. Roses generally grow best with at least six hours of direct sunlight, fertile soil, and good drainage. Excessive shade can reduce flowering and make foliage more vulnerable to certain diseases.
Dig a hole slightly wider than the seedling’s root ball. Remove the plant gently, place it at the same depth it occupied in the pot, backfill with soil, and water thoroughly. Space seedlings far enough apart for air to move through their foliage as they mature.
Apply a light layer of mulch around the root zone, keeping it away from direct contact with the stem. Water at the soil level when possible rather than repeatedly wetting the leaves. Good spacing, prompt removal of infected foliage, and faster leaf drying help reduce black spot, rust, and other fungal problems.
Seed-grown roses develop on their own roots rather than on grafted rootstock. During the first season, focus on root and branch development instead of forcing heavy bloom with excessive fertilizer. Some seedlings may flower within their first year, while others need two or more growing seasons to reveal their mature character.
Common Problems When Growing Roses from Seed
The Seeds Never Germinate
Insufficient stratification is a common reason for failure, but it is not the only one. The seeds may have been immature, damaged, genetically nonviable, allowed to dry excessively, or exposed to temperatures that did not satisfy their dormancy requirements.
Continue caring for the tray for several months. Some rose seeds require another warm-and-cold cycle before germinating. Keep notes so you can adjust the chilling period in your next batch.
Mold Develops During Stratification
Mold usually indicates leftover fruit pulp, contaminated materials, excessive water, poor airflow, or a combination of those conditions. Remove affected seeds, rinse the remaining seeds, and replace the medium. Damp is correct; dripping wet is not.
Seedlings Collapse at Soil Level
This is a classic sign of damping-off. Use clean containers, sterile seed-starting mix, moderate temperatures, strong light, and gentle airflow. Avoid keeping the surface constantly saturated. Once a seedling has collapsed from stem rot, it rarely recovers, so prevention is considerably more satisfying than holding a tiny plant funeral.
Seedlings Grow Tall and Floppy
Leggy seedlings need stronger light. Move grow lights closer, increase daily light duration, and avoid excessive warmth. A small fan on a low setting can improve air circulation and encourage sturdier stems, but it should not blast seedlings across the room.
The New Rose Looks Nothing Like Its Parent
That is normal. Seed propagation combines genes rather than copying a plant. To reproduce a particular rose cultivar accurately, use an authorized vegetative method such as cuttings, layering, budding, or grafting. Be aware that some modern cultivars are protected by plant patents and may not be legally propagated without permission.
How Long Does It Take to Grow Roses from Seed?
A typical project may include three to four months for hips to mature, two to three months of cold stratification, several weeks or months for germination, and one or more growing seasons before meaningful flowering. Some seedlings bloom during their first year, but evaluating mature flower form, fragrance, disease resistance, repeat blooming, and winter hardiness can take several years.
That timeline makes growing roses from seed poorly suited to anyone requiring instant gratification. It is excellent, however, for gardeners who enjoy observation, experimentation, and opening the refrigerator to check on plants more often than food.
Practical Experience: Lessons That Make Rose Seed Growing Easier
The biggest lesson from seed-growing projects is that organization matters almost as much as horticulture. A batch containing 50 seeds can quickly become confusing when some germinate during refrigeration, others sprout six weeks after sowing, and several remain dormant for months. Label every package, pot, and tray as soon as it is prepared. Do not plan to label it later. “Later” is the mysterious time when all rose seeds begin looking identical.
Starting more seeds than the number of plants you ultimately want is also sensible. Germination percentages vary dramatically between rose species and crosses. Even after germination, seedlings may be weak, disease-prone, poorly shaped, or unable to tolerate local winters. If the goal is to obtain three promising garden roses, beginning with several dozen seeds is not excessive.
Another useful habit is dividing one seed batch into two groups. Stratify and sow the first group using the standard schedule. Leave the second group chilled for several additional weeks or expose it to another temperature cycle. Comparing the results helps reveal what a particular parent rose requires. This small experiment is more informative than changing six variables at once and then wondering which one mattered.
Moisture control deserves special attention. Many beginners are understandably afraid that seeds will dry out, so they compensate by creating a miniature swamp. Rose seeds need moisture, but their containers still require oxygen. A properly damp paper towel should feel like laundry after the spin cycle, not like laundry that fell into a swimming pool. The same principle applies after sowing: water thoroughly, allow excess water to drain, and water again when the surface begins losing moisture.
Checking stratifying seeds regularly can save an entire batch. A small patch of mold is easier to correct than a bag filled with decayed seeds. Regular inspections also catch early germination. Once a white root appears, the seed should be planted promptly because roots can grow into paper towels or become tangled with neighboring seeds.
Keep expectations flexible when flowers finally appear. The first bloom on a young rose may be smaller, simpler, or less colorful than later blooms. The plant is still developing its root system and branching structure. Evaluate it across several flowering cycles before making a final judgment. A forgettable first-year flower may improve substantially during the second season.
At the same time, do not feel obligated to keep every seedling forever. Space in a sunny garden is valuable. Remove plants that repeatedly suffer severe disease, produce weak growth, or have flowers you do not enjoy. Rose breeders call this selection. Home gardeners may call it making room for the tomatoes.
Photographs and written records are extremely useful. Record germination dates, flower color, petal count, fragrance, plant height, disease symptoms, and winter survival. Photograph the first bloom and later blooms under similar lighting. These notes make it easier to identify genuinely promising plants rather than choosing whichever rose happens to be flowering on evaluation day.
Finally, treat the process as an experiment instead of a pass-or-fail gardening test. Uneven germination is normal. Unexpected flowers are normal. Losing some seedlings is normal. The reward is not simply producing a rose bush; it is watching a completely new plant reveal qualities that have never appeared in precisely that combination before.
Conclusion
Learning how to grow roses from seed requires more patience than buying established plants, but it offers something a garden center cannot guarantee: a rose that is genetically unique. Begin with mature hips, clean the seeds carefully, maintain moist cold stratification, sow them in sterile mix, and give emerging seedlings strong light without excessive water.
Not every seed will germinate, and not every seedling will become a spectacular garden plant. That uncertainty is part of the adventure. Somewhere among the stubborn seeds, refrigerator bags, and tiny leaves could be a rose with an unexpected fragrance, unusual color, or impressive ability to thrive in your garden.