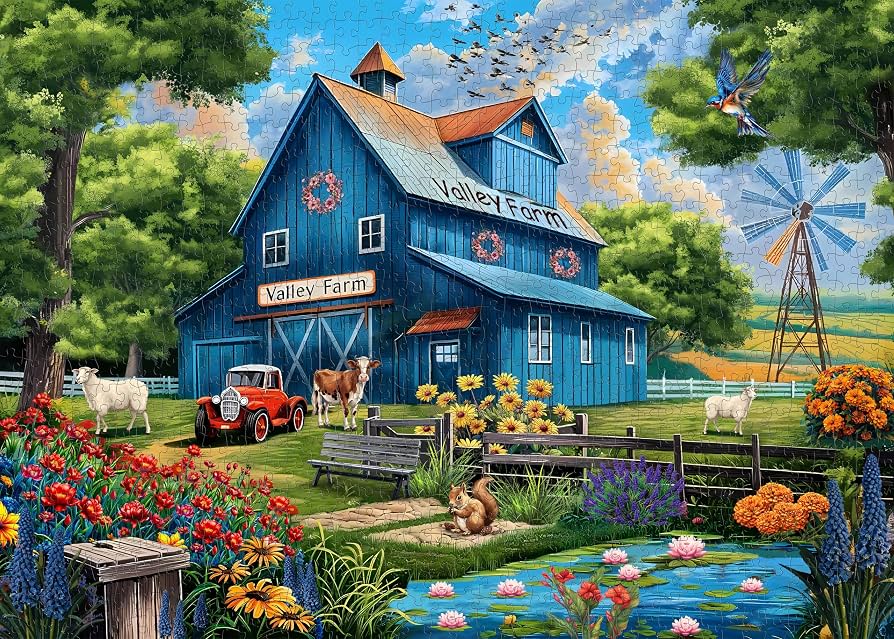
There is something uniquely meditative about settling in to assemble landscape jigsaw puzzles. Whether it is the calming mist over a mountain range or the vibrant hues of a golden autumn forest, these puzzles offer a rewarding escape from the fast-paced nature of modern life. Yet, as any avid puzzler knows, the transition from a box of scattered pieces to a finished work of art requires more than just patience; it demands a strategic approach to sorting, assembly, and preservation. While many enthusiasts enjoy the complexity of traditional landscapes, others may find themselves drawn to the charm of animal jigsaw puzzles or the tactile challenge of 3D jigsaw puzzles. Regardless of your preferred style, selecting the right image and knowing how to display your final masterpiece can turn a simple pastime into a lifelong hobby. In this guide, we will explore the essential techniques for choosing the perfect scene, managing complex sections, and framing your work so you can proudly showcase it in your home, much like curating pieces of art for your living space.
1. Selecting and Organizing Landscape Jigsaw Puzzles for Maximum Enjoyment
1.1 Evaluating Quality and Aesthetic Appeal Before You Buy
1.1.1 Assessing Image Resolution and Artistic Style
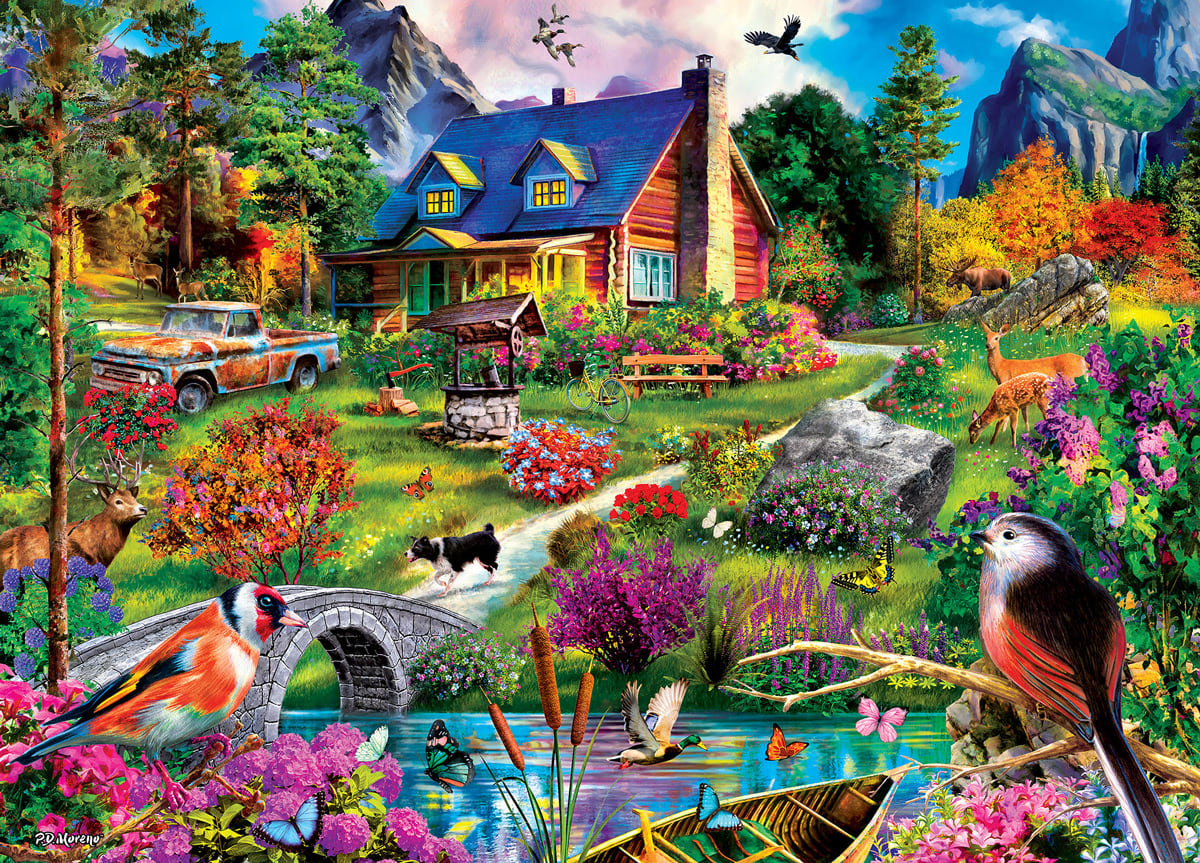
Before purchasing landscape jigsaw puzzles, examine the source image closely. High-quality puzzles feature crisp, high-resolution photography or detailed fine art prints. Avoid images that look pixelated or overly compressed, as these translate into blurred puzzle pieces that are frustrating to assemble. Consider whether you prefer the realistic capture of a national park photograph or the whimsical charm of an oil painting. Your aesthetic preference determines how much you will enjoy the hours spent focusing on the nuances of the image.
1.1.2 Understanding Piece Quality, Thickness, and Die-Cut Precision
The tactile experience is just as vital as the visual one. Look for puzzles made from premium, thick cardboard that resists bending. Die-cut precision is the gold standard; you want pieces that fit together with a satisfying “click” and stay connected even when nudged. Poorly cut puzzles often result in “false fits,” where a piece seems to fit in two places, leading to unnecessary confusion during assembly.
1.1.3 Selecting the Ideal Piece Count for Your Skill Level
If you are new to the hobby, start with a 500-piece count. This allows you to finish a project in a few sittings without feeling overwhelmed. If you crave a challenge, a 1,000 to 2,000-piece landscape will provide a deeper, more meditative experience. Much like when choosing science educational games for students, matching the complexity to your patience level ensures the activity remains relaxing rather than stressful.
1.1.4 Determining Decorative Potential for Home Display
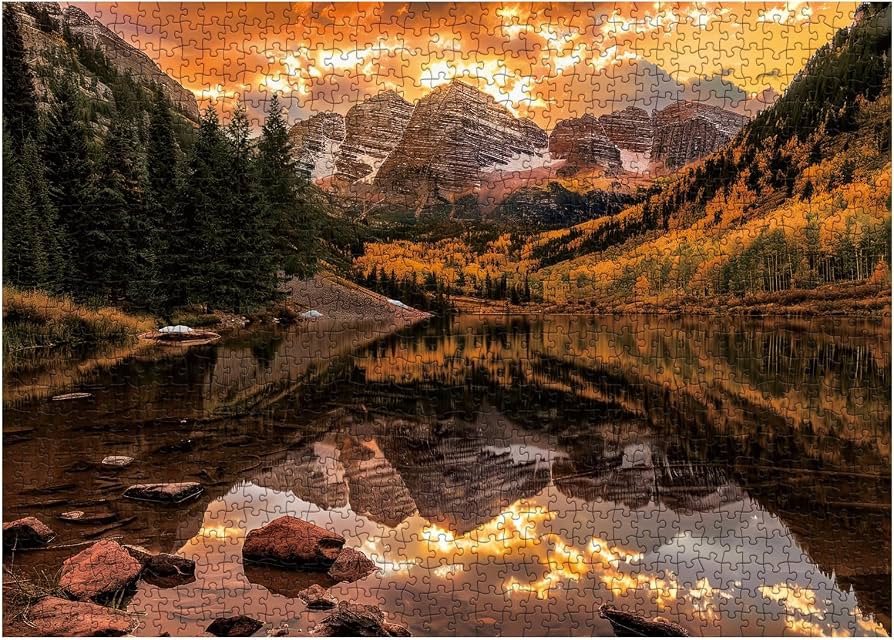
Consider the final result. If you intend to hang your completed masterpiece, look for landscape scenes with a strong focal point, such as a sunset over a mountain or a reflection in a lake. These scenes often make the most striking wall art. Check the dimensions of the finished product to ensure it will fit your intended space.
1.2 Professional Sorting Techniques for Complex Landscapes
1.2.1 Setting Up an Ergonomic Workspace with Optimal Lighting
Your workspace dictates your comfort. Choose a flat surface with enough room to spread out all pieces. Lighting is critical; use a bright, neutral light source to prevent shadows from obscuring the subtle color differences found in natural scenes. Reducing eye strain helps you maintain focus during long sessions.
1.2.2 Categorizing Pieces by Color Gradients and Texture Patterns
Stop searching through the entire box every time. Instead, flip all pieces over and begin sorting them into broad categories. Group pieces by the distinct color gradients found in the landscape, such as the deep greens of a forest, the azure tones of a clear sky, or the rocky textures of a cliff face.
1.2.3 Utilizing Sorting Trays to Manage Sky and Foliage Segments
Sorting trays are invaluable for landscape puzzles. Use them to sequester high-difficulty sections like expansive blue skies or dense, monochromatic foliage. By isolating these repetitive segments, you can focus on them individually rather than dealing with the clutter of the entire set.
1.2.4 Establishing the Boundary with an Edge-First Methodology
Always start by identifying and connecting the edge pieces. This frame establishes the physical dimensions of your workspace and provides a crucial anchor for the rest of the assembly. Once the boundary is set, the interior work becomes significantly more manageable.
1.3 Advanced Assembly Strategies for Natural Scenery
1.3.1 Identifying Focal Points to Build the Core Structure
Every landscape has a “hero” element—perhaps a brightly colored lighthouse, a prominent tree, or a crashing waterfall. Start assembling these focal points first. Once the centerpieces are constructed, you can branch out into the surrounding landscape, using these islands of completion as guides.
1.3.2 Decoding Subtle Color Transitions in Mountain and Water Vistas
Natural scenes are notorious for gradients. To solve these, sort pieces not just by color, but by the direction of the image’s flow. For water vistas, notice the shift from lighter highlights to darker depths. Aligning pieces according to these subtle color transitions will help you navigate areas that look deceptively uniform.
1.3.3 Navigating High-Difficulty Areas like Clouds or Dense Forests
These areas often rely on shape-matching rather than color-matching. When you hit a wall, sort your remaining pieces by their tab and blank configurations. Looking for specific shapes can help you break through areas where every piece seems to look identical.
1.3.4 Maintaining Momentum Through Systematic Piece Matching
Keep your momentum by working on multiple small segments simultaneously. If a specific section of forest becomes frustrating, switch your focus to a different, more distinct area. By rotating between challenging textures and satisfying color blocks, you keep the process enjoyable and maintain your flow state throughout the build.
2. Preserving and Framing Your Landscape Jigsaw Puzzles

2.1 Surface Preparation and Adhesive Application
Once you have finished the grueling task of completing a complex puzzle, you may want to display it as a work of art. Before moving to framing, you must stabilize the structure. Weighing the pros and cons of permanent puzzle sealers is the first step. While liquid glue creates a solid, glass-like finish, it can sometimes darken the image or leave visible brush strokes. Conversely, permanent sealers act as a protective varnish, preserving the colors while keeping the pieces firmly in place.
To ensure proper application and prevent warping, always place a protective barrier, such as wax paper, underneath the puzzle to protect your workspace. Apply the glue sparingly using a wide, flat brush or a plastic squeegee, working from the center outward to avoid buildup in the crevices. Choosing between liquid glue and self-adhesive backing sheets often comes down to personal preference; backing sheets provide a cleaner, “mess-free” experience and add structural rigidity, though they require precise alignment. Finally, after the curing process, you may find the surface has a slight sheen or texture; gently buffing it with a soft cloth can help harmonize the finish.
2.2 Professional-Grade Framing and Mounting Considerations
Displaying landscape jigsaw puzzles requires a thoughtful approach to framing. When selecting frame styles for nature scenes, opt for materials that complement the imagery—such as natural wood tones for mountain landscapes or sleek, thin black frames for high-contrast, modern vistas. The frame should act as a window, not a distraction from the scenery within.
Evaluating glass options is crucial for long-term preservation. Standard glass can cause distracting glare, potentially obscuring details in complex scenes. Consider choosing anti-reflective or museum-quality glass, which offers UV protection to prevent the vibrant colors of your puzzle from fading due to sun exposure. For mounting, use acid-free foam board backing to prevent yellowing over time. Secure the puzzle using archival-quality tape or mounting corners rather than heavy adhesives that could cause the cardboard to buckle. When assembling the piece, ensure the frame is sealed properly to protect against moisture and environmental dust, which can settle into the gaps between pieces if left exposed.
2.3 Solutions for Common Landscape Puzzle Challenges
Even the most seasoned puzzlers occasionally face the frustration of a missing piece. If this happens, don’t panic; reach out to the manufacturer’s customer support, as many companies keep records of die-cuts and may provide a replacement. For older or discontinued sets, creative repair using a piece of heavy cardstock trimmed to size and colored with acrylic paints can bridge the gap. When transporting an assembled puzzle to a framer, slide it onto a rigid piece of cardboard and secure it with plastic wrap to prevent shifting.
It is helpful to realize that landscape puzzles often require a different mindset than abstract or collage puzzles, as they rely heavily on subtle shifts in lighting and texture rather than distinct color blocks. To maintain the longevity of your finished piece, keep it away from direct sunlight and areas with fluctuating humidity, such as bathrooms. If you are looking to brighten up your home with these displays, consider checking out relaxed luxury design tips to help integrate your framed natural scenes into your home decor effortlessly.
Mastering the art of landscape jigsaw puzzles is about more than just fitting cardboard pieces together; it is a rewarding journey that transforms a complex image into a stunning piece of personal decor. By carefully selecting puzzles with high-quality artistic detail, utilizing structured sorting techniques to navigate dense foliage or expansive skies, and employing professional-grade framing methods, you ensure that your hard work results in a lasting masterpiece. Whether you are tackling a serene mountain vista, exploring the intricate textures of animal jigsaw puzzles, or helping younger family members with kids jigsaw puzzles, the process remains a therapeutic way to slow down and appreciate the details of the natural world.
As you gain experience, you might even consider the unique spatial challenge of 3D jigsaw puzzles to further test your skills. Remember that every puzzle is an opportunity for patience and focus. For more tips on keeping your mind sharp and finding joy in quiet activities, you can explore our resources on medical information and health advice you can trust. Keep sorting, keep building, and enjoy the satisfaction of seeing the full picture come to life on your wall.