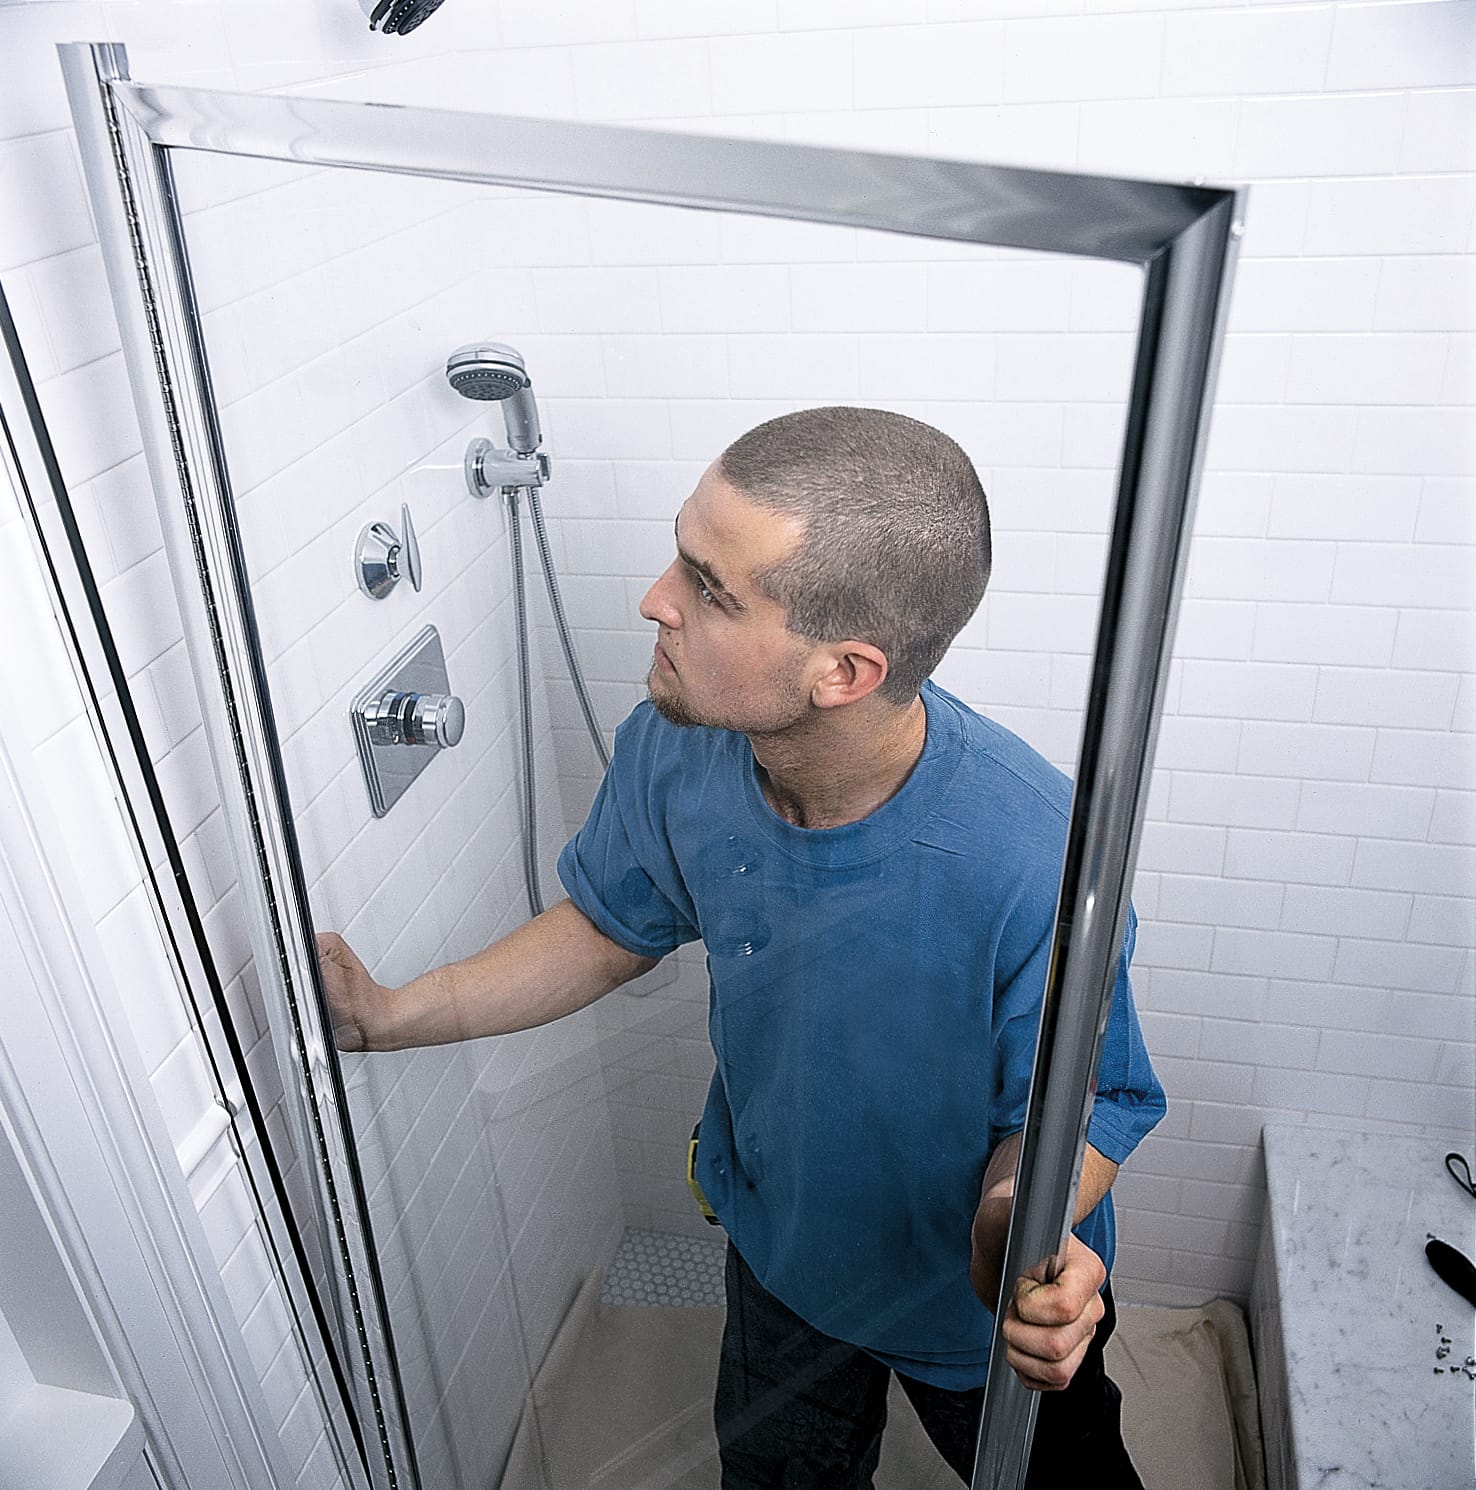

Installing a shower door is one of those home projects that looks impressively fancy when it is finished and mildly terrifying when you first open the box. There is glass. There is hardware. There are tiny bags of screws that all look suspiciously identical. And somewhere in the instructions, there is usually one sentence that says, “Have a helper available,” which is manufacturer language for, “Please do not attempt to wrestle a heavy glass panel by yourself like it is a refrigerator door.”
The good news: many framed, semi-frameless, sliding, and pivot shower doors are realistic DIY projects when you choose the correct kit, measure carefully, and follow the manufacturer’s instructions. The bad news: shower doors are not very forgiving of rushed measurements, crooked wall tracks, or silicone applied with the artistic confidence of a birthday cake decorator.
This guide explains how to install a shower door step by step, from selecting the right style to sealing the final edge. It focuses on the installation principles that apply to most standard shower-door kits, including bypass sliding doors, hinged doors, pivot doors, and framed shower enclosures. Always use the exact instructions supplied with your kit as the final authority, because hardware layouts and adjustment methods vary by manufacturer.
Note: A shower door should be installed only after the shower base, tile, wall surround, and waterproofing work are complete. Shower glass is typically tempered safety glass and should never be cut, drilled, ground, or modified after it is manufactured.
Before You Install a Shower Door: Choose the Right Type
Before reaching for a drill, make sure you bought a shower door that matches your shower opening, curb depth, wall layout, and available swing space. A beautiful pivot door is not very beautiful when it opens directly into the toilet. That is less “spa retreat” and more “bathroom obstacle course.”
Sliding Shower Doors
Sliding shower doors, also called bypass doors, use two or more panels that glide on upper and lower tracks. They are popular for bathtub-shower combinations and alcove showers because they do not require clearance for a swinging door. A sliding door is often a practical choice for smaller bathrooms, especially where a vanity or toilet sits close to the shower entrance.
Pivot and Hinged Shower Doors
Pivot doors swing open on pivots or hinges. They can create a clean, open look and are often used in walk-in showers or larger alcoves. However, you must measure the swing path before ordering. Check whether the door will hit a vanity, towel bar, toilet, radiator, or wall. Measure from the pivot point to the nearest obstacle and confirm the manufacturer’s required clearance.
Framed, Semi-Frameless, and Frameless Doors
Framed shower doors use metal tracks around the glass and are generally the most forgiving option for DIY installation. Semi-frameless doors reduce the visible metal while still using structural hardware. Frameless doors use thicker glass and heavier hinges or support bars, creating a sleek modern look but demanding more precise walls, stronger mounting surfaces, and careful glass handling.
Many standard shower-door kits include some amount of width adjustment, but the allowable adjustment range differs by model. Confirm your finished opening fits within the manufacturer’s listed range before buying the door.
Tools and Materials You May Need
Most shower door installations require basic hand tools, although tile walls may require a few specialty items. Check your kit instructions first, because some systems use proprietary clips, drill-bit sizes, spacer blocks, or wall anchors.
- Tape measure
- Level, preferably 24 inches or longer
- Pencil or washable marker
- Masking tape or painter’s tape
- Drill and drill bits
- Tile or masonry drill bit for ceramic or porcelain tile
- Hacksaw with a fine-tooth blade, if the bottom track must be trimmed
- Metal file for smoothing cut track edges
- Screwdriver or impact driver set on a low torque setting
- Utility knife
- Clear 100% silicone sealant rated for kitchens and baths
- Caulk gun
- Safety glasses and gloves
- Drop cloth or cardboard to protect the shower base and bathroom floor
- A helper for lifting and holding glass panels
Before installation, unpack every part and compare it with the parts list. Manufacturers commonly recommend identifying all components and checking them for damage before beginning. A missing roller, guide, hinge gasket, or wall anchor is much easier to solve before you have drilled six holes in fresh tile.
Step 1: Measure the Shower Opening Carefully
Measurement is the most important part of shower door installation. The shower opening may look square, but tile walls and fiberglass surrounds are often slightly out of plumb. A difference of even a small fraction of an inch can affect how the door seals, slides, or closes.
Measure the width of the opening in three locations:
- At the shower threshold or curb
- At the midpoint of the opening
- Near the top of the opening
Use the smallest measurement when selecting a door, unless your manufacturer specifically instructs otherwise. Also measure the opening height and the depth of the shower curb or threshold. Many doors require a minimum flat threshold width for tracks, pivots, hinges, or a water dam.
For a pivot door, also measure the swing area. Open the bathroom door, stand where the shower door will swing, and make sure the path remains clear. This tiny planning step can prevent the deeply disappointing discovery that your lovely new shower door and your toilet are trying to occupy the same zip code.
Step 2: Remove the Old Shower Door, If Necessary
If you are replacing an existing shower door, remove it before installing the new one. Protect the tub, shower pan, and bathroom floor with a drop cloth, cardboard, or heavy plastic. Remove old caulk with a utility knife, loosen screws from the wall jambs, and carefully lift out the glass panels.
Do not pry aggressively against tile, fiberglass, or acrylic. Old metal tracks can be stubborn, but a chipped tile corner is a much bigger headache than a stubborn screw. After removing the old assembly, scrape away old silicone, mineral buildup, loose debris, and adhesive residue. The installation surface should be clean, dry, and smooth before you begin.
Step 3: Dry-Fit the Bottom Track or Threshold Piece
For framed and sliding shower doors, the bottom track usually sits on the shower curb or bathtub ledge. Place the track on the threshold without silicone first. Center it from front to back according to the kit instructions. Some tracks are designed to sit closer to the outer edge; others align with a molded groove or water channel.
If the track is too long, measure carefully and mark the cut line. Cut the track with a fine-tooth hacksaw, then smooth the cut edge with a metal file. Vacuum up metal filings before they scratch the shower base or embed themselves in the finish of your new bathroom floor.
Do not apply silicone yet unless your manufacturer specifically tells you to. The track may need to move slightly while you position the wall jambs.
Step 4: Position and Mark the Wall Jambs
Wall jambs are the vertical metal channels that attach to the shower walls. They support the frame, hinges, sliding-door tracks, or adjustment components. Place the jamb into the bottom track or against the threshold as directed by your kit.
Hold the jamb against the wall and use a level to make it perfectly plumb. This is not the moment to trust your eyes. Bathrooms contain many visual tricks: tile lines, grout lines, textured walls, and that one slightly crooked shelf installed by a previous homeowner who apparently measured using vibes.
Once the jamb is plumb, mark the screw locations through the mounting holes. Use painter’s tape over the marks if you are drilling tile. Tape can help reduce bit wandering and makes your pencil marks easier to see.
Step 5: Drill Into Tile or Wall Surround Safely
Drilling through tile requires patience. Use a tile-rated or masonry-rated drill bit for ceramic or porcelain tile. Start slowly, keep the drill straight, and avoid using hammer-drill mode unless the wall material and manufacturer instructions specifically allow it.
A common technique is to place painter’s tape over the drill spot, begin at low speed, and let the bit gradually create a small starter indentation. Once you pass through the tile, switch to the correct bit for the backing material if needed.
If the mounting holes do not land on studs, use the anchors supplied with the shower door kit or anchors approved for the wall material. Frameless and heavy glass doors may require solid framing, blocking, or specialized mounting hardware. Do not assume a lightweight drywall anchor can safely support a heavy glass panel. When in doubt, stop and consult a professional installer.
Step 6: Install the Wall Jambs and Frame
Apply a small bead of silicone behind the wall jamb only if the kit instructions call for it. Then align the jamb with your marks, insert the screws, and tighten them gradually. Avoid overtightening, especially on fiberglass surrounds or tile, because excessive force can crack the surface or distort the aluminum frame.
Repeat on the opposite wall. Check both jambs with a level before moving forward. A shower door may have adjustment screws, but those are designed for fine tuning, not rescuing a frame that resembles the Leaning Tower of Pisa.
For a framed sliding door, install the top track or header after the wall jambs are secure. Some headers snap into place; others are fastened with screws. Confirm that the header sits level from side to side before hanging any glass panels.
Step 7: Install the Door Panels
This is the step where a helper earns their coffee. Shower glass can be heavy, awkward, and expensive. Wear gloves, keep the glass upright, and place it on a protected surface if you need to set it down. Avoid resting glass directly on hard tile, metal edges, or concrete.
Installing Sliding Shower Door Panels
Most bypass doors use rollers mounted near the top of the glass. Attach the rollers according to the instructions, then lift the inner panel into the track first. Hang the outer panel next. Many kits include a bottom guide that keeps the doors aligned and prevents them from swinging inward or outward.
Make sure the doors glide smoothly without scraping the tracks. Adjust the rollers as needed so the panels hang evenly and close without gaps. The bottom guide may use screws or adhesive, depending on the system.
Installing Pivot or Hinged Shower Doors
For pivot or hinged doors, install the pivot hardware, hinges, support bar, or fixed glass panel according to the manufacturer’s sequence. The glass usually rests on setting blocks or spacers while you align it. Keep the door level and maintain the required clearance at the threshold and wall.
Do not force screws, tighten hinge hardware unevenly, or attempt to “bend” glass into alignment. If the door does not fit, stop and recheck measurements, shim placement, wall plumb, and hardware orientation.
Manufacturers frequently recommend two people for shower door installation, especially when hanging heavy glass panels or working with frameless systems.
Step 8: Add Handles, Seals, Sweeps, and Guides
Once the main door panels are installed and adjusted, attach the handle, towel bar, magnetic strike, vinyl seals, door sweep, and bottom guide. These pieces may look like finishing details, but they play an important role in preventing water from escaping the shower.
For sliding doors, confirm that the bottom guide keeps each panel in its proper channel. For pivot doors, make sure the magnetic seal meets evenly when the door closes. For frameless doors, install the drip rail or sweep in the correct direction so water is directed back into the shower rather than onto the bathroom floor.
Trim vinyl seals only after checking the door’s movement. Cut slowly with scissors or a utility knife. It is easier to remove another eighth of an inch than to explain why a brand-new seal now looks like it lost an argument with a lawn mower.
Step 9: Adjust the Door Before Sealing
Before applying silicone, test the door repeatedly. Open it. Close it. Slide it. Open it again. This is not overthinking; it is quality control.
Check for these common issues:
- The door rubs against the bottom track or threshold.
- The sliding panels jump or scrape in the guide.
- The pivot door does not close flush against the magnetic strip.
- The door has an uneven gap along the wall jamb.
- The handle feels loose.
- The panels appear crooked or out of level.
- The door does not direct water back into the shower.
Most kits provide adjustment through roller screws, wall-jamb screws, pivot mechanisms, or slotted mounting holes. Make small adjustments, test again, and avoid tightening hardware until the door operates smoothly.
Step 10: Seal the Shower Door With Silicone
Once the shower door is aligned and operating correctly, seal the areas specified in the manufacturer’s instructions. In many framed systems, silicone is applied along the outside edges of the wall jambs, bottom track, and frame joints. The goal is to prevent water from leaving the shower enclosure.
Do not automatically caulk every interior seam. Some shower-door systems use drainage channels or weep holes to direct water back into the shower. Blocking those channels with silicone can trap water inside the frame, creating leaks that seem mysterious until you discover the problem is your own enthusiastic caulking.
Cut the caulk nozzle at a small angle, apply a steady bead, and smooth it with a caulk tool or gloved finger. Wipe away excess silicone immediately with a damp cloth. Follow the sealant label and manufacturer instructions for curing time. Many shower-door guides recommend waiting approximately 24 hours before using the shower, but your specific sealant may require more or less time.
Common Shower Door Installation Mistakes to Avoid
Buying Before Measuring the Finished Opening
Measure after tile, wall panels, and the shower base are installed. Measuring a rough opening before finishing materials are added can lead to a door that is too wide, too narrow, or impossible to seal properly.
Skipping the Level
A door can look almost straight and still leak, drag, or fail to close correctly. Use a level on every wall jamb, support bar, header, and door panel.
Drilling Without Confirming What Is Behind the Wall
Before drilling, consider the location of plumbing lines, electrical wiring, waterproofing layers, studs, and backing material. A shower wall can hide more surprises than a reality-show reunion episode.
Overtightening Screws
Too much torque can crack tile, strip anchors, deform aluminum, or damage fiberglass. Tighten hardware firmly but gradually.
Ignoring the Door Swing
Pivot doors need space. Check clearances with bathroom fixtures, doors, cabinets, and towel bars before installation.
Using the Shower Before the Silicone Cures
Fresh silicone may look dry on the surface while still curing underneath. Give it the time listed on the product label. A little patience is cheaper than scraping out wet sealant and starting over.
When to Hire a Professional Instead
A standard framed shower-door kit may be manageable for an experienced DIYer, but some installations are better left to a glass professional. Consider hiring help if you have a custom frameless enclosure, unusually heavy glass, uneven walls, natural-stone tile, a neo-angle shower, a curbless shower, damaged waterproofing, or uncertainty about wall framing.
Professional installation can also make sense when the shower door must be custom-fabricated. Custom glass cannot be casually trimmed after delivery, and tempered glass cannot be drilled or cut once it has been manufactured. Accurate measurements, correct hardware placement, and safe handling are essential.
Experience-Based Tips for Installing a Shower Door
Anyone who has installed a shower door more than once learns the same lesson: the project is not difficult because there are so many steps. It is difficult because each step affects the next one. A wall jamb that is slightly out of plumb can make the header sit unevenly. An uneven header can make sliding doors roll poorly. Poorly rolling doors can rub the guide. Then you are standing in the bathroom at 9:30 p.m., holding a tiny adjustment wrench, wondering why your shower suddenly feels like an advanced engineering lab.
The first experience-based tip is simple: read the entire manual before touching the hardware. Not skim it. Not glance at the pictures and say, “I understand doors.” Read it from beginning to end. Shower-door kits may look similar, but the order of assembly can be surprisingly specific. Some systems require the bottom track to be installed before the wall jambs. Others need the wall tracks attached first. Some doors use adjustable rollers installed before hanging the glass, while others require rollers to be attached afterward.
A second useful lesson is to lay out all the parts in order on a towel or piece of cardboard. Group screws by size. Place rollers together. Keep plastic spacers with the hardware they belong to. The average shower-door kit includes enough shiny metal pieces to make you feel like you are assembling a small spacecraft. A simple layout prevents accidental mix-ups and eliminates the annoying “Where did this washer come from?” moment at the end.
Third, do not rush the measuring stage just because you are excited to order the door. Measure the finished opening in multiple places, then measure it again the next day. Walls in older homes are often not perfectly parallel, and tile can make minor deviations more noticeable. If your opening measures 59 3/8 inches at the bottom, 59 1/4 inches in the middle, and 59 1/2 inches at the top, the smallest number matters. Shower doors do not care that the wall “looks straight from across the room.”
Another practical insight is that painter’s tape is a small hero. It helps hold a track in position during dry fitting, gives you a clean surface for drill marks, and can reduce drill-bit slipping on glossy tile. It also makes it easier to visualize where the door frame will sit before committing to holes in the wall. That is valuable because tile holes are not known for their forgiving personalities.
When drilling tile, patience matters far more than power. Start slowly. Keep the drill square to the surface. Let the bit do the work. Pressing hard or rushing the drill can crack tile, overheat the bit, or cause the bit to skate sideways. A slow, steady approach feels less dramatic, but it is far more satisfying than spending the afternoon searching for one replacement tile from a collection discontinued in 2017.
One of the biggest lessons from real installations is to dry-fit everything before using silicone. Place the bottom track. Stand the wall jambs in position. Test the header. Hold the door panel where it will hang. Make sure the hardware orientation is correct. Confirm the pivot is on the side you intended. It sounds obvious, but many reversible shower doors are only reversible until you have drilled the first hole.
Glass handling is another area where experience pays off. Never drag a glass panel across tile or rest its corner directly on a hard surface. Use setting blocks, cardboard, folded towels, or the protective pieces supplied by the manufacturer. Keep the glass vertical when moving it. Have a helper steady it. Shower glass is strong in normal use but can be vulnerable at edges and corners.
Experienced installers also know that small adjustments are better than dramatic corrections. If a sliding door drags, adjust one roller a little, test the door, and repeat. If a pivot door is slightly low, raise it carefully using the recommended adjustment method. Avoid loosening every screw at once in the hope that the door will “find its natural position.” It might, but that natural position could be on the bathroom floor.
Another valuable habit is to test water flow only after the silicone has fully cured. Once the manufacturer’s curing period has passed, run the shower lightly and watch the frame, bottom track, jambs, and door seals. Do not blast the showerhead directly at every seam immediately. Start with normal use conditions. Look for drips outside the enclosure and check that drainage channels are directing water back inside the shower.
Finally, remember that a shower door is not just a piece of bathroom decor. It is part of the shower’s water-management system. A door that looks perfect but leaks at the curb is not finished. A door that seals perfectly but scrapes every time it moves is not finished either. The best installation balances alignment, smooth operation, secure hardware, proper drainage, and clean silicone lines. When all five are working together, your bathroom will feel upgraded, polished, and pleasantly free of puddles.
Final Thoughts
Learning how to install a shower door is mostly about preparation, precision, and resisting the urge to hurry. Choose a door that fits your opening and bathroom layout, measure the finished space carefully, keep every track and jamb level, and test the door before sealing it. A properly installed shower door can make a bathroom feel cleaner, brighter, and more finished without requiring a full remodel.
Take your time, recruit a helper for the glass panels, and let the silicone cure before the first shower. Do that, and your new shower door should glide, swing, seal, and sparkle like it belongs in the roomnot like it was installed during a very ambitious weekend.