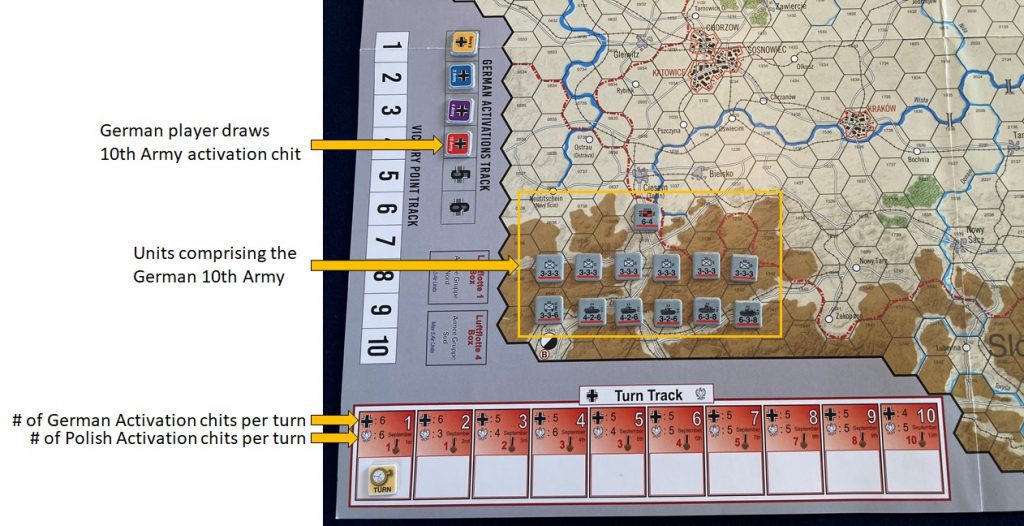
There is a unique satisfaction that comes with plotting the perfect move on a hexagonal grid. Whether you are deep into a complex tabletop campaign or enjoying the streamlined convenience of digital tabletop strategy, mastering turn based hex board games requires more than just luck; it demands a sharp mind for spatial geometry and long-term planning. Unlike the rigid limitations of square-based maps, hexagonal grids offer a natural, multi-directional flow that mimics realistic movement and line-of-sight dynamics, making them a staple for deep tactical engagement.
In this guide, we will break down the essential concepts that separate casual players from seasoned tacticians. We will explore how to read terrain, manage your force composition, and anticipate your opponent’s next move before they even commit to it. From understanding the nuance of zones of control to perfecting your positioning for a decisive counter-attack, these tips will sharpen your edge in any competitive environment, helping you navigate the board with newfound confidence and tactical precision.
1. Mastering Mechanics and Geometry in Turn Based Hex Board Games
1.1 The Strategic Superiority of Hexagonal Grids
Hexagonal grids serve as the backbone of high-level strategy board games, offering a geometric precision that square grids simply cannot replicate. By utilizing a six-sided cell, designers ensure that every neighbor is exactly the same distance from the center, which eliminates the awkwardness of diagonal movement found in traditional tiled layouts.
1.1.1 Why Hexagons Provide Uniform Movement Fluidity
In a square grid, moving diagonally often introduces mathematical discrepancies where a “diagonal step” covers more ground than a straight one. Hexagons solve this by providing six equidistant paths from any given point. This uniformity allows for fluid, natural movement across the board, making it easier for players to calculate how many action points are required to reach a specific target without worrying about conflicting movement rules.
1.1.2 Comparing Adjacency and Range Logic Against Square Grids
Adjacency is the foundation of engagement in any tabletop system. In a hex-based environment, a unit is adjacent to all six surrounding tiles, creating a symmetrical bubble of influence. When calculating range for ranged units or spells, hexes allow for a consistent radius of effect. This predictability is vital for digital tabletop strategy, where players need to quickly visualize their threat range against opponents.
1.1.3 Decoding Line of Sight and Obstruction Rules
Line of sight in hex games is typically determined by the path of hex centers. Because the grid is more circular in its behavior than a square lattice, establishing whether a target is obscured by cover or blocked by terrain is more intuitive. Most games use a “center-to-center” rule, where a clear line of sight exists if the path between units is not interrupted by impassable terrain or enemy obstacles.
1.2 Fundamental Tactical Maneuvers for Beginners
Tactical proficiency comes from understanding how to manipulate your units within the grid’s geometry. Beginners often focus solely on damage, but controlling space is the true key to victory.
1.2.1 Utilizing Zones of Control to Restrict Enemy Mobility
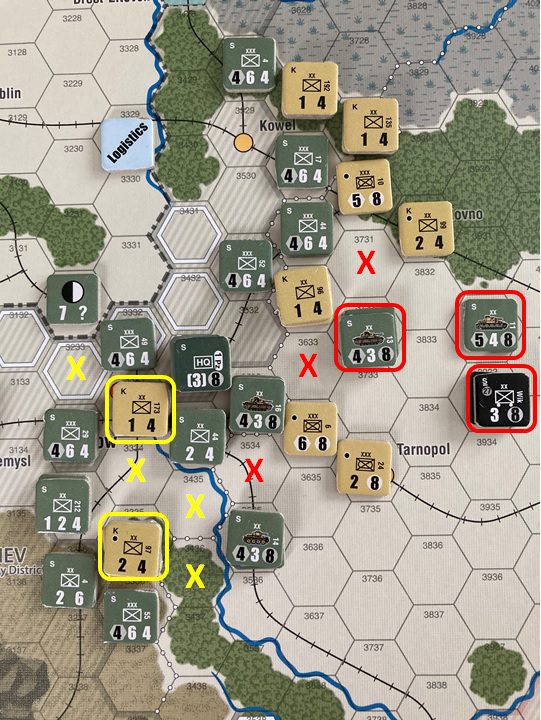
A Zone of Control (ZoC) is the area immediately surrounding a unit that hampers enemy movement. By placing units in a line or a staggered formation, you can create a “net” that forces your opponent to either go around you or expend precious actions to disengage. This is essential for protecting your backline or preventing an enemy from flanking your position.
1.2.2 The Importance of Choke Point Defense and High Ground
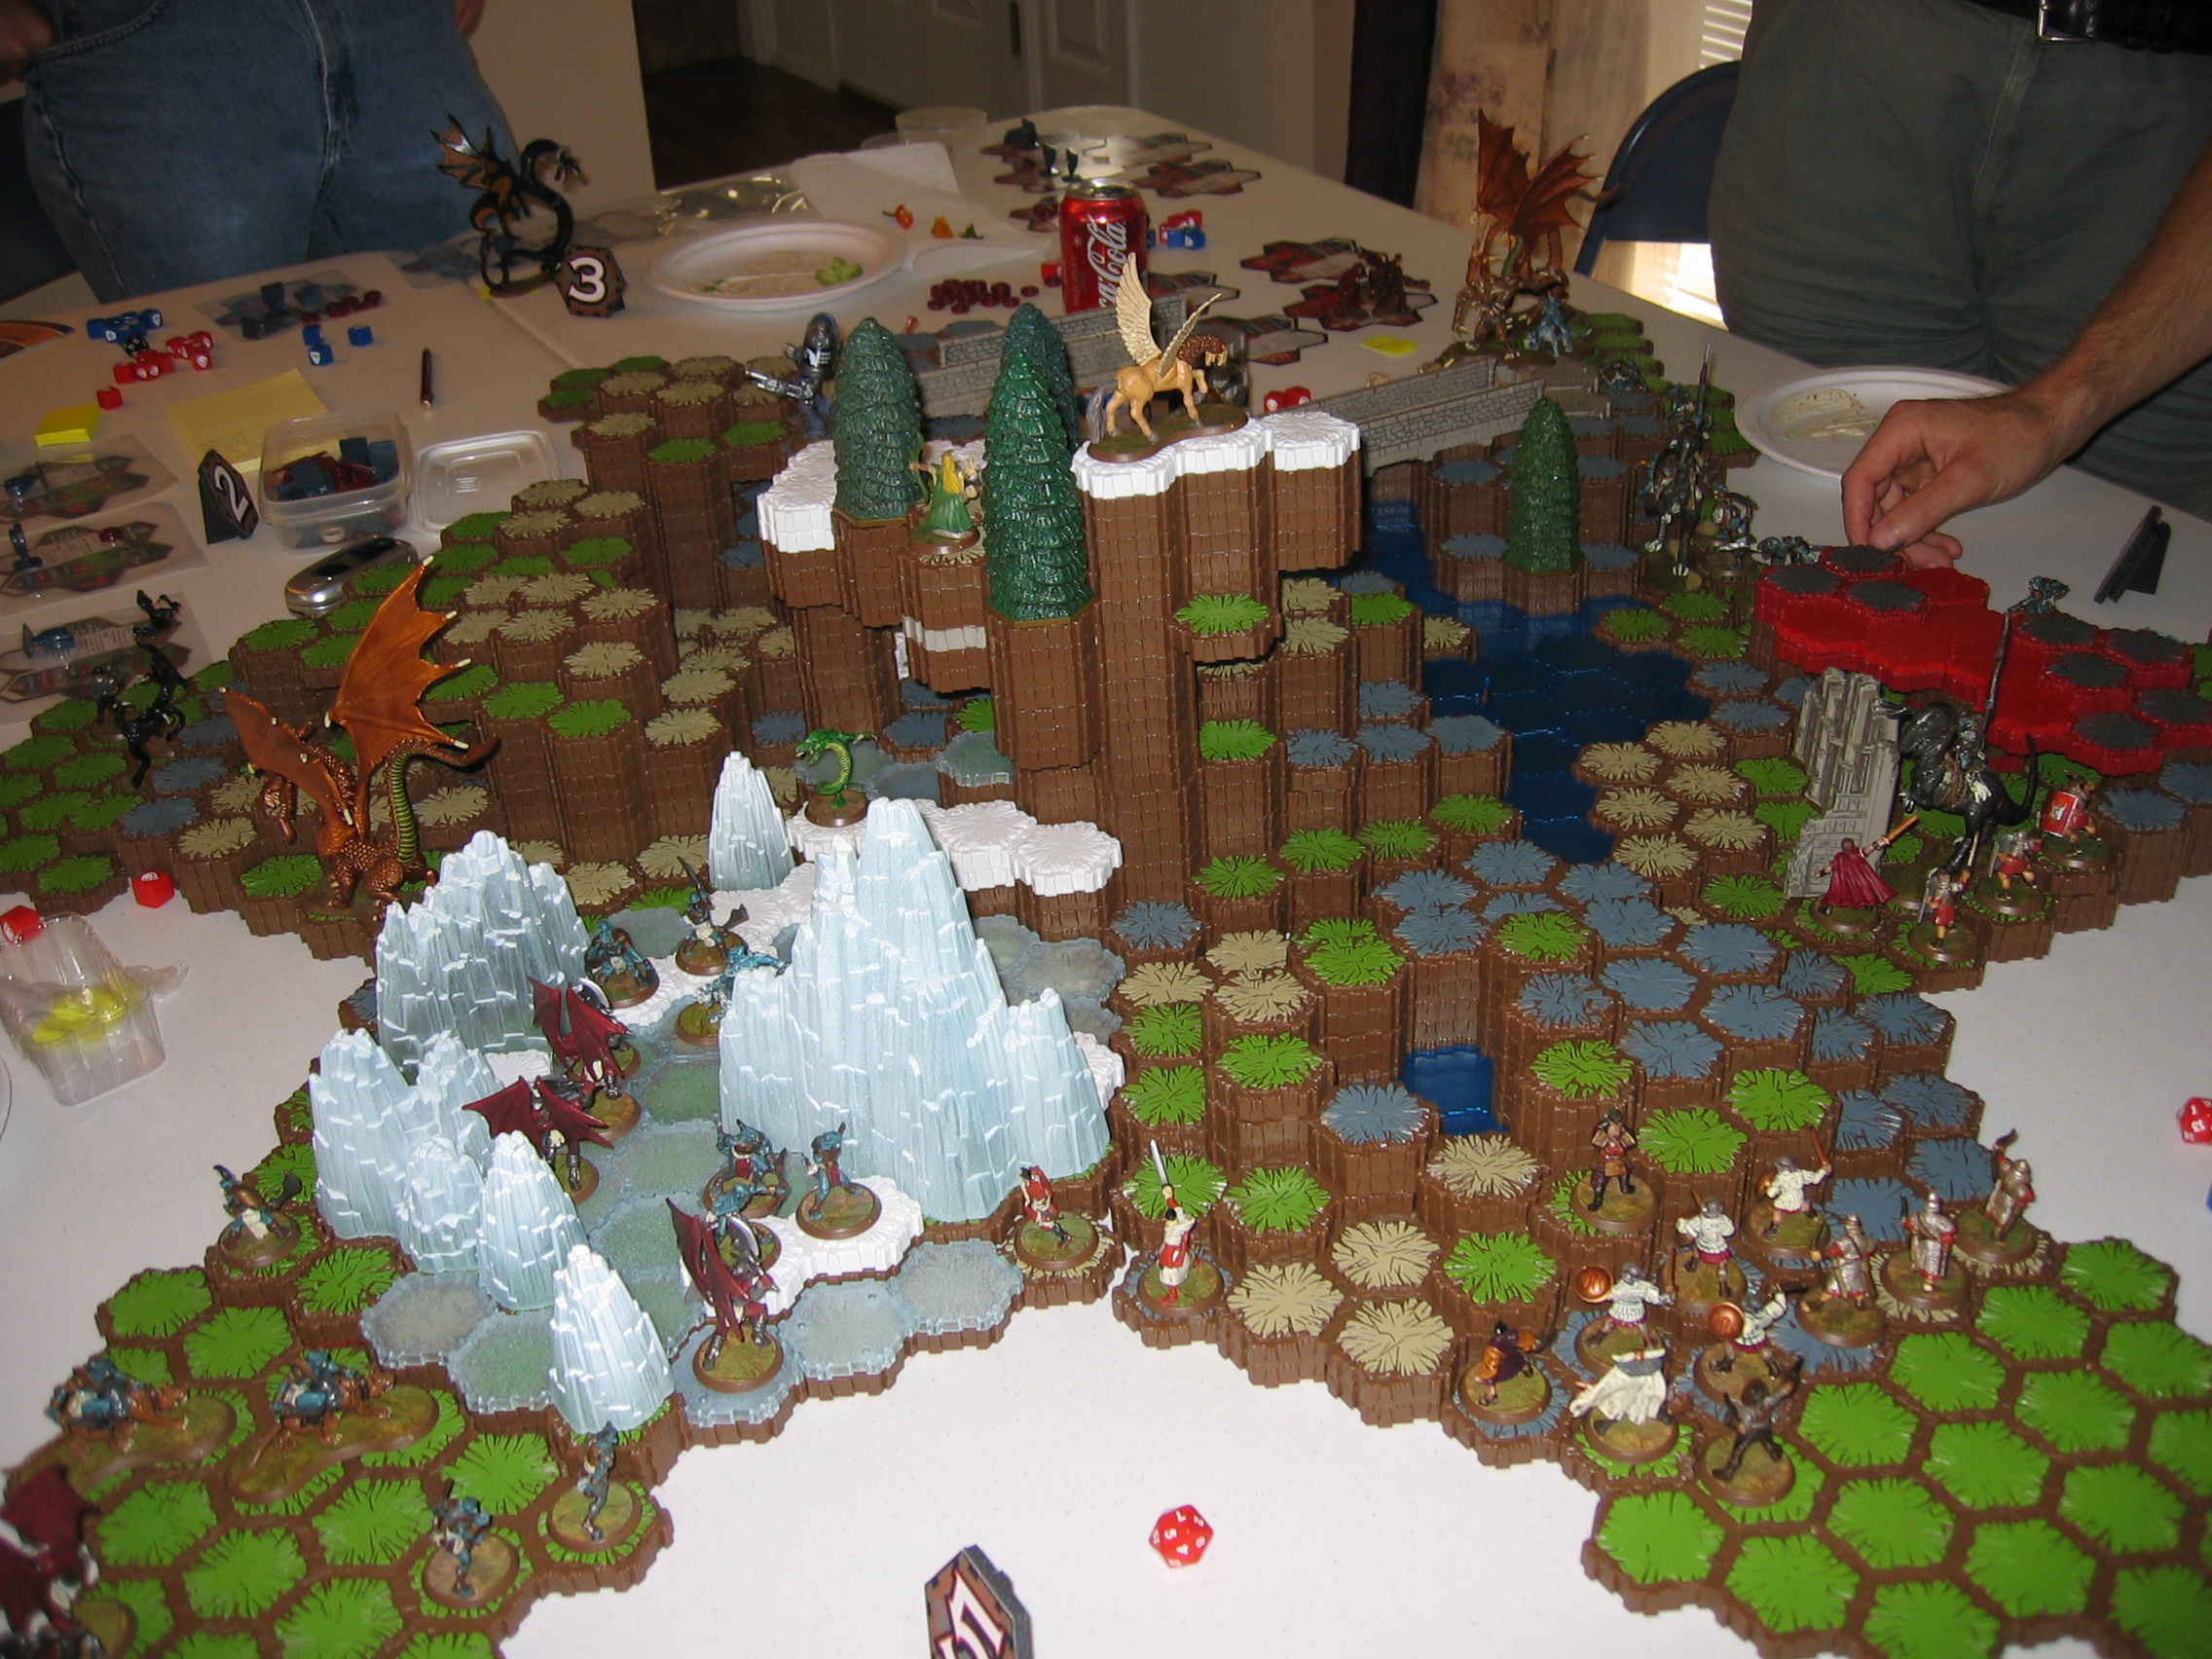
Terrain is not just cosmetic; it is a tactical tool. Choke points allow a smaller force to hold off a larger one by limiting the number of attackers that can engage at once. Similarly, occupying high ground often grants bonuses to range and accuracy in many turn based hex board games, effectively turning a defensive position into a force multiplier.
1.2.3 Basic Formation Principles for Protecting Fragile Units
Always keep your high-damage, low-health units behind a screen of sturdy, high-defense units. By maintaining a tight formation—often referred to as a turtle shell—you ensure that any enemy trying to reach your vulnerable units must first pass through your defensive line, triggering reactions or engagements that shift the momentum in your favor.
1.3 Reading the Terrain and Board Layout
Success in these games requires you to evaluate the map before you make your first move. Recognizing how the environment interacts with unit capabilities is what separates novice players from seasoned tacticians.
1.3.1 How Elevation Changes Impact Action Point Costs
Many systems penalize movement on steep slopes. Climbing a mountain hex might consume two or three times the movement points of flat terrain. Experienced players calculate these costs in advance to avoid stranding units in dangerous, open positions without enough remaining actions to retreat or take cover.
1.3.2 Using Natural Obstacles to Create Defensive Barriers
Rivers, forests, and walls are your best friends when playing defensively. Using a natural obstacle to cover one of your flanks reduces the number of directions from which an enemy can attack you. This allows you to focus your limited action pool on a single front rather than worrying about a surprise assault from the rear.
1.3.3 Navigating Bottlenecks Without Sacrificing Board Control
Bottlenecks are inevitable in complex maps, but they are also traps. Avoid committing your entire force into a narrow passage simultaneously. If you overextend into a bottleneck, you risk being pinned down by a single well-placed enemy unit. Instead, send a scout or a durable unit to bait the entrance, maintaining the bulk of your army in a reserve position where they can respond to changes in the board state.
2. Advanced Strategic Frameworks for Turn Based Hex Board Games
2.1 Predictive Combat and Baiting Techniques
2.1.1 Calculating Maximum Enemy Threat Ranges Accurately
In competitive multiplayer board games, the primary difference between a novice and a veteran is the ability to visualize the “threat zone” of every opponent unit. Because hexagonal grids provide consistent movement in six directions, calculating range is more predictable than on a square grid. You must mentally project every unit’s movement allowance plus their attack reach. If an enemy has a movement of three and a ranged attack of two, their total threat radius is five hexes. Always assume your opponent will make the most optimal move; by subtracting their threat from your current position, you can identify “safe” hexes where you can position your pieces without risking immediate retaliation.
2.1.2 The Art of Using Bait Units to Break Defensive Lines
Breaking a stubborn formation often requires a sacrifice. By intentionally placing a lower-value unit within the enemy’s threat range—but just outside of their kill zone—you can lure them into moving forward. Once they commit to chasing your bait unit, they often leave their own backline exposed or abandon the high-ground advantages they held. This creates a gap in their defensive architecture that your primary force can exploit.
2.1.3 Executing Effective Flanking Maneuvers on Rigid Formations
Flanking in a hex-based system is highly effective because it often negates the front-facing defensive bonuses common in many titles. When an opponent anchors their units in a line, use high-mobility pieces to move to the outer arcs of the hexagonal grid. By forcing the enemy to turn their units to face a new threat, you disrupt their cohesion and prevent them from firing back at your main group. For deeper insights into managing units during these high-stakes engagements, see our guide on mastering squad-based action tactics.
2.2 Macro Management and Tempo Control
2.2.1 Balancing Unit Preservation Against Aggressive Trading
Tempo control is about knowing when to push and when to turtle. Aggressive trading—swapping one of your units for one of theirs—is only beneficial if you maintain a superior board position afterward. If you trade away a defensive anchor, you may find your remaining forces too spread out to withstand a counter-attack. Always calculate whether a trade results in a net gain of board control or if it leaves you vulnerable to a collapse.
2.2.2 Managing Cooldowns and Stamina Within Action Point Systems
Many modern strategy board games utilize an Action Point (AP) or stamina system. Managing these resources requires you to think several turns ahead. Don’t spend your entire pool on minor movements; keep a reserve of AP for reactionary plays. If you burn through your resources early, you lose the ability to dodge or relocate when the board state shifts unexpectedly.
2.2.3 Maintaining Momentum Through Synergistic Unit Composition
Your unit selection should create a cohesive engine rather than a collection of powerful individuals. Look for units that grant passive bonuses to neighbors or those that can pull enemies into range of your heavy hitters. A synergistic force acts as a single entity, making it much harder for your opponent to focus fire on a specific target without being punished by your support units.
2.3 Avoiding Common Tactical Pitfalls
2.3.1 The Dangers of Overextension and Center Vulnerability
The center of the board is often the most contested area, but it is also the most dangerous. Moving into the center without proper support leaves you vulnerable to flanking from multiple angles. It is usually wiser to secure a flank or a specific terrain feature before attempting to control the center. Never move your command units into the heart of the battlefield unless you have a clear extraction route.
2.3.2 Identifying Tunnel Vision and Reevaluating Board States
Tunnel vision occurs when you become obsessed with a single objective, like capturing a specific piece. When you fall into this trap, you ignore the changing board state and the repositioning of enemy reinforcements. Take a moment at the start of every turn to scan the entire board. Ask yourself: “If I move here, what is the best move my opponent can make, and can I counter it?”
2.3.3 Correcting Miscalculations of Movement Path Geometry
Even experienced players occasionally miscount the distance between hexes, especially when dealing with obstacles. Because the geometry of a hex grid can be visually deceptive, always double-check your pathing before finalizing your move. Miscalculating by a single hex can be the difference between reaching cover and standing in the open, often costing you the game. Prioritize clear line-of-sight checks to ensure your tactical plans don’t fail due to a simple geometry error.
Mastering turn based hex board games is a journey of continuous improvement, blending geometric awareness with long-term strategic foresight. By understanding the inherent advantages of hexagonal grids—such as uniform movement and more intuitive line-of-sight rules—you can better position your units to dominate the board. Whether you are navigating complex terrain, managing your action economy, or baiting an opponent into a precarious position, success relies on your ability to read the board state accurately and adapt your tactics on the fly.
Remember that even the most seasoned tactician experiences setbacks. Every match, whether against a computer-controlled opponent or in a high-stakes competitive environment, serves as a valuable lesson in unit composition and resource management. Don’t be discouraged by initial defeats; instead, view them as an opportunity to refine your decision-making process. If you want to dive deeper into the mechanics of probability and risk, check out our guide on dice rolling tactical games to further sharpen your approach to combat outcomes. Keep practicing, stay mindful of your positioning, and you will soon find yourself turning the tide in even the most challenging tabletop battles.