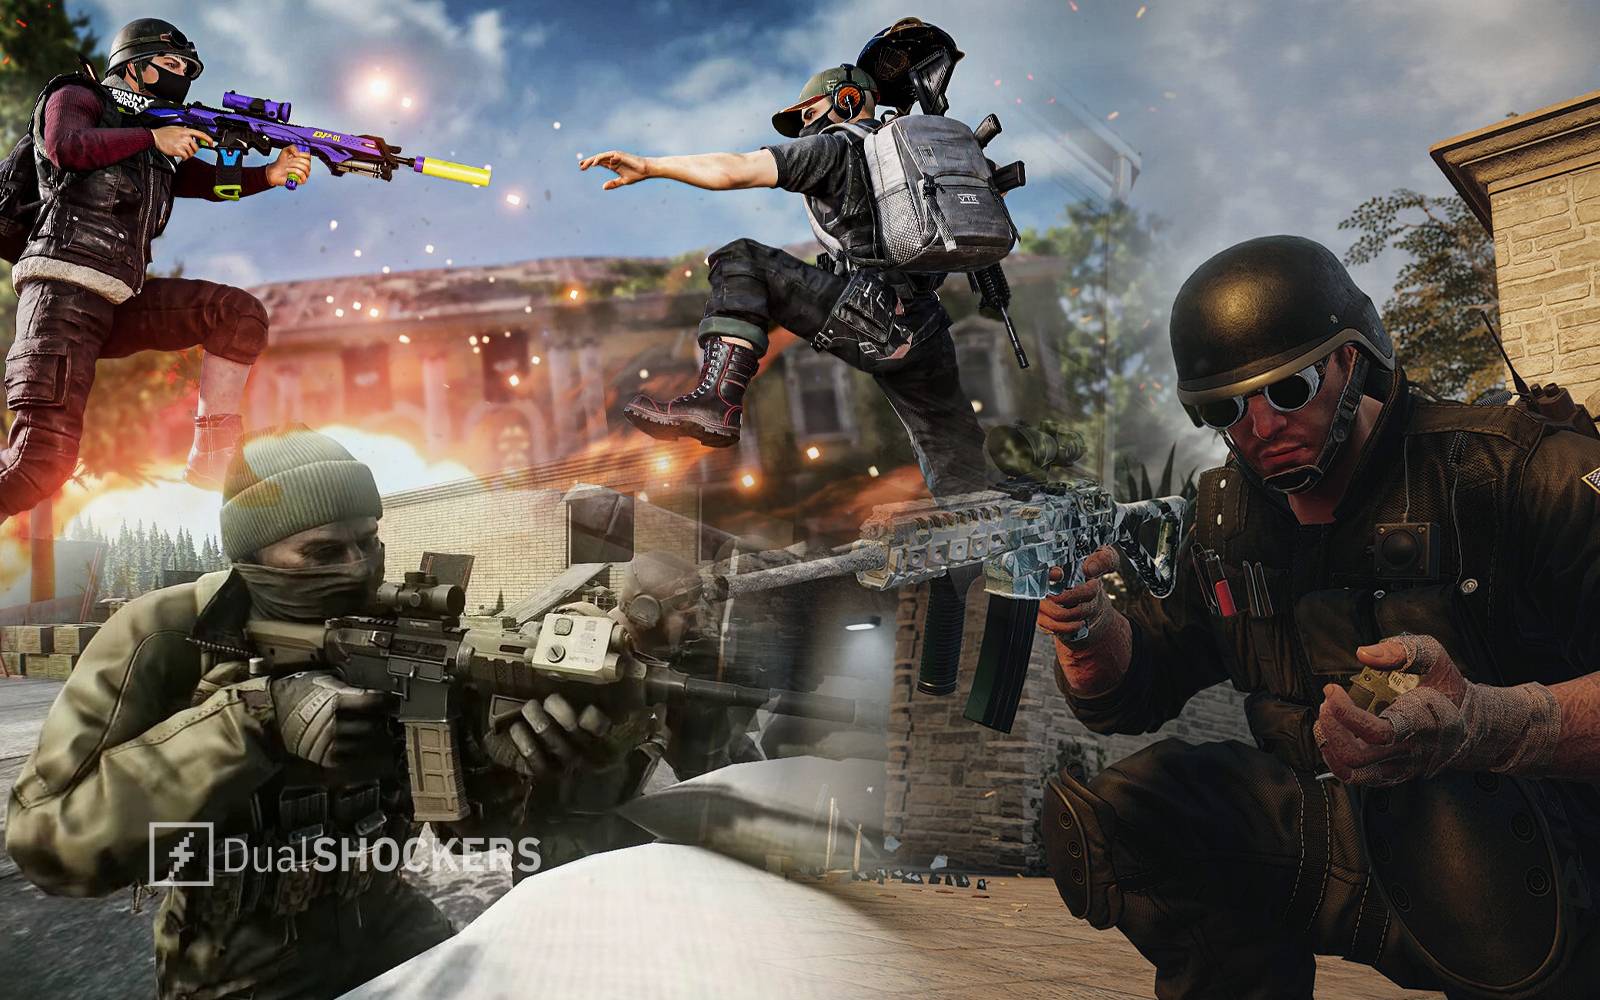
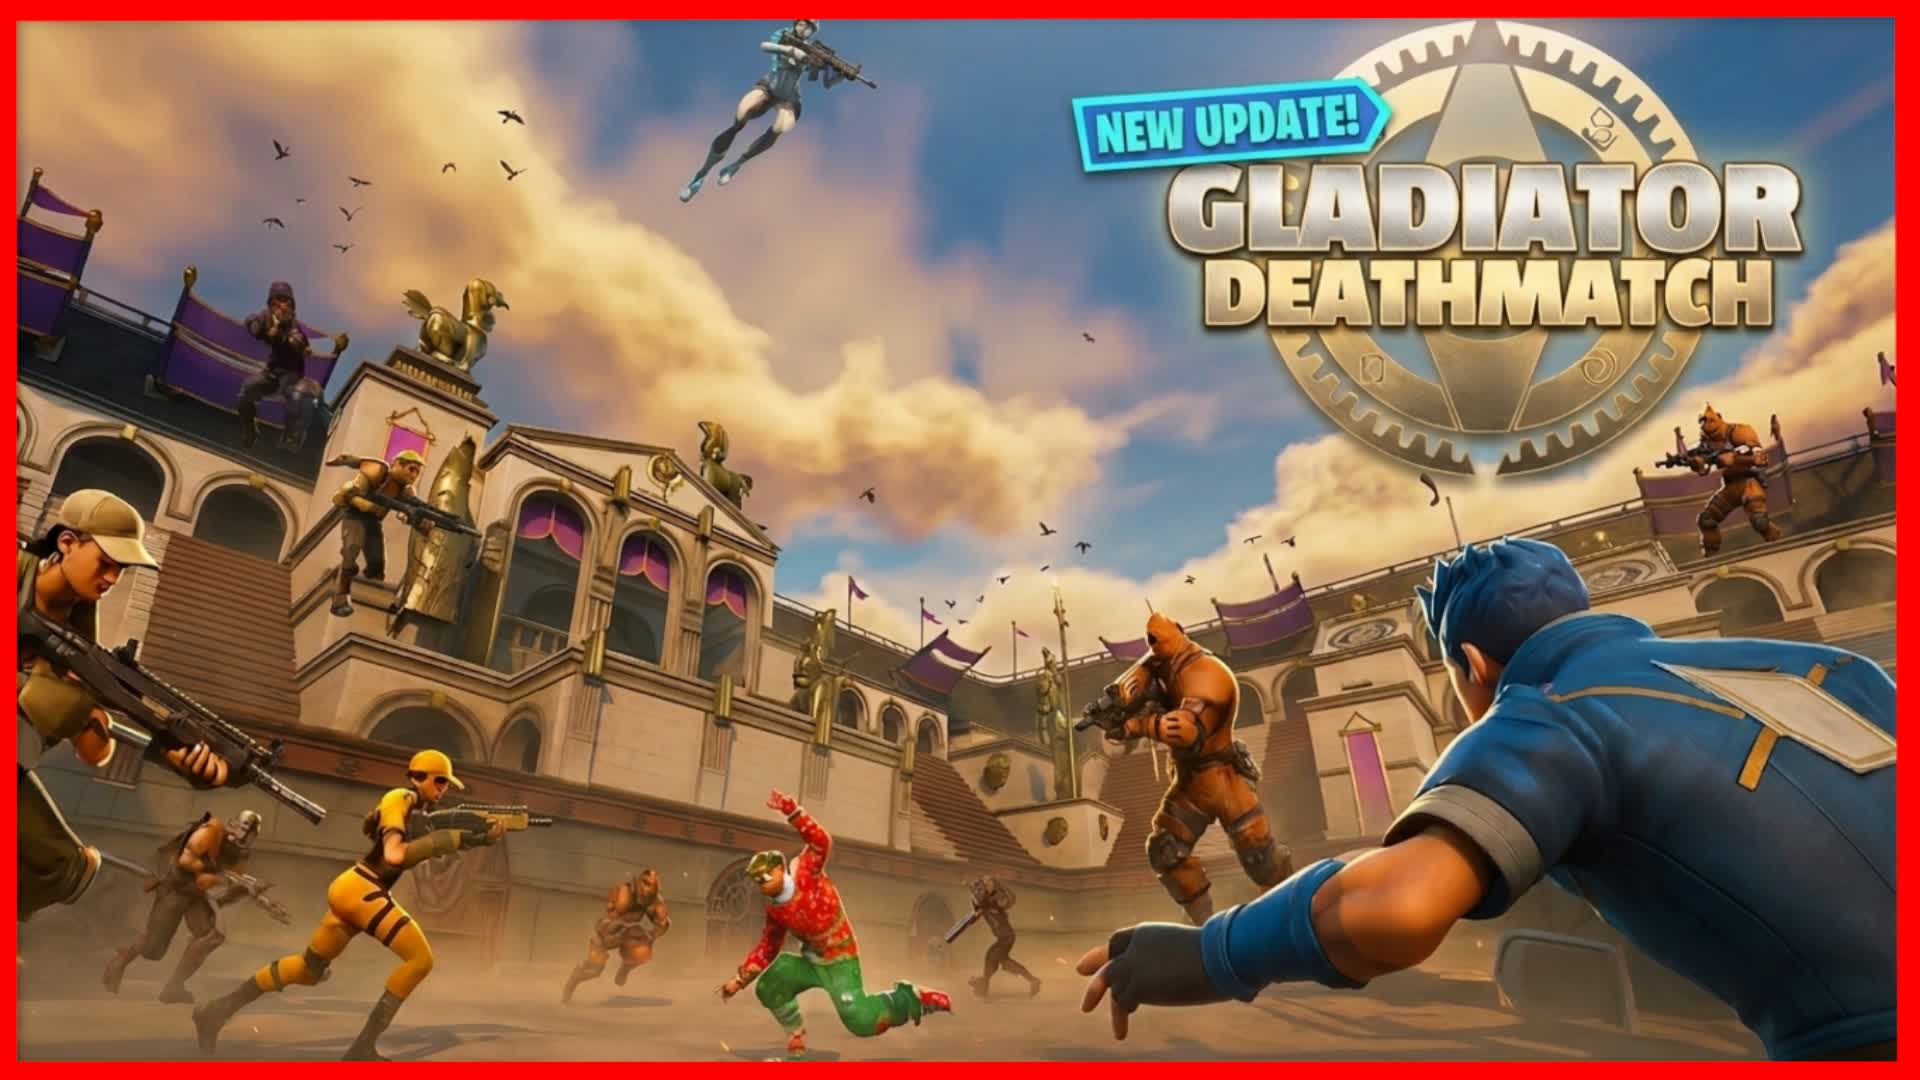
In the high-stakes world of competitive gaming, individual skill is only half the battle. Whether you are navigating intense stealth action missions or holding your ground in a heated arena deathmatch survival scenario, your success depends on how well you work as a cohesive unit. Mastering squad-based action tactics is the definitive bridge between casual play and professional-level performance. It involves more than just having good aim; it requires a deep understanding of synergy, positioning, and the ability to communicate under pressure. By refining your approach to team dynamics and resource management, you can turn a disorganized group into a precision-focused force. In this guide, we will break down the essential frameworks and advanced operational strategies needed to dominate the battlefield. You will learn how to leverage your team’s unique strengths, execute coordinated maneuvers, and maintain the mental resilience required to stay calm when the match is on the line, whether you are playing multiplayer tactical ops or modern hero-based shooters.
1. Essential Frameworks for Squad-Based Action Tactics
1.1 Building Cohesive Team Compositions
1.1.1 Defining Role Archetypes: Tank, Support, and DPS Dynamics
Building a balanced team starts with understanding core archetypes. The “Tank” serves as the frontline anchor, absorbing pressure and creating space, while the “Support” player acts as the team’s lifeline, providing heals, buffs, or utility. The “DPS” (Damage Per Second) roles are responsible for capitalizing on the space created by the Tank to secure eliminations. For those interested in how these roles interact in high-intensity environments, understanding the specific hero ability combat games mechanics is crucial for success.
1.1.2 Balancing Utility Versus Raw Damage Output
A common pitfall in team-building is prioritizing raw damage over utility. While high-damage characters can clear waves quickly, teams that lack utility—such as crowd control, movement speed buffs, or vision—often struggle against organized opponents. Success usually comes from balancing your squad’s offensive output with enough utility to manipulate the battlefield in your favor.
1.1.3 Adapting Loadouts for Synergistic Combo Potential
True synergy is achieved when individual abilities overlap to create a result greater than the sum of their parts. When choosing loadouts, think in sequences. For example, a support character who applies a debuff to slow enemies becomes the perfect partner for a teammate with area-of-effect abilities. By coordinating loadouts, you turn simple individual attacks into devastating team-wide combos.
1.2 Mastering Tactical Movement and Battlefield Control
1.2.1 Understanding Spacing to Minimize Area-of-Effect Vulnerability
Clustering together might seem intuitive for team protection, but it often makes your squad a prime target for explosives or area-of-effect abilities. Maintaining “loose spacing”—where teammates are close enough to provide cover but far enough to avoid taking simultaneous damage—is a hallmark of skilled play.
1.2.2 Executing Coordinated Flanking Maneuvers and Pinching
Predictable attacks are easily countered. By splitting into two groups to execute a pinch, you force your opponents to split their focus. Even if one half of your squad doesn’t land a kill, the pressure forces enemies into poor positioning, allowing your other teammates to secure the objective.
1.2.3 Prioritizing Power Positions Over Individual Kill Chasing
Many players lose matches because they abandon advantageous ground to chase a single retreating enemy. Prioritize holding “power positions”—elevated terrain, choke points, or objective markers—rather than greedily chasing kills. Controlling the map’s geometry is far more effective for long-term victory than securing a high personal elimination count.
1.3 Communication Protocols for High-Stakes Coordination
1.3.1 Implementing the Three-Second Rule for Concise Callouts
Communication should be instant and digestible. Adopt the “three-second rule”: if your callout takes longer than three seconds to explain, it is too complex for the heat of battle. Keep messages short, such as “Focus Mercy, low health, on point.”
1.3.2 Standardizing Terminology for Enemy Marking and Threat Prioritization
Use a shared dictionary for callouts to avoid confusion. Whether it is identifying specific enemy locations or assigning threat levels (e.g., “Priority Target”), every player should understand the terminology instantly. Consistency reduces hesitation, which is vital for fast-paced reflex action scenarios.
1.3.3 Optimizing Non-Verbal Communication via Pings and HUD Markers
Even with clear voice comms, in-game pings are essential for precision. A visual marker on the HUD is often more effective than a verbal description like “over there.” Use your game’s ping system to highlight flankers or objective markers, allowing teammates to react instantly without cluttering the voice channel.
2. Advanced Operational Strategies for Squad-Based Action Tactics
2.1 Combat Maneuvers and Defensive Execution
2.1.1 Leveraging Covering Fire to Enable Teammate Repositioning
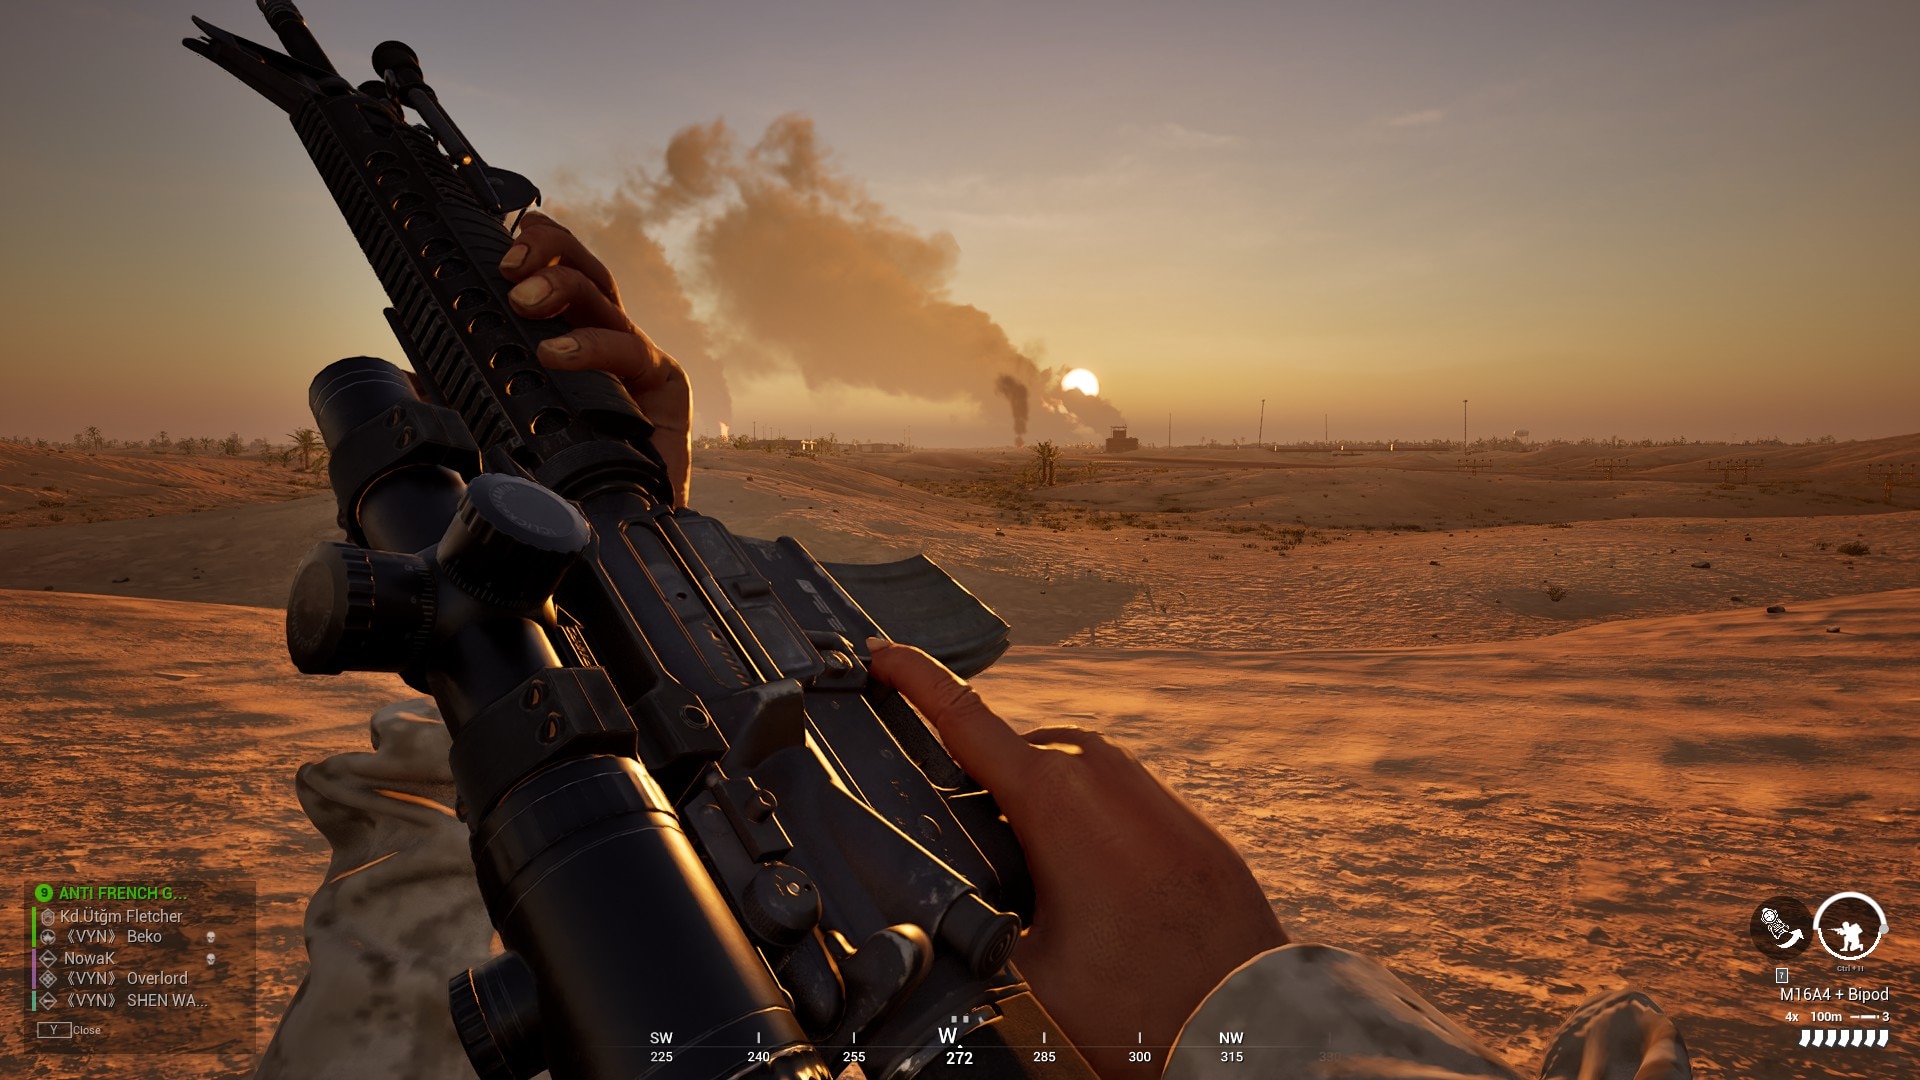
Effective squad-based action tactics rely on the understanding that movement and suppressive fire are two sides of the same coin. When a teammate needs to reach a safer position, the rest of the squad must maintain high-pressure fire on enemy sightlines. This isn’t just about outputting raw damage; it is about forcing the opposition to stay behind cover, effectively pinning them down while your ally maneuvers. By alternating bursts of fire, you ensure there is never a lull that allows the enemy to peek or push, creating a safe window for your team to regroup or flank.
2.1.2 Recognizing Tactical Tipping Points for Controlled Retreats
Knowing when to push is important, but knowing when to pull back is what separates high-level players from the rest. Tactical tipping points—such as the loss of a key player or the depletion of vital defensive cooldowns—are clear signals that your position has become untenable. A controlled retreat requires the squad to move in a leap-frog pattern, where one or two members provide suppressive fire while the others move back to a secondary defensive line. Avoiding a panicked scramble is essential to maintaining enough group integrity to re-engage later.
2.1.3 Establishing Zones of Control to Dictate Engagement Flow
Instead of chasing individual kills, professional squads focus on establishing zones of control. By occupying key map architecture, you force the enemy to move through specific corridors where your team holds the advantage. Whether it is controlling high ground or blocking access to objective points, these zones limit enemy movement options. If your team operates as a cohesive unit within these zones, you can easily handle incoming threats using coordinated crossfires that turn any multiplayer tactical ops encounter into a favorable trade.
2.2 Economic and Resource Management in Team Play
2.2.1 Synchronizing Ability Cooldowns and Ultimate Abilities
Victory in modern titles often hinges on the deliberate use of hero ability combat games mechanics. Squads that chain their ultimates together—such as pairing a crowd-control effect with an area-of-effect damage ability—can wipe out superior numbers in seconds. Timing is everything; you must avoid “overlapping” powerful abilities that serve the same purpose. By cycling through your team’s cooldowns systematically, you ensure the squad always has an answer for an enemy push, preventing the team from being left defenseless during critical phases of the match.
2.2.2 Managing Shared Team Resources Based on Match Momentum
Resource management extends beyond just ability timers. Whether you are dealing with ammunition, healing supplies, or in-match currency, these should be distributed based on who can best influence the current game state. If a teammate is on a streak or holds a critical defensive role, they should receive priority for shared resources to maintain your team’s momentum. Keeping an eye on the group’s collective health and utility pool ensures that you don’t overextend, allowing you to sustain your pressure even when supplies are scarce.
2.2.3 Strategic Inventory Allocation for Maximum Group Survivability
Inventory management must be a team-wide strategy rather than an individual preference. If your squad carries redundant specialized gear, you lose flexibility in responding to changing threats. A balanced loadout—where some players focus on sustained fire and others on crowd control or utility—maximizes your survival chances. Periodically checking in with teammates to trade items or cover gaps in your collective loadout ensures the squad is prepared for various combat scenarios, from close-quarters skirmishes to long-range engagement holdouts.
2.3 Cultivating Team Longevity and Mental Resilience
2.3.1 Developing Composure During High-Stress Situations
High-intensity gameplay often leads to rapid, emotional communication, which inevitably causes mistakes. Developing “composure under fire” is a learned skill that involves lowering your voice and focusing on clear, objective data during a chaotic fight. When the squad remains calm, it becomes easier to spot enemy openings and execute fast-paced reflex action maneuvers without stumbling. A stoic approach to losses allows the team to pivot instantly without the negative impact of frustration affecting your tactical decision-making.
2.3.2 Analyzing Squad VODs to Identify Communication Breakdowns
The most effective way to improve is by reviewing recorded gameplay. During these reviews, focus specifically on moments where communication failed. Did someone fail to call out a flanker? Was the timing of an engagement off? By objectively looking at these VODs, you can strip away the emotion of the moment and identify systemic issues. Addressing these gaps in your communication protocols ensures that your squad evolves, turning past failures into concrete action plans for future matches.
2.3.3 Building Long-Term Rapport and Synergy with Consistent Teammates
Finally, the intangibles of team chemistry cannot be overstated. Playing with the same group consistently allows for the development of non-verbal synergy, where players intuitively know where their teammates are positioned without needing a constant stream of updates. This rapport helps in adapting to stealth action missions or sudden shifts in strategy. Cultivating a positive, learning-oriented team culture ensures that everyone remains motivated, leading to more consistent performance and long-term success in even the most challenging competitive landscapes.
Mastering squad-based action tactics is less about raw individual skill and more about the harmony of your team’s collective movement, communication, and resource management. By focusing on cohesive role archetypes, maintaining disciplined communication protocols, and understanding the ebb and flow of battlefield control, you transform from a group of independent players into a synchronized force capable of dominating high-stakes environments. Remember that even the most mechanically gifted players will fall if they lack the strategic foresight to prioritize positioning and team-wide synergy.
As you continue to refine your gameplay, keep in mind that adaptability is your greatest weapon. Whether you are navigating intense multiplayer tactical ops or adjusting to the shifting pressures of a competitive match, the ability to analyze your performance and build long-term rapport with your teammates will ultimately dictate your success. Take the time to review your VODs, standardize your callouts, and cultivate mental resilience. With practice, these advanced operational strategies will become second nature, allowing your squad to dismantle opponents through superior coordination and tactical intelligence.