
A crack, chip, or small hole in a fiberglass tub can look like the opening scene of an expensive bathroom renovation. Fortunately, many localized problems can be repaired without removing the entire fixture. With the correct fiberglass repair kit, careful surface preparation, and enough patience to respect the curing time, a DIY patch can be strong, waterproof, and surprisingly difficult to spot.
The important word is localized. A small impact chip is very different from a shower pan that flexes, leaks, or has several cracks radiating from the drain. This guide explains how to repair minor fiberglass damage while also identifying the situations that belong in professional hands.
Can Your Fiberglass Tub or Shower Be Repaired?
Fiberglass fixtures are made from glass-fiber reinforcement combined with resin and covered by a smooth surface layer, often gelcoat. Damage limited to that finish or a small section of the reinforced shell is frequently repairable.
Common DIY candidates include:
- Fine surface scratches
- Small chips and shallow gouges
- Short hairline cracks with no movement
- Small punctures with solid material around them
- Localized worn spots in the gelcoat
Stop using the fixture and call a qualified repair technician or plumber if the damage leaks, crosses the drain opening, involves a large soft area, or returns after a previous repair. Multiple floor cracks often indicate movement or inadequate support beneath the tub or shower pan. Covering that problem with filler is cosmetic camouflage, not a lasting fiberglass shower repair.
Tools and Materials
Choose a kit specifically labeled for fiberglass tubs or showers. Confirm that it can repair your type and size of damage, and check whether it contains resin, hardener, filler, reinforcing cloth, colorant, finishing compound, and sandpaper.
- Fiberglass tub repair kit compatible with the fixture
- Fiberglass cloth or mat for holes and structural cracks
- Nonabrasive bathroom cleaner and clean water
- Lint-free cloths and tack cloth
- Wet/dry sandpaper in the grits specified by the kit
- Disposable mixing cups, stir sticks, and applicator
- Utility knife or small rotary tool, if instructed
- Painter’s tape and plastic sheeting
- Safety glasses, chemical-resistant gloves, and protective clothing
- NIOSH-approved particulate respirator for sanding dust
- Manufacturer-recommended protection for resin vapors
- Bathroom-rated silicone caulk, if a joint must be resealed
Ventilate the room as directed by the product label. A dust respirator filters particles but may not protect against chemical vapors, so do not assume one mask handles every hazard. Keep children, pets, flames, and ignition sources away from the work area.
How to Repair a Fiberglass Tub or Shower in 15 Steps
1. Confirm the Fixture Material
Fiberglass, acrylic, cultured marble, porcelain, and composite fixtures can look frustratingly similar. Check the model label, installation paperwork, or manufacturer’s website. Fiberglass commonly has a thin gelcoat finish over a reinforced shell, and the unfinished backside may show a rough, fibrous texture.
Do not rely solely on tapping the tub and deciding it “sounds plastic.” That is less material identification and more bathroom percussion.
2. Classify the Damage
Inspect the area under bright light. Determine whether you have a surface scratch, gelcoat chip, narrow crack, puncture, or soft section. Mark the ends of a crack with removable tape so you can see its full length.
Check the ceiling or floor beneath the bathroom for moisture when accessible. Water staining, swelling, or mold suggests that the damage is more than cosmetic.
3. Decide Whether DIY Repair Is Appropriate
A stable chip or short crack may be suitable for a home fiberglass bathtub repair kit. Professional help is safer when the shell feels soft, the crack opens under gentle pressure, plumbing is damaged, or the hole is larger than the kit’s stated limit.
Manufacturer warranty coverage is another reason to pause. An unauthorized repair could affect the warranty, so contact the manufacturer before grinding or drilling a relatively new fixture.
4. Choose a Compatible Repair System
Select a complete system designed for wet bathroom surfaces and compatible with fiberglass or gelcoat. Kits may use polyester resin, epoxy, or another two-part compound. Do not casually mix resin, filler, primer, and topcoat from unrelated systems because adhesion and curing chemistry can differ.
Color matters too. “White” tubs come in snow, biscuit, bone, almond, and several shades best described as “the landlord special.” Obtain a factory color code when possible, or test the mixed tint on a disposable surface before applying it.
5. Prepare Yourself and the Room
Put on safety glasses, suitable gloves, long sleeves, and the respiratory protection specified for the task. Open windows and arrange exhaust ventilation according to the product instructions. Do not aim a fan so strongly that it blows sanding dust through the house.
Protect faucets, tile, flooring, and nearby surfaces with plastic and painter’s tape. Resin is wonderfully committed once it lands somewhere it was never invited.
6. Take the Fixture Out of Service
Do not use the tub or shower during the project. Shut off nearby water controls if accidental activation is possible, and dry the fixture completely. Remove standing water from the drain area and allow hidden moisture in a crack to evaporate.
If the damage has been leaking, the surrounding structure may need substantially longer to dry. Repairing over trapped moisture can weaken adhesion and conceal deterioration.
7. Check for Movement and Missing Support
Apply only light pressure around the damaged spot. Noticeable flexing means the shell may lack support underneath. Floor cracks often return when the tub or shower pan continues to move under a person’s weight.
Do not inject random expanding foam beneath the fixture unless its manufacturer approves that method. Some foams expand forcefully enough to distort a tub or lift a shower base. Correcting the support may require access from below or help from an experienced installer.
8. Remove Caulk, Hardware, and Loose Material
If caulk crosses the repair zone, cut it away carefully. Remove nearby trim or hardware only when necessary and when you understand how to reinstall and seal it. Never grind into plumbing concealed behind the shell.
Use a sharp blade or the tool recommended by the kit to remove peeling gelcoat and weak, fractured material. Stop when the edges are solid. A durable patch needs a trustworthy surface, not a loose fragment wearing a resin hat.
9. Wash and Degrease the Surface
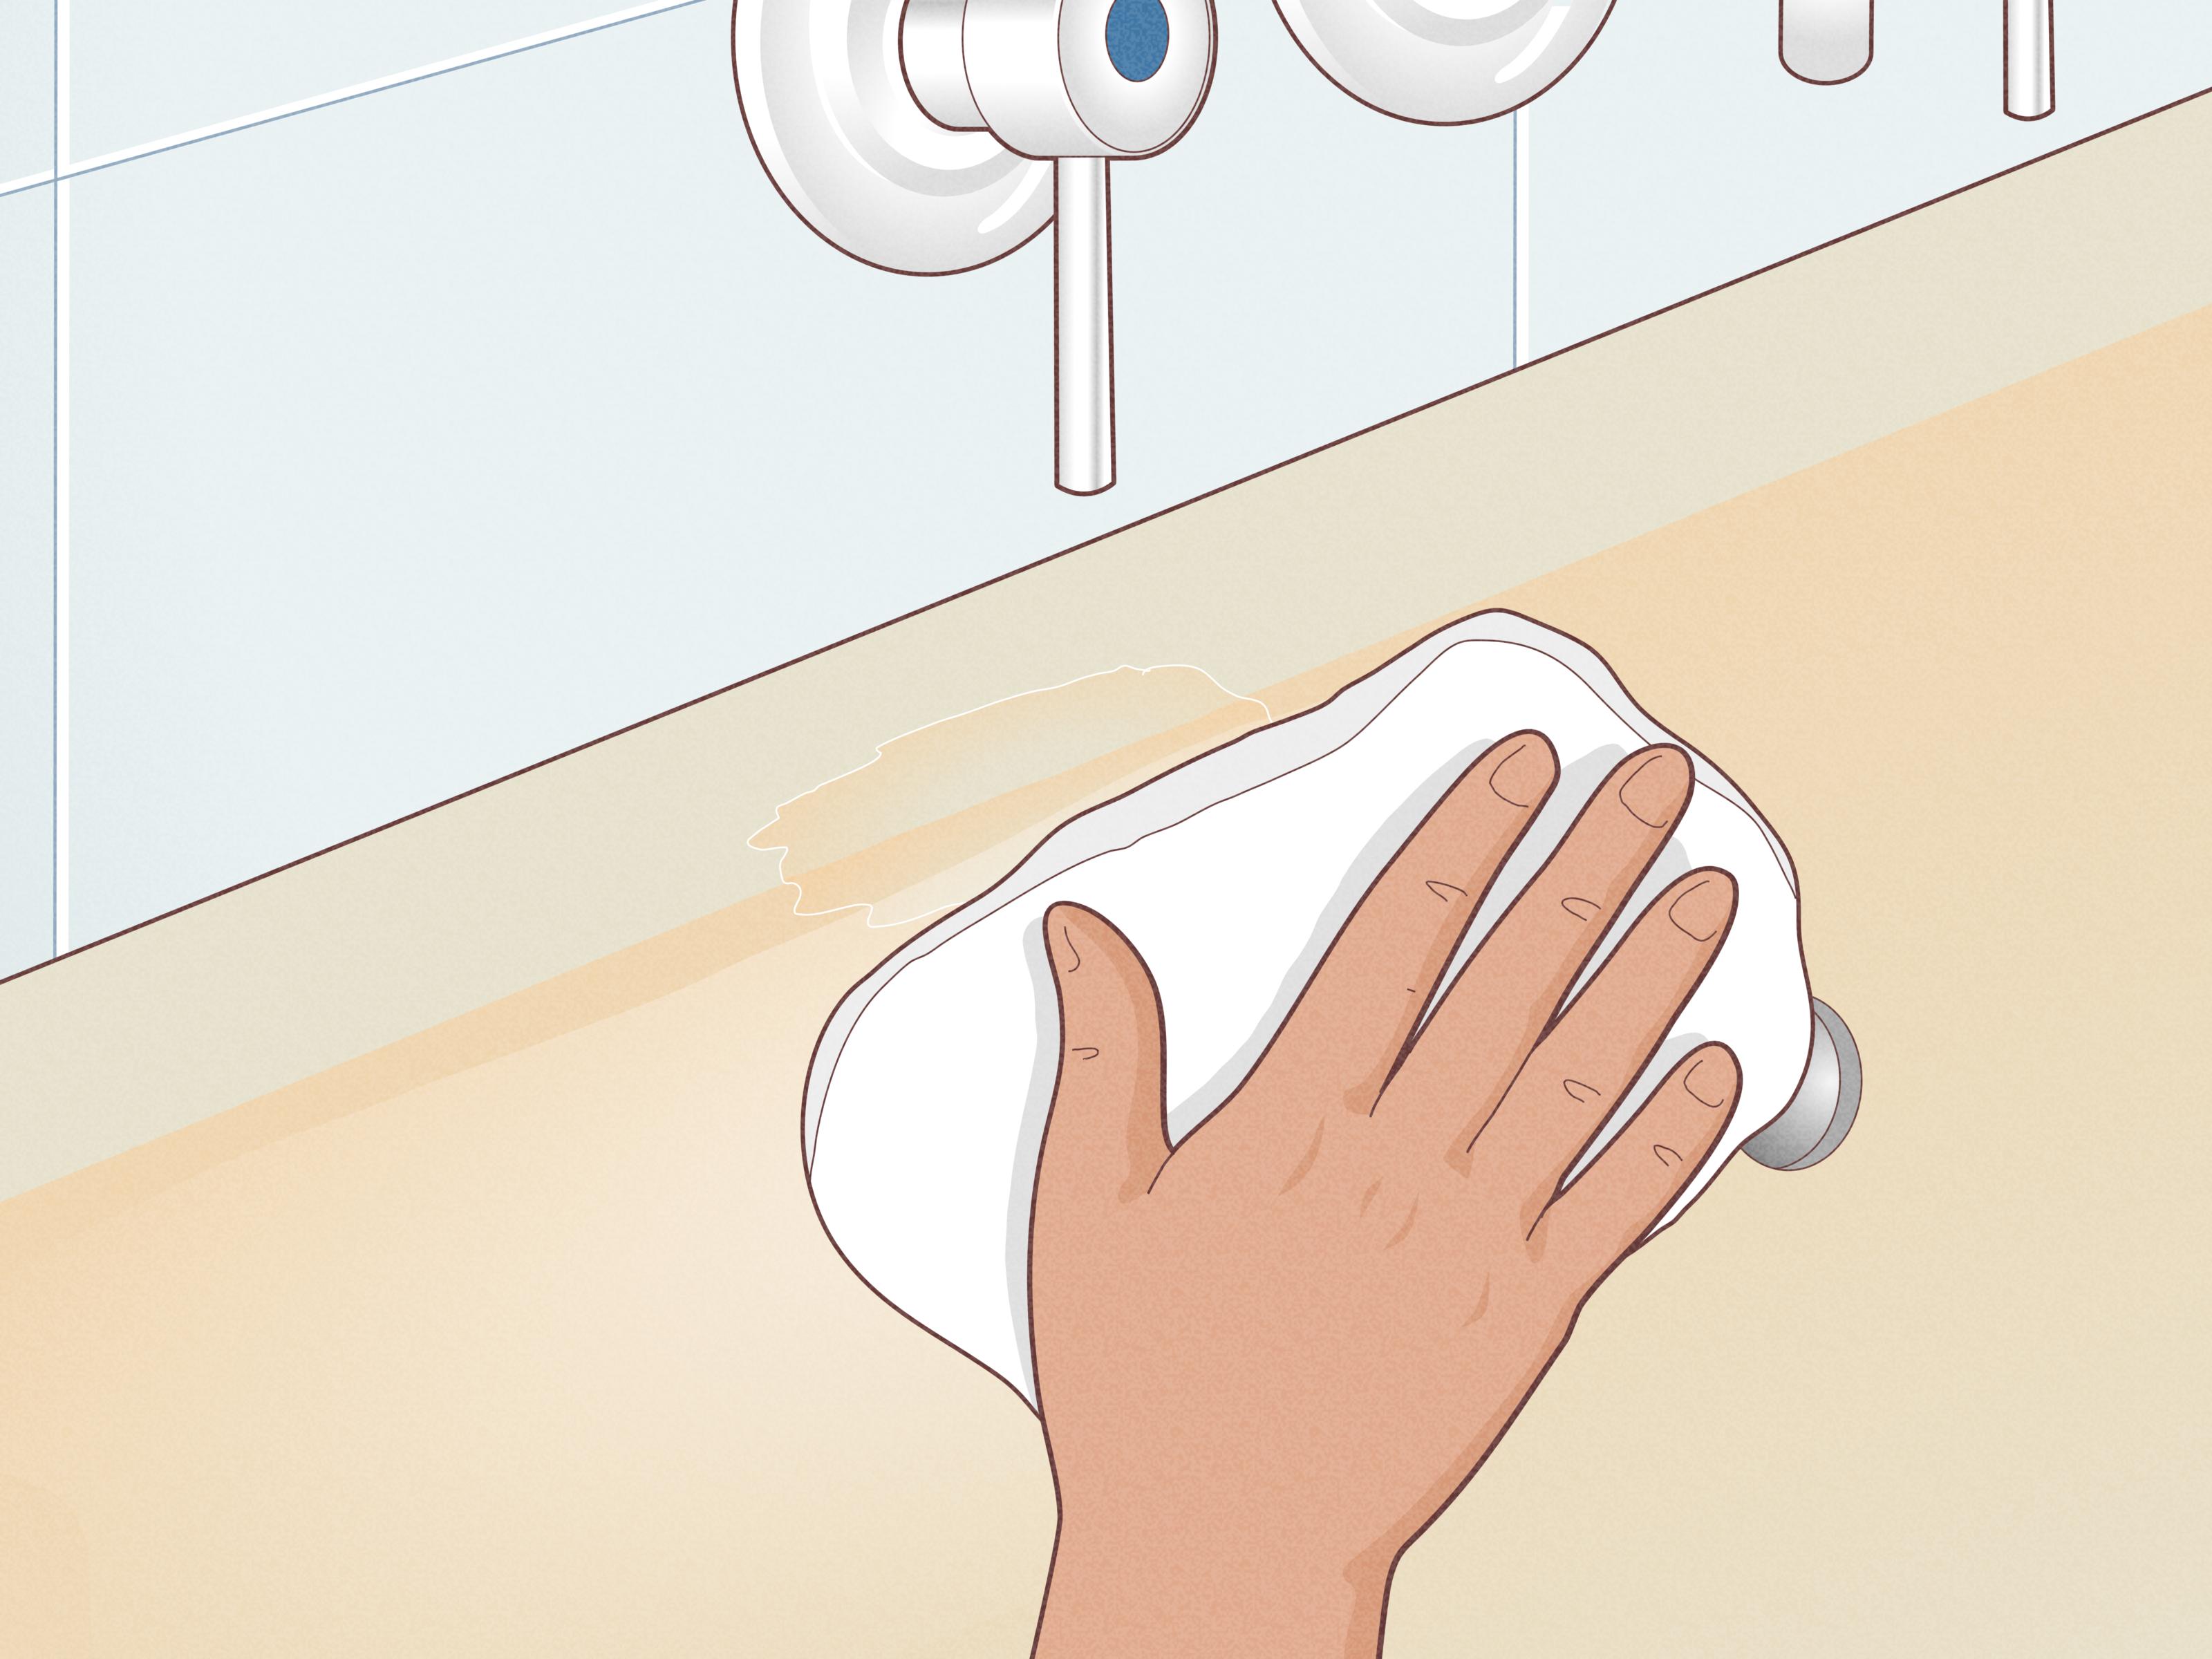
Clean away soap scum, oils, wax, body-care residue, and mildew with a product safe for fiberglass. Rinse thoroughly and dry with lint-free cloths. Contamination is a leading reason repair compounds fail to bond.
Use a solvent only if the repair-kit and fixture manufacturers approve it. Acetone, lacquer thinner, alcohol, and petroleum-based cleaners can damage some finishes or conflict with a repair system. More aggressive does not automatically mean more effective.
10. Open and Shape the Damaged Area
When the kit requires it, carefully bevel a crack or gouge into a shallow V-shaped channel. This removes weak edges and creates room for the repair compound. Keep the preparation zone controlled; the goal is to expose sound material, not excavate a decorative canyon.
Some repair procedures recommend drilling tiny stop-holes at the ends of a penetrating crack. Do this only when the fixture manufacturer or chosen kit specifically instructs it. A misplaced drill bit can enlarge the problem or reach pipes and wiring.
11. Sand the Repair Zone
Sand the damaged area and the specified surrounding margin to create a surface the resin can grip. Fiberglass resin instructions may call for coarse paper around a structural repair, while cosmetic gelcoat systems may require much finer wet sanding. Follow the grit sequence supplied with your product.
Use light, even pressure and avoid cutting unnecessarily through intact gelcoat. Vacuum or wipe away dust without spreading it through the bathroom. Clean the surface again as directed and let it dry completely.
12. Add Backing or Fiberglass Reinforcement
A shallow chip may need filler only, but a hole or through-crack commonly requires fiberglass cloth or mat. When backside access is available, a reinforced patch can often be applied from behind while the visible face is kept level.
Otherwise, cut the cloth to the dimensions specified by the kit, typically overlapping sound material around the damage. Precut every layer before mixing resin. Once the hardener enters the cup, the repair clock starts ticking and is not known for granting extensions.
13. Measure, Mix, and Apply the Resin
Measure resin and hardener exactly as directed. Mix small batches in a clean, compatible container, scraping the sides and bottom until the material is uniform. Guessing the ratio can produce a patch that stays sticky, cures too quickly, or never reaches full strength.
Work the resin into the prepared crack or hole. For a reinforced repair, wet the surface, place the fiberglass cloth, and dab additional resin through it until saturated. Push out air pockets without dragging the fibers out of position. Build thin controlled layers rather than one heroic blob.
14. Fill, Sand, and Match the Finish
After the structural layer reaches the stage specified by the manufacturer, apply compatible filler or finishing resin. Slightly overfill low areas to allow for sanding and shrinkage, but keep the mound modest. Excess filler creates excess sanding, and excess sanding creates new scratches.
Let the material cure, then level it with progressively finer wet/dry sandpaper. Feather the perimeter into the surrounding surface. Apply color-matched gelcoat or topcoat in thin layers, following all recoat intervals. Finish with the supplied polishing compound only after the coating is ready.
15. Allow a Full Cure, Test, and Recaulk
Respect the complete cure timenot merely the time at which the patch feels dry. Depending on the repair system, temperature, humidity, and coating thickness, water exposure may need to wait from several hours to several days.
Reinstall hardware and apply bathroom-rated caulk where required. Allow the caulk to cure as directed. Test the repair first with a modest amount of water, watch for leakage, and inspect the area afterward. If the crack moves, darkens, or reappears, stop using the fixture and arrange a professional assessment.
How to Make the Repair Last
Clean the restored area with nonabrasive products approved for fiberglass. Avoid metal scrubbers, harsh powders, and tools that can cut the gelcoat. Repair failing caulk promptly so water cannot travel behind the enclosure.
Use a bathmat only if the fixture manufacturer approves it. Suction-cup mats and adhesive accessories can stain or stress some finishes. Most importantly, investigate any returning crack instead of repeatedly coating it. A recurring line usually means the fixture is moving or the original cause remains.
Lessons From Real-World Fiberglass Tub and Shower Repairs
The smallest-looking crack can reveal the biggest issue. A common DIY experience begins with a two-inch line in the tub floor and ends with the discovery that the surrounding area flexes underfoot. The first patch may look flawless, yet the crack returns because every shower bends the shell. The practical lesson is to test for movement before opening the repair kit. If the base shifts, correcting its support is part of the repairnot an optional sequel.
Surface preparation takes longer than application. First-time repairers often expect to spend an afternoon spreading resin. In reality, most of the work involves cleaning, drying, removing fractured edges, masking, sanding, and cleaning again. The actual application can take only minutes because two-part compounds have limited working time. A repair that survives years usually begins with unglamorous preparation. The glossy topcoat gets the compliments, but the clean, properly abraded substrate did the heavy lifting.
Mixing too much material creates unnecessary panic. Two-part resin can appear relaxed in the cup and then thicken with impressive enthusiasm. A large batch may harden before the cloth is positioned, encouraging rushed work and trapped air. Experienced repairers organize every tool, precut the reinforcement, and rehearse the placement before mixing a small batch. If another layer is needed, they prepare a fresh batch according to the permitted recoat schedule.
Color matching is often harder than structural patching. A repair can be perfectly waterproof and still resemble a white sticker on a cream tub. Old fiberglass also changes color as it ages, so the original factory shade may no longer match exactly. Testing tint, using thin finish coats, and feathering the repair outward can make the transition less obvious. It also helps to judge color under the bathroom’s normal lighting; bright work lamps have a talent for making every shade look innocent.
Patience during curing protects all the earlier work. One of the most frustrating experiences is watching a smooth patch turn cloudy, dented, or soft because someone used the shower too soon. “Dry to the touch” does not necessarily mean waterproof or fully cured. Cool rooms and high humidity can slow the process. Many successful DIYers schedule the repair before a trip or when a second bathroom is available, removing the temptation to negotiate with chemistry.
A nearly invisible repair is built in thin stages. Beginners often apply extra filler because sanding seems easier than adding another coat. That strategy can create a raised island surrounded by scratches. Thin layers offer better control and generally produce fewer pinholes and less heat during curing. Careful wet sanding through the recommended grits then blends the patch into the original gelcoat.
Knowing when to stop is a genuine repair skill. If grinding exposes wet wood, a large void, extensive delamination, or damage around the drain, the project has changed. Continuing with a small consumer kit may hide a leak without restoring structural integrity. Calling a professional at that point is not admitting defeat. It is preventing a modest bathroom problem from introducing itself to the ceiling below.