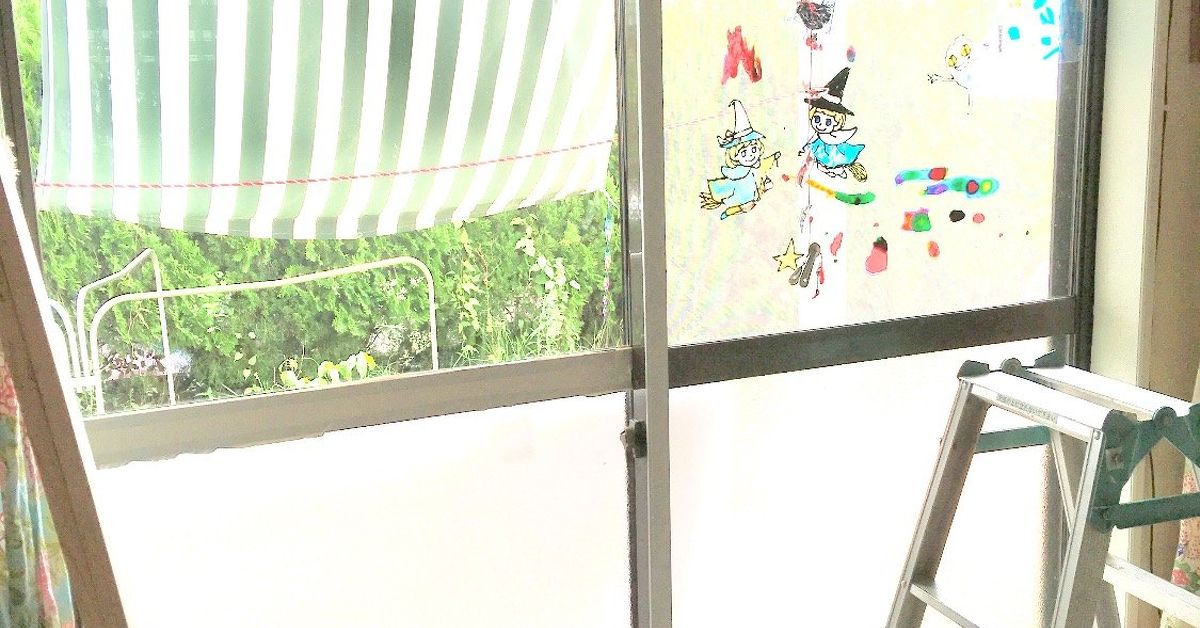

A too-thin glass wall can make a room look sleek, bright, and modernright up until it starts acting like a transparent drum, draft tunnel, or privacy-free aquarium. Maybe it rattles when the door closes. Maybe outside noise slips through like it pays rent. Maybe the room gets too hot in summer and too chilly in winter. Or maybe the glass simply feels flimsy, and your nervous system has started filing daily complaints.
The good news: you do not always need to rip out the entire glass wall and replace it with expensive double glazing. In many homes, offices, studios, sunrooms, interior partitions, or enclosed porch areas, adding a second layer can improve comfort, reduce drafts, soften noise, and make the wall feel more substantialwithout detonating the budget like a home renovation reality show finale.
The important catch: not every glass wall is a safe DIY project. If the glass is part of a railing, stair guard, shower enclosure, exterior door, storefront-style wall, load-bearing system, or any location where people could fall or collide with it, stop and call a licensed glazier or contractor. DIY is great for shelves, paint, and smug weekend satisfaction. It is not great for gravity.
What “Adding a Second Layer” Really Means
When people say a glass wall needs a second layer, they usually mean one of four things:
1. A removable interior panel
This is the budget champion. You add a clear acrylic, polycarbonate, or glass panel on the room side of the existing glass, usually with magnetic tape, compression gasket, wood stops, clips, or a lightweight frame. Think of it like an interior storm window, except stretched across a glass wall or partition.
2. A framed secondary glazing insert
This version uses a simple wood, aluminum, or PVC frame around the added panel. It looks cleaner, seals better, and can be removed for cleaning. It is ideal when you want a more permanent result but still want to avoid full replacement.
3. A temporary film layer
Shrink film kits are the cheapest solution. They reduce drafts and add a small insulating air space, but they are not strong, impact-resistant, or glamorous. They are more “winter survival hack” than “architectural upgrade.” Still, for renters or tight budgets, film can be surprisingly useful.
4. Professional laminated or insulated glass
This is the best long-term option for safety, noise control, and durability, but it is not usually the cheapest. Laminated glass and insulated glass units can perform beautifully, yet the framing system must support the weight and meet code. That is where professionals earn their coffee.
First: Figure Out Why the Glass Wall Feels Too Thin
Before buying materials, diagnose the actual problem. A second layer can help, but the best design depends on what you are trying to fix.
If the problem is drafts
You need an air seal more than thick material. Air leaks around the edges of glass and frames can make a wall feel cold even when the glass itself is not the main villain. Foam weatherstripping, removable caulk, magnetic seals, and gasketed panels can help stop air movement.
If the problem is noise
You need a combination of air space, sealing, and panel mass. A second clear panel can reduce noise when it is separated from the original glass by a sealed air gap. The deeper and tighter the air pocket, the better the performance tends to be. Acrylic inserts are popular because they are lighter than glass and easier to handle.
If the problem is heat loss or heat gain
You want secondary glazing, low-e film, or an air gap that slows temperature transfer. Low-e storm windows and window attachments are widely used because they can improve comfort without full window replacement.
If the problem is safety
Do not assume that adding a thin panel makes the wall safe. Safety glazing rules exist for areas like doors, shower enclosures, guards, and locations where human impact is likely. For those situations, the right answer is not a bargain-bin second layer. It is approved tempered or laminated safety glass installed correctly.
Best Under-Budget Materials for a DIY Second Layer
The material you choose will decide how easy the project is, how long it lasts, and whether you end up proud of yourself or muttering at a wavy plastic sheet at midnight.
Acrylic Sheet
Acrylic, often called Plexiglas, is clear, lightweight, easy to cut in thinner sizes, and widely available at home centers. It is a strong choice for interior secondary glazing where impact demands are moderate. It scratches more easily than glass, so clean it with a soft microfiber cloth and plastic-safe cleaner.
Best for: budget interior panels, removable inserts, office partitions, sunroom panels, and DIY storm-style glazing.
Polycarbonate Sheet
Polycarbonate is tougher and more impact-resistant than acrylic. It is often used where durability matters. It can cost more, but it may be worth it if the glass wall is in a high-traffic area, near kids, pets, exercise equipment, or that one chair everyone bumps into.
Best for: higher-impact areas, workshops, rental spaces, and places where breakage risk matters.
Clear Shrink Film
Clear window insulation film is the cheapest route. It attaches with double-sided tape and tightens with a hair dryer. It can reduce drafts and create a temporary air layer, but it is not durable and will not add meaningful strength.
Best for: renters, seasonal use, emergency draft control, and ultra-low budgets.
Tempered or Laminated Glass
Glass looks the most permanent and resists scratching, but it is heavy and unforgiving. Tempered glass cannot be cut after tempering, and laminated glass may require special hardware. If your second layer is large, tall, near a walkway, or exposed to impact, this becomes a professional project.
Best for: permanent upgrades, code-sensitive areas, and high-end finishes handled by a glazier.
Budget Plan: Build a Removable Second-Layer Panel
This method works best for a non-structural interior glass wall, fixed glass partition, sunroom panel, enclosed porch glass, or drafty interior-facing window wall. The idea is simple: create a clear panel that sits inside or over the frame, seals around the edges, and leaves a small air gap between the old glass and the new layer.
Tools and Supplies
- Clear acrylic or polycarbonate sheet
- Measuring tape
- Straightedge
- Marker or grease pencil
- Utility knife for thin acrylic, or fine-tooth saw for thicker panels
- Foam weatherstripping or silicone gasket tape
- Magnetic tape, turn buttons, clips, or small wood stops
- Clear removable caulk, if needed
- Microfiber cloth
- Safety glasses and gloves
Step 1: Measure Like a Paranoid Carpenter
Measure the height and width at three points: top, middle, and bottom for width; left, center, and right for height. Use the smallest measurement so the panel fits. Glass walls and frames are not always perfectly square, because houses enjoy keeping secrets.
Step 2: Choose the Air Gap
Do not press the new panel directly against the old glass. The air space is part of the performance. Even a small gap can help with comfort, while a deeper sealed gap may improve sound reduction. For many DIY projects, a gap of about 1/2 inch to 2 inches is practical, depending on the frame depth.
Step 3: Cut or Order the Panel
If the panel is small and thin, you may be able to score and snap acrylic. For larger or thicker sheets, ask the supplier to cut it to size or use a fine-tooth blade designed for plastic. Keep the protective film on while cutting to reduce scratches. Support both sides of the sheet so it does not crack or chatter.
Step 4: Add a Soft Seal
Apply foam weatherstripping, silicone gasket tape, or compression tubing around the panel edge or frame contact point. The seal matters. A beautiful panel with gaps around it is basically a clear decoration with ambition.
Step 5: Mount Without Damaging the Original Glass
Attach the second layer to the surrounding frame, not to the glass itself. Options include magnetic tape on a steel strip, small turn buttons, removable clips, or a simple wood stop screwed into the surrounding trim. Avoid drilling into glass. Avoid gluing one large pane directly to another. Avoid anything that makes future cleaning impossible unless you enjoy foggy regret.
Step 6: Check Condensation
After installation, watch the glass for condensation. If moist indoor air gets trapped against a cold pane, fogging or water droplets can appear. A tight interior seal usually helps keep humid room air from entering the cavity, but every house behaves differently. If condensation appears, improve the interior seal, reduce indoor humidity, or adjust ventilation.
How Much Can You Save?
Costs vary by size, material, and whether you already own tools. Still, here is a realistic budget comparison for a medium DIY panel project:
| Option | Typical Budget Level | Best Use | DIY Difficulty |
|---|---|---|---|
| Shrink film kit | Very low | Temporary draft reduction | Easy |
| Acrylic sheet insert | Low to moderate | Comfort, drafts, light noise | Moderate |
| Polycarbonate insert | Moderate | Durability and impact resistance | Moderate |
| Custom interior window insert | Moderate to high | Clean finish, better seal | Easy to moderate |
| Professional glass replacement | High | Safety, code compliance, permanent upgrade | Professional only |
The cheapest option is film. The best value for many DIYers is acrylic with a proper gasket and removable mounting system. Polycarbonate costs more but can be smarter in active spaces. Full replacement is the premium option when safety, resale value, or building code is the main concern.
Design Tips So It Does Not Look Like a Science Fair Project
A second layer should disappear visually as much as possible. Use clear panels with polished or clean edges. Keep fasteners consistent. Paint wood stops the same color as the surrounding trim. If using magnetic tape, align it neatly and avoid wrinkles. Clean both sides of the existing glass before installation, because once the panel is up, every old fingerprint becomes a museum exhibit.
For a large glass wall, consider dividing the second layer into smaller panels. Smaller panels are cheaper, easier to cut, easier to remove, and less likely to flex. A giant sheet may look seamless in your imagination, but in real life it can wobble like a nervous lasagna.
Common Mistakes to Avoid
Mistake 1: Adding weight without checking the frame
Glass is heavy. Thick acrylic and polycarbonate can also add load. If the existing frame is weak, loose, rotted, or poorly anchored, fix the frame before adding anything.
Mistake 2: Sealing moisture inside
Do not trap damp air between layers. Clean and dry the glass first. Install on a dry day if possible. Monitor condensation during the first few weeks.
Mistake 3: Using the wrong product near heat
Plastic sheets can expand, warp, or react poorly near high heat. Keep them away from fireplaces, stoves, heaters, and intense heat sources unless the material is rated for that use.
Mistake 4: Treating safety glazing as optional
If the glass wall is in a hazardous location, use approved safety glazing and professional installation. A DIY second layer does not magically turn unsafe glass into code-compliant glass.
Mistake 5: Forgetting access
Make the panel removable if you will ever need to clean the glass, open a window, reach a latch, inspect the frame, or rescue a trapped bug with dramatic timing.
When to Call a Pro
Call a professional if the glass wall is floor-to-ceiling, part of a guardrail, near stairs, in a bathroom or shower, part of an exterior wall, cracked, loose, or located in a commercial space. Also call a pro if the panel is very large, unusually shaped, or must meet fire, egress, hurricane, impact, or accessibility requirements.
A professional glazier can recommend laminated safety glass, tempered glass, insulated glass units, structural channels, proper setting blocks, and compliant fasteners. That may cost more than DIY, but it is cheaper than replacing a failed projector explaining to your insurance company that your plan began with “I saw a guy do it online.”
Real-World Experience: What Actually Works Under Budget
In practical DIY terms, the best under-budget second layer is usually not the fanciest one. It is the one that solves the actual problem without creating three new problems and a tiny emotional support debt. From real home-improvement patterns, the most successful projects usually start with a simple question: “Is this glass wall unsafe, or is it just uncomfortable?” If it is unsafe, the budget should go toward professional safety glazing. If it is uncomfortable, noisy, drafty, or too thin-feeling, a removable panel can be a smart fix.
For example, a home office with a thin interior glass partition may not need heavy laminated glass. A clear acrylic panel mounted with compression tape and small clips can reduce rattling and make the space feel calmer. The improvement comes less from the plastic alone and more from the sealed air pocket. That air pocket is the quiet little hero of the project. It slows drafts, softens vibration, and helps the glass wall stop acting like a microphone for the rest of the house.
One useful approach is to test before committing. Tape up a temporary clear film layer or a small acrylic sample on one section. Spend a few days observing the difference. Is the room quieter? Is the cold spot reduced? Does condensation appear? Does the panel reflect light in an annoying way? This low-cost test can prevent you from buying a huge sheet that later becomes the world’s clearest regret.
Another experience-based lesson: neat edges matter. Even a budget project looks intentional when the edges are straight, the seal is even, and the fasteners match. Many DIYers focus only on the clear middle panel, but the perimeter is where performance and appearance are won. A crooked gasket, exposed tape, or mismatched clips can make a good idea look temporary forever. Use painter’s tape as a layout guide, mark lightly, and dry-fit everything before peeling adhesive backing. Adhesive has a special talent for becoming permanent exactly when it is crooked.
Cleaning is also more important than it sounds. Before installing the second layer, clean the original glass thoroughly on both sides you will no longer easily reach. Dust, streaks, pet nose art, and one mysterious fingerprint will become trapped behind the new layer like archaeological evidence. Use a lint-free cloth and let everything dry completely.
Finally, the best budget projects stay reversible. A removable panel gives you flexibility. You can take it down in spring, clean behind it, adjust the seal, replace a scratched sheet, or upgrade later. Permanent adhesives may seem easier, but they can make maintenance difficult and damage trim. The goal is not to trap your glass wall in a plastic sandwich forever. The goal is to make the room more comfortable, quieter, and sturdier while keeping your budgetand your sanitymostly intact.
Conclusion
A thin glass wall does not always need full replacement. If the wall is non-structural and not in a safety-critical location, a DIY second layer can be a budget-friendly way to improve comfort, reduce drafts, and soften noise. The smartest under-budget solution is usually a removable acrylic or polycarbonate panel with a clean perimeter seal and a practical air gap. For temporary needs, shrink film can help. For safety, impact zones, doors, showers, railings, and large exterior glass walls, bring in a professional.
The winning formula is simple: diagnose the problem, choose the lightest effective material, seal the edges, preserve access, and never ask a thin glass wall to do a safety job it was not built to do. Done well, your second layer will look clean, work quietly, and save moneywithout turning your room into a hardware-store terrarium.