Sending a package in the UK is basically a three-part sport: pack it like it owes you money,
label it like you want it to arrive on this planet, and choose a service that matches your budget and patience.
Whether you’re shipping a birthday gift to Leeds, returning shoes to an online store, or sending a care package across the pond,
these 14 steps will walk you through itwithout the “mystery fees,” crushed corners, or “delivery attempted” heartbreak.
Before You Start: The 60-Second Checklist
- Item info: What is it, how fragile is it, and what’s its value?
- Packaging: Sturdy box or padded mailer, cushioning, and strong packing tape.
- Tools: Scissors, marker, kitchen scale, and a ruler/tape measure.
- Addresses: Recipient’s full address (with postcode) + your return address.
- Plan: Drop-off or collection, and whether you want tracking/signature/extra cover.
14 Steps to Send a Package in the UK
Step 1: Confirm what you’re sending (and whether it’s allowed)
Start with the boring-but-important part: some everyday items are restricted in the postthink aerosols, perfumes,
certain batteries, alcohol, and other “this could explode” surprises. Rules vary by service and carrier, so check restrictions
before you tape up the box and discover the problem at the counter.
Practical tip: If your item contains a battery, liquid, or aerosol, read the restrictions first, then choose packaging and service accordingly.
Your future self will thank you. Your courier will also thank you, but silently, because they’re busy.
Step 2: Choose the right packaging (box vs. padded mailer)
Pick packaging that matches the item’s weight, fragility, and shape. Soft items (like a T-shirt) can go in a padded mailer.
Anything that can crack, chip, bend, or sulk dramatically should go in a rigid cardboard box.
Aim for a box that gives you room for cushioningoften about 1–2 inches (2.5–5 cm) on each sidewithout turning your parcel into a
“large but mostly air” situation that costs more than the gift inside.
Step 3: Protect the item like it’s traveling with toddlers
The goal is simple: nothing should move inside the box. Wrap items individually. Fill all gaps with cushioning
(packing paper, bubble wrap, foam, or even clean household soft materials when appropriate). If the item is fragile, consider
a double-box method: put the wrapped item in a smaller inner box, then place that inside a larger outer box with cushioning all around.
Example: Mailing a ceramic mug from Birmingham to Glasgow?
Wrap the mug, stuff paper inside the mug (hollow items love to crack), cushion the bottom of the box, place the mug,
then fill every side gap so the mug can’t rattle when you shake the box gently.
Step 4: Seal the package (proper tape, proper technique)
Use strong packing tape (not masking tape, not gift wrap tape, and definitely not the mystery tape you found in a drawer from 2013).
Tape all seams, especially the center seam, and reinforce edges if the parcel is heavy.
Quick test: Lift the box and gently wobble it. If you hear movement, go back to Step 3.
If the box flexes like a trampoline, go back to Step 2.
Step 5: Measure and weigh it accurately
Carriers price parcels based on weight and sizeand sometimes something called dimensional (DIM) weight,
where big lightweight boxes can cost more because they take up space. Measure length, width, and height at the widest points.
Use a scale for the weight (a kitchen scale works for small parcels; a bathroom scale can handle larger ones).
Money-saving moment: If your box is oversized for the item, downsizing can reduce cost and reduce damage risk.
Step 6: Decide: Royal Mail-style service or courier-style service?
In the UK, you’ll usually choose between:
- Postal network services (commonly used for everyday parcels, returns, and smaller items)
- Courier services (often used for heavier parcels, faster delivery aims, fuller tracking, or collection options)
Your best choice depends on what you value most: speed, tracking, convenience, or cost.
If it’s urgent or high-value, prioritize tracking and signature options.
If it’s low-value and not time-sensitive, you might choose a cheaper service with fewer extras.
Step 7: Pick the delivery speed that matches reality (not wishful thinking)
Many services have delivery “aims” (like next-day or 48-hour targets) rather than guarantees.
If timing is criticaldocuments, a last-minute replacement part, a birthday you absolutely promisedyou’ll want a
faster service and usually a more robust tracking option.
Rule of thumb: The more urgent it is, the more you want trackingand possibly signature on delivery.
Step 8: Decide what tracking, signature, and compensation you want
Tracking is your parcel’s “breadcrumb trail.” Signature adds proof the parcel reached a person (not just a doorstep).
Compensation (sometimes included up to a certain amount) helps if the parcel is lost or damagedprovided you follow the carrier’s rules.
If you’re sending something valuable, consider:
- Full tracking (so you can see progress and delivery confirmation)
- Signature on delivery (especially for higher-value items)
- Extra cover/compensation (if the item’s value exceeds the standard included amount)
Step 9: Write the address clearly (UK format) and add a return address
The postcode mattersa lot. Use the recipient’s full name, building number/name, street, locality if needed, post town, and postcode.
Put the return address on the back/top-left area depending on label style. Print is best; neat block capitals are the next best thing.
Example (UK-style):
JORDAN TAYLOR
14 LIME TREE CLOSE
BRISTOL
BS1 4AB
If sending internationally from the UK: Add the destination country on the last line in capitals (for example, UNITED KINGDOM when sending to the UK from abroad;
or the relevant country name when sending out of the UK). International addressing rules typically prefer the country name alone on the final line.
Step 10: Create your shipping label (online is usually easier)
You can often buy postage online and print a label at home (or use QR-code/label-print options at drop-off points depending on the service).
Online labels can be convenient because you can compare services, enter dimensions once, and avoid handwriting mistakes.
Don’t forget: Remove or cover old barcodes/labels if you’re reusing a box. Old labels can confuse sorting systems and send your parcel on an accidental holiday.
Step 11: Add customs forms if it’s going outside the UK
If you’re sending internationally from the UK, you’ll likely need a customs declaration (often CN22/CN23 depending on value/service).
You’ll describe what’s inside, its value, and whether it’s a gift, sale, or return. Be honestmisdeclaring contents or value can trigger delays,
fees, or confiscation.
Example description: “Cotton sweater, gift, value £25” is better than “Stuff.”
“Stuff” is what gets parcels opened by customs. And nobody wants that.
Step 12: Get proof of posting (this is your receipt of sanity)
Proof of posting is crucial if you need to make a claim for loss or damage. When you hand over your parcelat a Post Office,
drop-off location, or courier pointask for confirmation/receipt and keep it safe. Take a photo of it too, because receipts are
famously good at disappearing into the same void as spare socks.
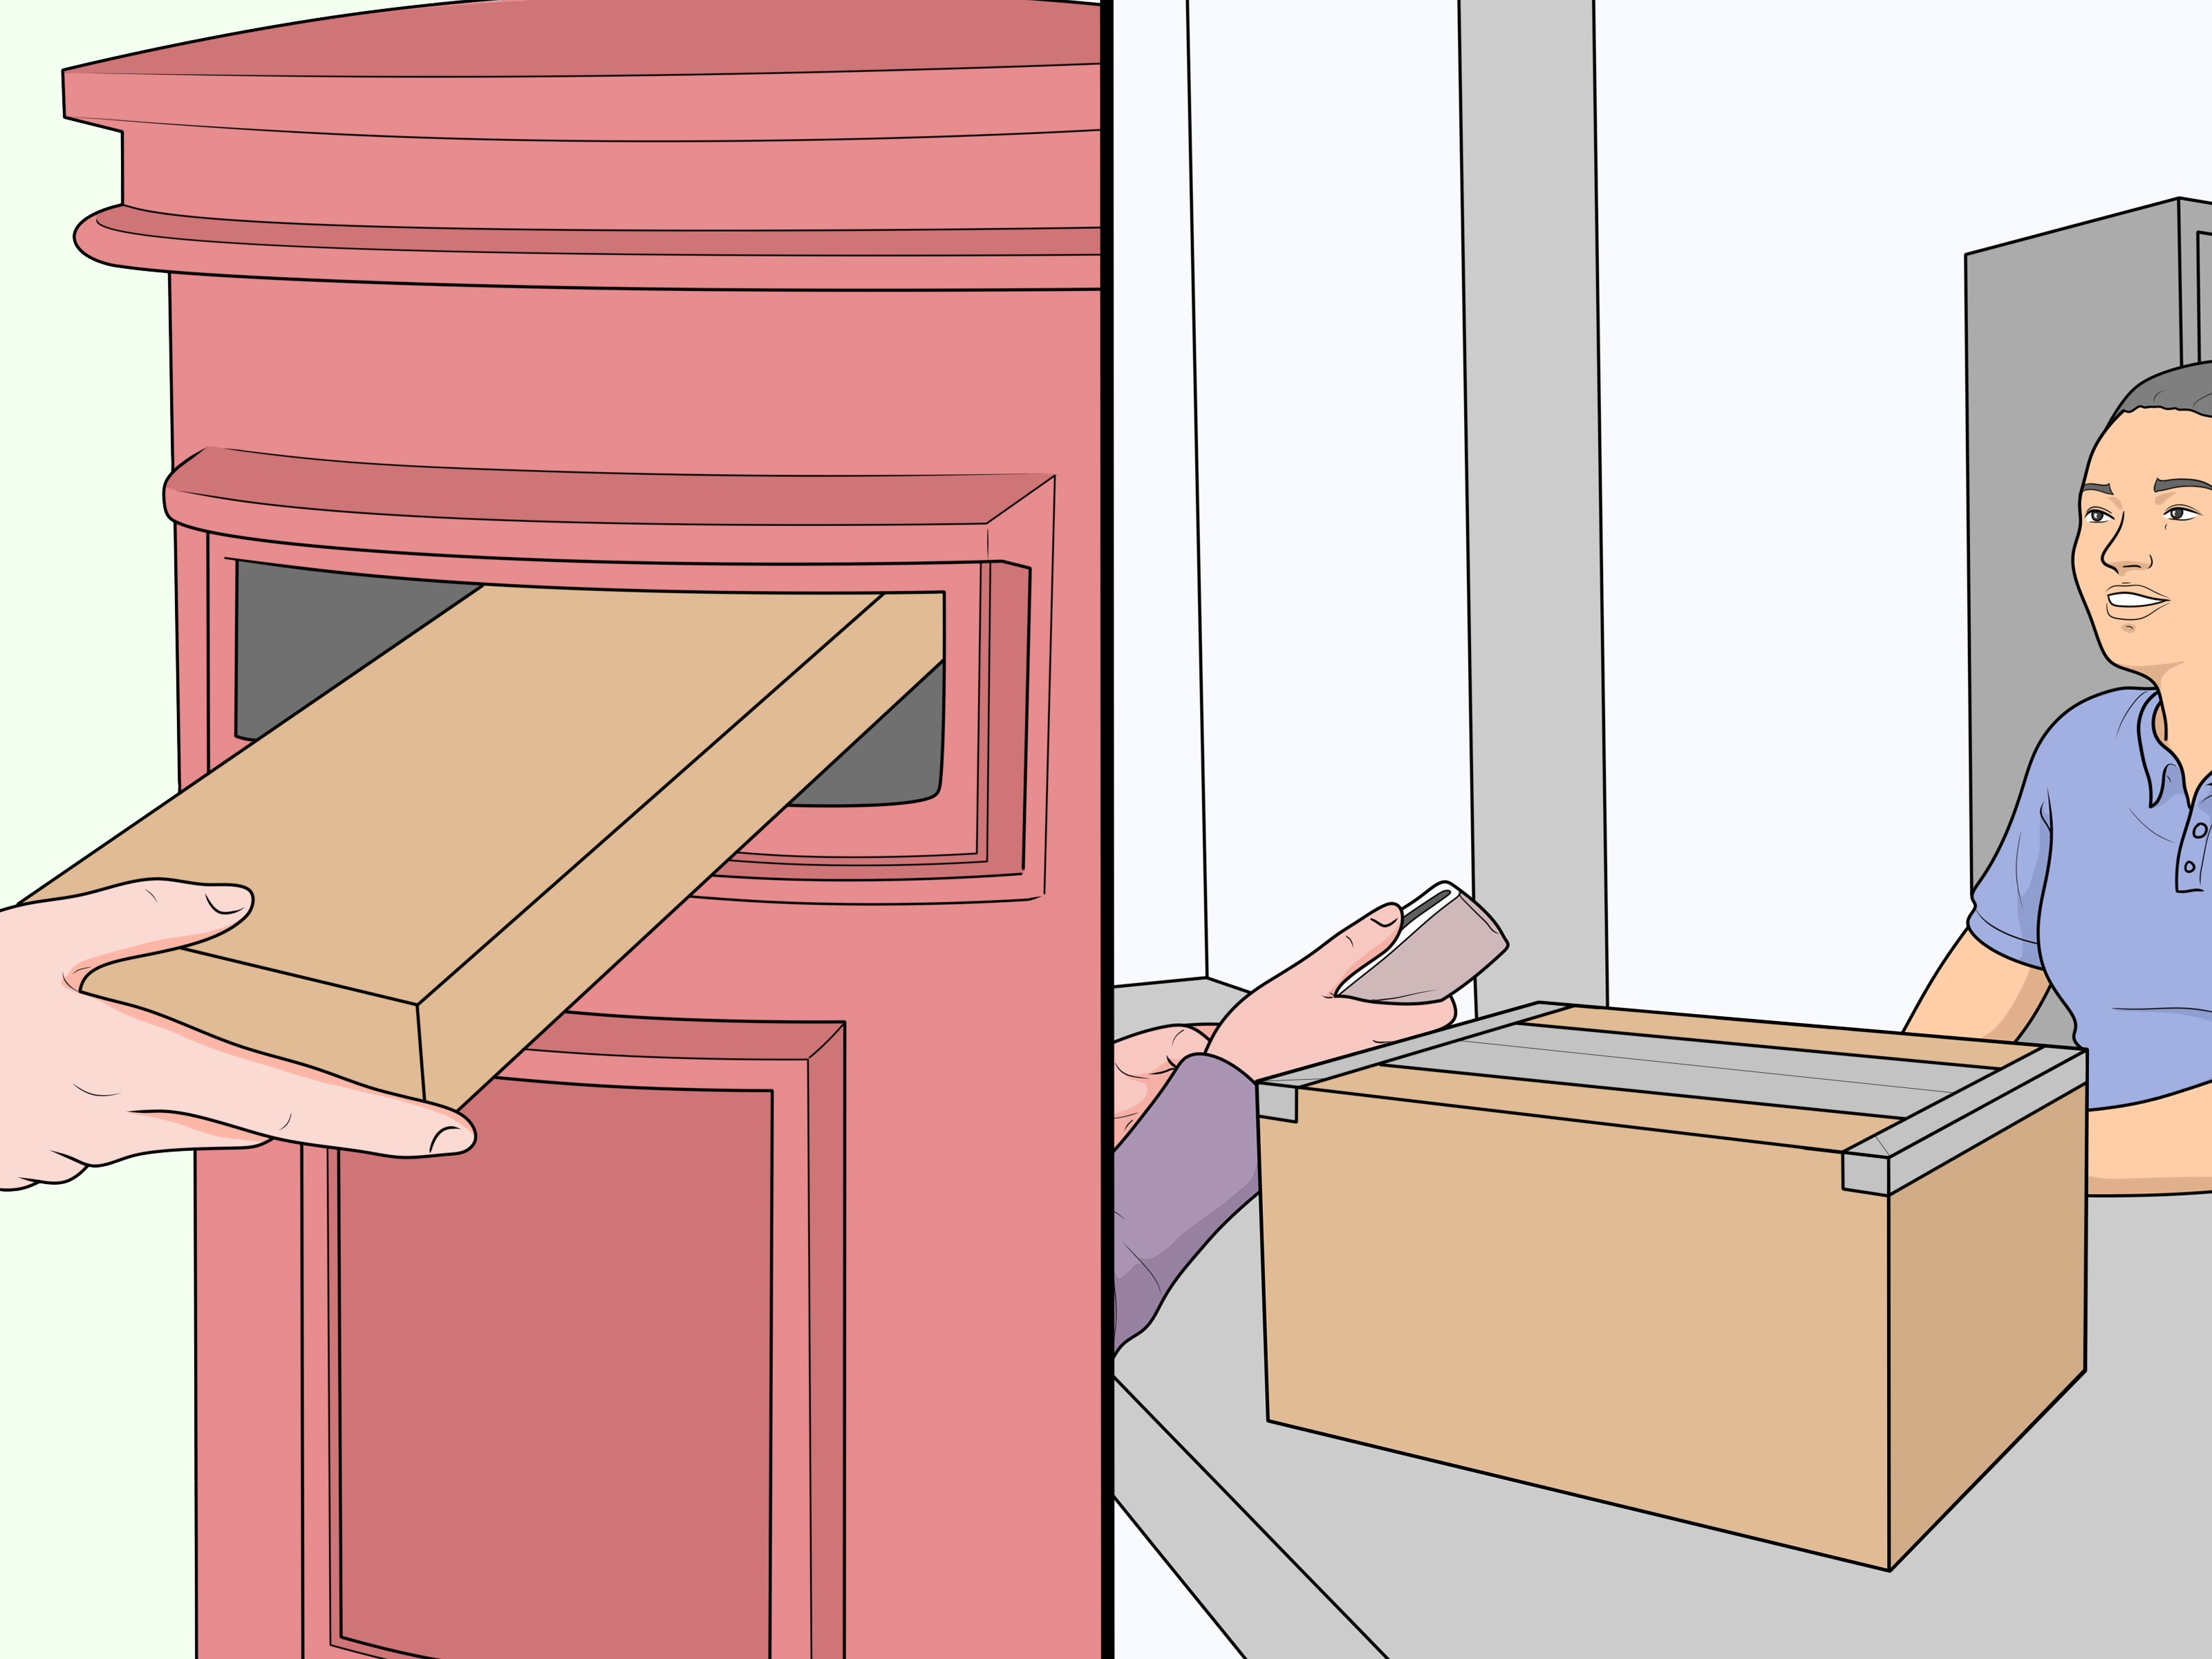
Step 13: Drop it off or schedule collection (choose the least annoying option)
Drop-off works well if you’re already out. Collection is great if your parcel is heavy, you’re shipping multiple boxes, or you value your spine.
Whichever you choose, make sure the label is secure, flat, and scannable. A wrinkled barcode is basically your parcel whispering,
“Please delay me.”
Extra pro tip: If you’re dropping off multiple parcels, label them first, then do a final “scan-friendly” check:
no tape over barcodes unless the carrier explicitly says it’s okay.
Step 14: Track it, communicate, and handle issues fast
Once it’s shipped, track progress and share the tracking number with the recipient (especially for time-sensitive items).
If a delivery issue pops upaddress problem, rescheduled delivery, attempted deliveryact quickly. The sooner you respond,
the better the odds you avoid a return-to-sender situation.
If something goes wrong, you’ll usually need:
- Your proof of posting
- The tracking/reference number
- Evidence of value (receipt/order confirmation) for compensation claims
- Photos of damage (if applicable)
Common Cost Traps (and How to Avoid Them)
Dimensional weight: “But it’s light!”
If your parcel is large, a carrier may charge based on size rather than actual weight. This is why shipping a giant box full of
bubble wrap can cost more than a smaller, heavier box with the same item. Choose a snug box and don’t overdo it with empty space.
Under-measuring and underpaying: the silent delay
If you underestimate weight or dimensions, your parcel may get surcharged or delayed. Measure once, then measure again like a suspicious detective.
When in doubt, round up responsibly and choose the service tier that fits.
Skipping tracking on important items
If the parcel mattersvalue, timing, or emotional importancetracking isn’t a luxury. It’s a stress-reduction device.
The cheapest option can become expensive if you have to replace the contents.
Mini Walkthrough Example: Sending a Gift Across the UK
Let’s say you’re sending a boxed scarf and a handwritten card from London to Newcastle:
- Use a small box or rigid mailer so it doesn’t get crushed.
- Wrap the scarf in tissue or a poly bag (protect from moisture), cushion corners.
- Seal seams with proper packing tape.
- Weigh and measure. Keep it compact to avoid size-based pricing surprises.
- Choose a service with tracking if it must arrive before a specific date.
- Print the label, attach flat, keep barcode clear.
- Drop off, get proof of posting, and text the tracking number to the recipient.
Real-World Experiences: What Actually Happens When You Send Parcels in the UK (About )
If you’ve ever shipped a parcel and thought, “This should be simple,” welcome to the club. Real life adds tiny plot twists.
Here are some common, very human experiencesplus how to handle them like you’ve done this a thousand times (even if you haven’t).
Experience #1: The “I reused a box and now my parcel is haunted” moment.
Reusing boxes is smartuntil an old barcode peeks through and your parcel gets an identity crisis in the sorting network.
One day it’s headed to Cardiff, the next it’s flirting with Aberdeen. The fix is boring but effective: fully remove old labels,
or cover them completely with an opaque label or thick marker. Think of it like witness protection for cardboard.
Experience #2: The fragile item that “looked fine” when you packed it.
Fragile items break when they can move, rattle, or take a corner hit. People often wrap the item carefully but forget to immobilize it.
The best real-world upgrade is the shake test: if you can hear movement, add fill until the inside is silent.
For truly delicate items (glassware, ceramics), the double-box method feels extra… right up until it saves your item.
Experience #3: The parcel that gained weight when you weren’t looking.
You pack an item, estimate the weight, buy a label, and then add “just one more thing” (a card, extra padding, a snack, your hopes and dreams).
Suddenly the parcel crosses a pricing threshold. The fix is simple: weigh it after everything is inside and sealed.
It’s the shipping equivalent of trying on jeans before leaving the house.
Experience #4: The address that was “basically correct.”
“Basically correct” is how parcels end up delayed. Missing a postcode, swapping a digit, or omitting a flat number can slow delivery
or cause a return. In real life, the fastest solution is to validate the address from the source (the recipient’s message, an order confirmation,
or the official address listing) before you print the label. If it’s a gift, confirm the postcode. Yes, it feels awkward.
It feels less awkward than “Surprise! Your gift is stuck somewhere in a depot.”
Experience #5: The proof of posting you swear you had.
Everyone keeps receipts… until they don’t. Proof of posting is often required for compensation claims, so treat it like a tiny legal document.
In the real world, the winning habit is: get the receipt, take a photo immediately, and file it in an album called “Shipping Receipts”
(or “Boring Adult Stuff,” whichever motivates you).
Experience #6: The “delivery attempted” message while you’re staring at your door.
Sometimes it’s timing; sometimes it’s access; sometimes it’s a glitch in the Matrix. If the parcel is tracked, check the tracking updates,
follow the instructions for rescheduling or collection, and contact customer support with the reference number if the update doesn’t make sense.
Acting quickly is the difference between “minor inconvenience” and “why is my parcel on a return journey?”
The punchline: shipping gets dramatically easier when you treat it like a repeatable system. Good packaging, accurate measurements,
clear labels, and proof of postingdo those four things and most parcel drama never makes it past the pilot episode.
Conclusion
Sending a package in the UK doesn’t have to feel like negotiating with the universe. Follow the 14 steps, and you’ll ship smarter:
pack securely, measure accurately, choose the right service level, and keep proof of posting like it’s the golden ticket.
Do that, and your parcel has an excellent chance of arriving on time, intact, and without turning your tracking page into a suspense thriller.