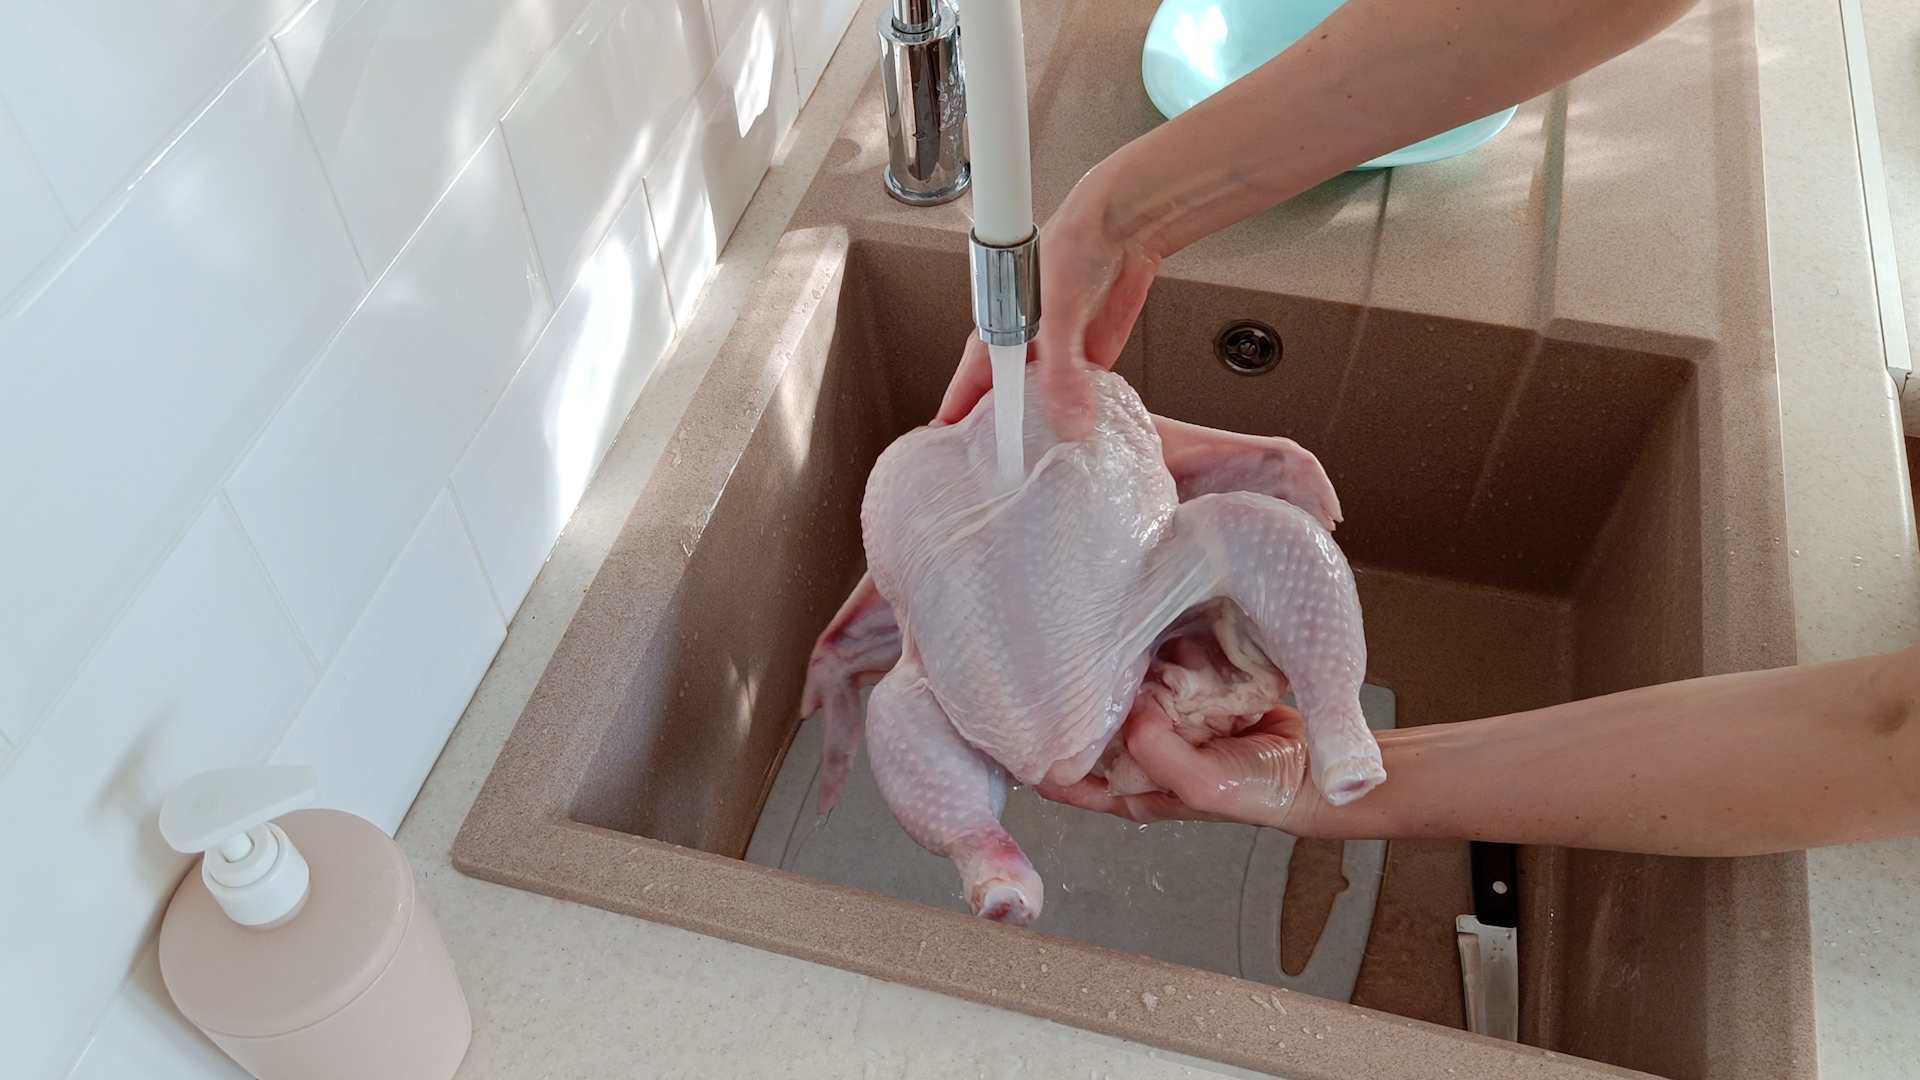

Buying a whole chicken is one of those grown-up kitchen moves that makes you feel like you have your life together, even if your sink is full of dishes and your “meal plan” is mostly vibes. Whole chicken is affordable, versatile, and perfect for roasting, soup, grilling, spatchcocking, or turning into leftovers that make weekday lunches less tragic. But before any of that magic happens, you need to handle one small mystery: the giblets.
If you have ever opened a whole chicken and wondered, “Is there a tiny surprise package hiding in here?” the answer is: very possibly, yes. Giblets are usually the heart, liver, and gizzard, and sometimes the neck is included too. They are often tucked inside the body cavity in a small paper or plastic packet. Sometimes they are loose. Sometimes they are missing entirely. Chickens, apparently, enjoy keeping us humble.
This guide explains how to remove giblets from a chicken in 9 simple steps, while keeping your kitchen clean, your dinner safe, and your confidence fully intact. Whether you plan to roast the bird, make chicken stock, prepare gravy, or simply avoid cooking a mystery bag inside your Sunday dinner, you are in the right place.
What Are Giblets?
Giblets are edible poultry organs, most commonly the heart, liver, and gizzard. In many whole chickens, the neck may also be packed inside the cavity. They are included because they can be useful for cooking, especially in homemade gravy, stock, broth, stuffing flavor bases, and pan sauces. In other words, giblets are not garbage by default. They are more like the chicken’s bonus content.
The heart has a firm texture and rich flavor. The liver is softer and more delicate, with a stronger taste. The gizzard is muscular because it helps birds grind food, so it benefits from slow cooking. The neck is not technically a giblet, but it often tags along in the same package and is excellent for stock.
That said, you do not have to use giblets. If organ meats are not your thing, you can discard them safely. The important part is removing them before cooking the chicken, especially if they are packed in plastic. A paper packet may not ruin the chicken if accidentally cooked, but plastic can melt and create a very unpleasant kitchen situation. Nobody wants roast chicken with a side of “oops.”
Why You Should Remove Giblets Before Cooking
Removing giblets before cooking helps the chicken cook more evenly, clears space in the cavity for aromatics like lemon, onion, garlic, celery, or herbs, and prevents packaging from being heated inside the bird. It also gives you the choice to save the giblets for another recipe.
Food safety matters here too. Raw chicken can carry bacteria, so the goal is to handle it neatly, avoid spreading juices around the kitchen, and wash your hands thoroughly afterward. You do not need to wash raw chicken before cooking. In fact, rinsing chicken can splash raw poultry juices onto the sink, counter, utensils, and nearby foods. The safer approach is to pat the chicken dry with paper towels and cook it to the proper internal temperature.
How to Remove Giblets from a Chicken: 9 Steps
Step 1: Clear and Prepare Your Workspace
Before opening the chicken package, set up your workspace. Place a large cutting board or rimmed baking sheet on the counter. A rimmed tray is especially helpful because it catches juices and keeps your chicken from turning your counter into a poultry slip-and-slide.
Keep paper towels, a trash bag, a clean plate or bowl, and kitchen gloves nearby if you prefer to use them. Move fresh produce, bread, cooked food, and clean utensils away from the raw chicken area. This is not the time for your salad greens to make new friends.
If the chicken is frozen, thaw it first in the refrigerator. A partially frozen bird can make giblets harder to remove because the packet may be stuck inside the cavity. If that happens, do not wrestle the chicken like it owes you money. Let it thaw longer in the refrigerator until the packet loosens.
Step 2: Open the Chicken Package Carefully
Place the chicken package on your tray or cutting board. Cut open the wrapping carefully, allowing any juices to collect in the tray instead of running across the counter. Remove the chicken and discard the outer packaging immediately.
Use paper towels to blot excess moisture from the outside of the bird if needed. This makes the chicken easier to grip and helps prevent slipping. A dry chicken is also better for roasting because moisture on the skin can interfere with browning. Crispy skin begins with a good pat-down, not a dramatic rinse under the faucet.
Step 3: Position the Chicken with the Cavity Facing You
Set the chicken breast-side up or slightly tilted so the main cavity opening faces you. The large cavity is usually located between the legs. This is where the giblet packet is most often found.
If you are new to handling whole poultry, take a second to look at the bird from both ends. The larger opening between the legs leads into the body cavity. The smaller neck opening may also contain the neck or giblet packet, depending on how the chicken was processed and packed.
There is no need to be nervous. You are not performing surgery; you are simply checking the inside of a grocery-store chicken. The chicken has no opinion about your technique.
Step 4: Reach Inside the Main Cavity
Using clean hands or food-safe gloves, gently reach into the main cavity. Feel around for a packet, loose organs, or the neck. The giblets may be wrapped in paper or plastic, or they may be loose inside the cavity.
Pull out anything you find and place it in a bowl or on a small plate. If the packet sticks slightly, wiggle it gently rather than yanking. Sometimes cold juices or ice crystals hold the packet in place. If it is frozen solid inside, put the chicken back in the refrigerator to thaw more completely.
Do not use a sharp knife inside the cavity to dig out the giblets. You could tear the packet, puncture the meat, or create a mess. Your fingers are usually the best tool for this job, which is both convenient and mildly humbling.
Step 5: Check the Neck Cavity Too
After checking the main cavity, turn the chicken around and inspect the neck opening. Some processors tuck the neck or giblet packet there. Lift any loose skin near the top of the breast and look inside.
If you find the neck, pull it out and place it with the giblets. The neck is excellent for stock because it contains bones, connective tissue, and flavor. Even if you do not plan to make stock right away, you can freeze the neck and giblets for later.
This second check is important because many home cooks remove one packet from the main cavity and assume the job is finished. Then they discover a neck later, usually when seasoning the bird or carving it. That is not a disaster, but it is avoidable.
Step 6: Inspect the Chicken Cavity
Once you remove the packet and neck, look inside the cavity again. Make sure no paper, plastic, organs, ice chunks, or large pieces of excess fat remain. A small amount of natural fat near the opening is normal. You can trim it if you want a cleaner presentation or leave it if you prefer extra richness during roasting.
If you see liquid inside the cavity, tilt the chicken over the tray and let it drain. Then pat the inside lightly with paper towels. Avoid rinsing the chicken under running water. Cooking to the proper temperature is what makes poultry safe, not splashing water around the sink like a tiny bacterial water park.
Step 7: Decide Whether to Save or Discard the Giblets
Now you have a choice. You can save the giblets, cook them, freeze them, or discard them. If you want to use them soon, place them in a covered container and refrigerate them. Use them within a short time because organ meats are highly perishable.
For longer storage, put the giblets and neck in a freezer-safe bag, press out extra air, label the bag, and freeze. A label matters because frozen giblets have a magical ability to become unidentifiable kitchen fossils after a few weeks.
If you do not want to use them, wrap them securely and throw them away. Then remove the trash from the kitchen if needed, especially on warm days. Raw poultry scraps can smell unpleasant quickly.
Step 8: Clean Your Hands, Tools, and Surfaces
After handling raw chicken and giblets, wash your hands thoroughly with soap and warm water. Clean any surfaces that touched raw poultry, including cutting boards, trays, knives, faucet handles, and countertops. Wash dishes and tools with hot, soapy water, then sanitize surfaces according to your usual kitchen-safe method.
Use fresh paper towels or clean towels after cleanup. Do not wipe raw chicken juices with a cloth towel and then use that same towel to dry clean dishes. That is how a helpful kitchen towel becomes a tiny villain.
Keep raw chicken separate from ready-to-eat foods at every stage. This includes foods like salad, fruit, bread, cooked vegetables, and anything that will not be cooked again. Cross-contamination is one of the biggest risks when preparing poultry at home.
Step 9: Prepare the Chicken for Cooking
With the giblets removed and the cavity checked, your chicken is ready for seasoning. Pat the skin dry again if needed. Season the cavity with salt, pepper, herbs, lemon, garlic, onion, celery, or your favorite aromatics. Then season the outside according to your recipe.
Whether you roast, grill, smoke, air fry, braise, or spatchcock the chicken, use a food thermometer to check doneness. Whole chicken should reach a safe internal temperature of 165°F in the thickest part of the breast and thigh, without touching bone. Color alone is not reliable. Clear juices are nice, but a thermometer is the adult in the room.
What to Do with Chicken Giblets
If you are curious about using giblets, start simple. The neck, heart, and gizzard can be simmered with onion, celery, carrot, garlic, bay leaf, and water to make a light stock. This stock can become the base for gravy, soup, rice, or pan sauce.
The liver cooks faster than the gizzard and has a stronger flavor, so some cooks prepare it separately. You can sauté chicken liver with butter and onions, chop it into gravy, or save it for pâté-style spreads. If that sounds too adventurous, begin with stock. Stock is forgiving, practical, and does not require you to pretend you are on a competitive cooking show.
Common Mistakes to Avoid
Forgetting to Check Both Cavities
Always check the main cavity and the neck cavity. Giblets can hide in either location. A quick second look can save you from roasting a packet you meant to remove.
Cooking a Plastic Giblet Bag
If the giblets are wrapped in plastic and you accidentally cook them inside the chicken, discard the giblets. If the plastic melted or changed shape, it is safest to avoid eating the chicken. When in doubt, choose safety over salvaging dinner.
Washing Raw Chicken
Rinsing chicken may feel traditional, but it can spread raw poultry juices around your sink and counter. Patting dry with paper towels is cleaner and better for browning.
Skipping the Thermometer
A golden roast chicken can still be undercooked near the bone. Use a thermometer to confirm the chicken reaches 165°F. This is the simplest way to protect both flavor and safety.
Helpful Experience: Lessons from Removing Giblets in Real Kitchens
The first time many people remove giblets from a chicken, they approach the bird like it is a locked treasure chest with questionable treasure. That is normal. Whole chickens can feel intimidating if you grew up buying boneless, skinless chicken breasts in tidy plastic trays. But after doing it once or twice, removing giblets becomes a quick kitchen habit, like preheating the oven or pretending you will use every herb before it wilts.
One useful experience is to set up everything before touching the chicken. The moment your hands are covered in raw poultry juices is exactly when you will realize the trash can is closed, the paper towels are across the kitchen, and your phone is ringing. Prepare first. Chicken second. Chaos never.
Another practical lesson is that giblet packets are not always in the same place. Some chickens have the packet in the main cavity. Others have the neck tucked near the top. Occasionally, there is no packet at all. This does not mean you did anything wrong. It just means the chicken arrived without bonus parts. Still, check carefully every time, because assuming there are no giblets is how people end up roasting a little paper package by accident.
If the chicken is very cold, the packet may stick to the inside. This is common with birds that are not fully thawed. Instead of forcing it, give the chicken more time in the refrigerator. A fully thawed chicken is easier to prep, seasons more evenly, and cooks more predictably. Patience is not glamorous, but neither is fighting a frozen giblet bag at 6:15 p.m. while everyone asks when dinner will be ready.
For cooks who dislike touching raw chicken, gloves can make the job more comfortable. Gloves do not replace handwashing, but they can reduce the “ick” factor. Use them once, remove them carefully, and throw them away. Then wash your hands anyway. The goal is not to be fancy; the goal is to keep raw poultry where it belongs and not on the refrigerator handle.
Saving giblets is worth trying at least once. Simmer the neck, heart, and gizzard with vegetable scraps, a bay leaf, and water while the chicken roasts. By the time the bird is done, you have a small batch of flavorful liquid for gravy. It feels resourceful in the best way, like your grandmother is nodding approvingly somewhere.
That said, do not feel guilty if you discard them. Cooking should be useful, not a guilt-based obstacle course. If you are learning how to roast a whole chicken, focus first on safe handling, removing the giblets, seasoning well, and cooking to temperature. Giblet gravy can wait for your next level-up moment.
The biggest confidence booster is repetition. The first chicken may feel awkward. The second feels easier. By the third, you will be checking cavities, saving necks for stock, patting skin dry, and talking about internal temperature like a person who owns more than one cutting board. That is growth. Delicious, golden-brown growth.
Final Thoughts
Learning how to remove giblets from a chicken is a small skill with a big payoff. It makes whole-chicken cooking less mysterious, improves your food safety habits, and gives you more control over flavor. Once you know where to look and what to do, the process takes only a minute or two.
Clear the workspace, open the package carefully, check both cavities, remove the giblets, decide whether to save them, clean everything well, and cook the chicken to 165°F. That is the whole routine. No panic, no poultry drama, and no accidental mystery packet in the roasting pan.
A whole chicken may look old-fashioned, but it is one of the smartest ingredients in the kitchen. Remove the giblets properly, and you are ready for roast chicken, soup, stock, gravy, sandwiches, salads, and leftovers that actually make you excited to open the fridge.