
If you have ever opened Google Docs, clicked around for a neat little Page Border button, and found exactly nothing, congratulations: you have joined a very large club. The membership fee is confusion, and the welcome gift is mild annoyance.
The good news is that adding a border in Google Docs is absolutely possible. The slightly less romantic news is that Google Docs handles borders in a few different ways depending on what you want to frame. A paragraph? Easy. A photo? Also easy. A whole page? That takes a workaround and a tiny bit of formatting patience. But do not worry. This guide walks through five practical methods that actually work, with clear steps, smart use cases, and a few lessons to help you avoid turning your document into a decorative crime scene.
Whether you are dressing up a worksheet, making a flyer, polishing a proposal, or trying to make a classroom handout look less like it escaped from 2007, these methods will help you add a border in Google Docs without losing your mind or your formatting.
Why Borders in Google Docs Can Feel Weird
Before jumping into the five methods, here is the key thing to understand: Google Docs does not treat every border the same way. There are native options for paragraphs, images, and tables. But when people say they want to “add a border in Google Docs,” they often mean a classic page border around the whole document. That is where the confusion begins.
Google Docs is built to be flexible, collaborative, and web-friendly. It now supports both Pages and Pageless formats, which means some designs behave differently depending on how your document is set up. If you want a border that looks like it wraps an actual page, switch to Pages mode first. Otherwise, your “page” may feel more like an endless scroll wearing a fancy belt.
Now let’s get to the useful part.
Method 1: Add a Border Around a Paragraph
This is the most official and most overlooked border feature in Google Docs. If you want to frame a quote, announcement, warning, instructions box, or standout paragraph, this method is the cleanest option.
How to do it
- Open your document in Google Docs.
- Click inside the paragraph you want to format, or highlight multiple paragraphs.
- Go to Format.
- Select Paragraph styles.
- Click Borders and shading.
- Choose which sides you want: top, bottom, left, right, or all four.
- Set the border width, dash style, color, background color, and padding.
- Click Apply.
Why this method is great
It is fast, tidy, and built right into Docs. You do not have to insert objects or wrestle with layouts. It also looks more polished than a random rectangle dropped into the middle of a document like it was parachuted in from another app.
Best uses
- Callout boxes
- Teacher notes
- Quotes in blog drafts
- Terms, reminders, or warnings
- Mini sections that need visual separation
Example: If you are writing meeting notes and want the “Action Items” section to stand out, a paragraph border with light shading makes it instantly easier to scan.
Pro tip: Use padding generously, but not wildly. Too little padding makes the text look cramped. Too much padding makes the box look like it rented more space than it needed.
Method 2: Add a Border Around an Image
If your document includes photos, screenshots, charts, or graphics, adding a border can help them pop off the page. It also keeps white-background images from looking like they are floating in space with no supervision.
How to do it
- Insert your image into the document.
- Click the image to select it.
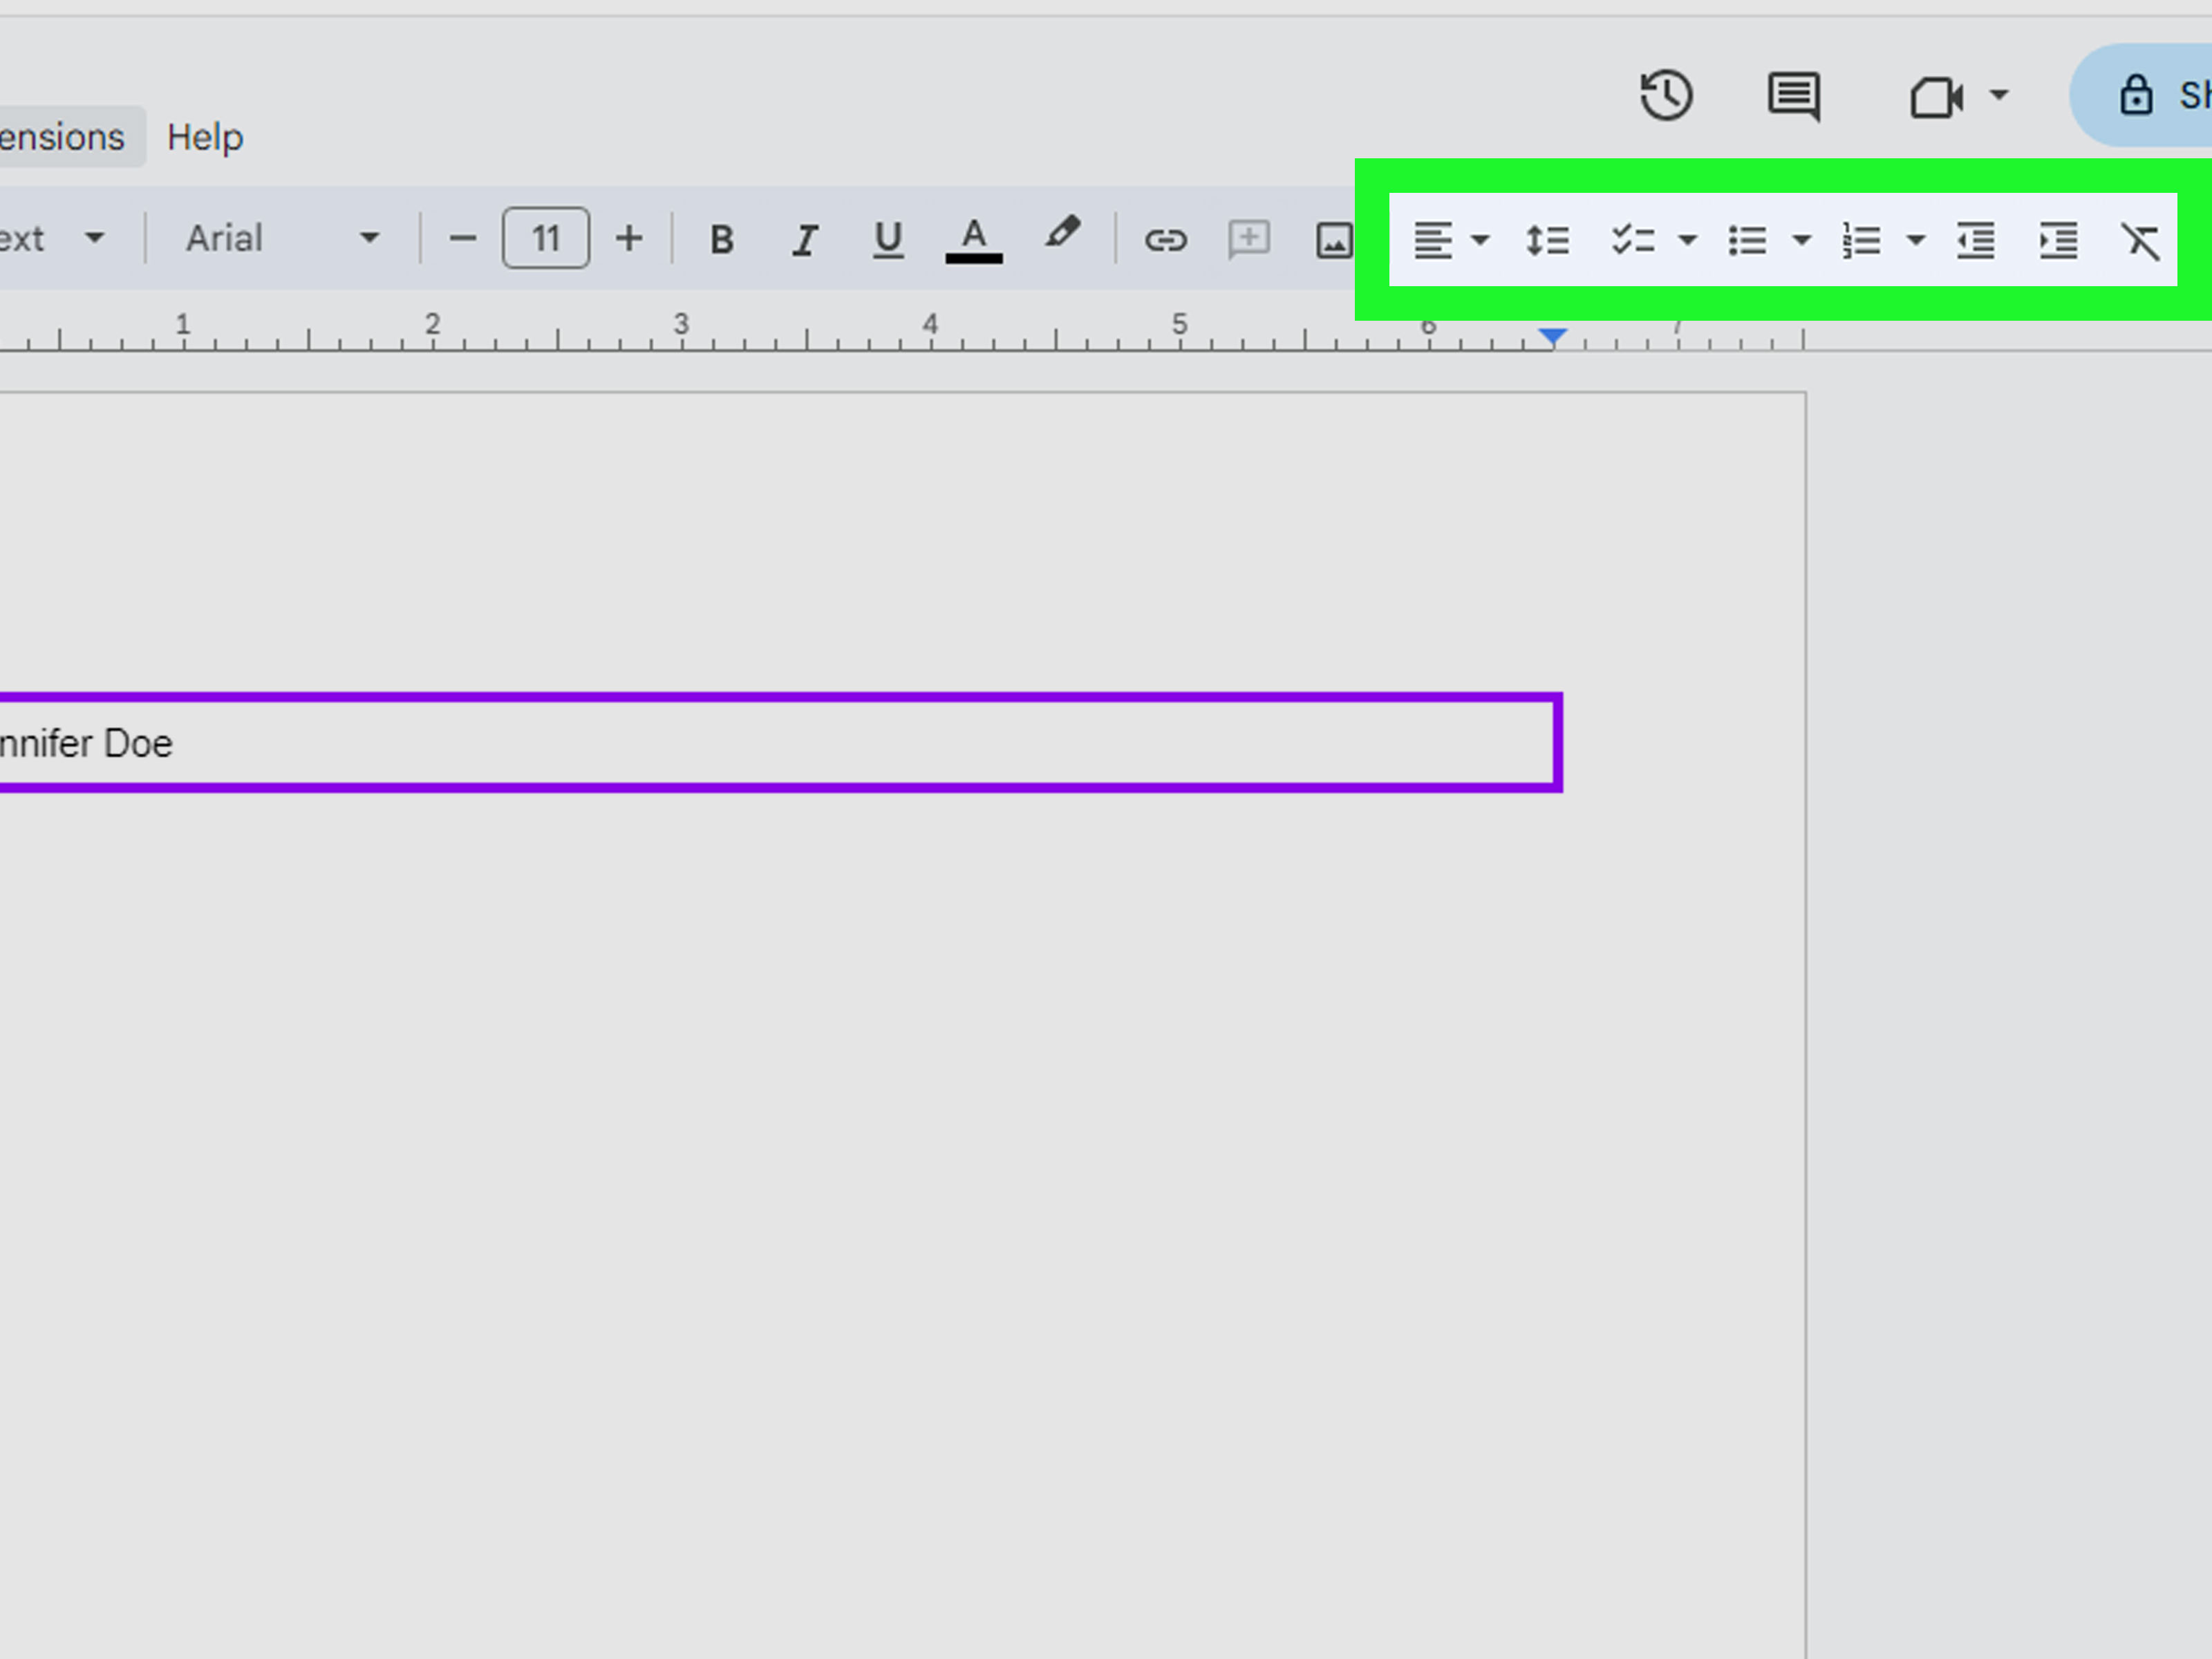
- Use the border controls in the toolbar to choose the border color.
- Adjust the thickness and style if those controls appear in your toolbar.
Why this method is great
It is built for visuals, so it feels natural and quick. You can use a thin black border for a formal look, a soft gray border for business documents, or a color that matches your brand if you are designing marketing materials.
Best uses
- Resumes with profile images
- Class assignments with screenshots
- Product sheets
- Portfolios
- Step-by-step tutorials
Example: If you are building a tutorial on how to use Google Docs, adding a subtle border around each screenshot keeps the page looking organized and intentional instead of visually slippery.
Pro tip: Match the image border thickness to the visual weight of the image. A huge heavy border around a tiny screenshot can look like you are trying to frame a postage stamp for a museum exhibit.
Method 3: Use a 1×1 Table to Create a Page-Style Border
If your goal is a border around most of the page, this is one of the best workarounds in Google Docs. A single-cell table can act like a page border, and it gives you decent control over spacing and layout.
How to do it
- Open your document.
- Go to Insert > Table > choose a 1×1 table.
- Click inside the table and drag its edges to expand it.
- Resize it so it sits nicely within the page margins.
- Go to Format > Table > Table options.
- Adjust the border color, width, and style.
- Increase cell padding so the text does not hug the border like it is clinging to a life raft.
Why this method is great
It is one of the easiest ways to simulate a full-page border in Google Docs. It also gives you a practical text area inside the border, which means you are not layering shapes over your content and hoping for the best.
Best uses
- Cover pages
- Certificates
- Worksheets
- Printable handouts
- Formal one-page documents
Example: If you are creating a classroom worksheet, a 1×1 table border makes the page feel complete and print-friendly. It also helps keep the content visually centered.
Pro tip: This method works best in Pages mode, not Pageless mode. If you want a true page-like look, check your document setup before you start.
Method 4: Draw a Custom Border with the Drawing Tool
Sometimes you want more design control. Maybe you want a decorative rectangle, a dashed frame around a poem, or a border around a special section that does not behave like a table. That is where the Drawing tool earns its coffee.
How to do it
- Go to Insert > Drawing > New.
- Click Shape and select a rectangle.
- Draw the rectangle in the canvas.
- Set the fill color to transparent or white, depending on the look you want.
- Customize the border color, thickness, and dash style.
- Save and close.
- Resize and position the drawing in your document.
Why this method is great
It gives you more creative freedom. You can make borders that feel modern, playful, formal, or dramatic, depending on your document. This is also useful when you want the border to sit around a heading, title block, or a special chunk of content instead of around a whole page.
Best uses
- Invitations
- Poems or short-form writing
- Posters and flyers
- Decorative section headers
- Branded templates
Example: A dashed rectangle around a quote-of-the-day section can make a simple handout feel more intentional and much less like a rushed printout from homeroom.
Pro tip: This method is flexible, but editing can feel a little slower because the shape lives inside a drawing object. In plain English: it looks nice, but it is not always the fastest option when you are revising a document fifteen times before lunch.
Method 5: Use a Text Box or Border Image for Decorative Layouts
This method is ideal when you want the border to be part of a designed composition rather than a plain frame. You can either create a text box in the Drawing tool and give it a border, or insert a decorative border image and place text within or around it.
How to do it with a text box
- Go to Insert > Drawing > New.
- Click the Text box icon.
- Draw the text box and type your text.
- Customize the border color and fill color.
- Click Save and close.
How to do it with a decorative border image
- Insert a suitable border graphic or frame image.
- Position it in the document.
- Add a text box through the Drawing tool if you need text placed inside the frame.
Why this method is great
It gives you a more designed look for projects that need personality. Think certificates, announcements, event pages, holiday letters, classroom signs, or anything that deserves more flair than a standard box.
Best uses
- Flyers
- Certificates
- Announcements
- Seasonal classroom materials
- Creative title pages
Pro tip: Decorative borders are fun, but they can become chaotic fast. If your document starts looking like a wedding invitation, a newsletter, and a birthday card all collided in a parking lot, scale it back.
Common Border Mistakes to Avoid
Adding a border is simple. Adding a border that still looks good tomorrow is where judgment enters the chat.
1. Using the wrong method for the job
A paragraph border is perfect for a callout box, but not for a full-page certificate. A table border is great for a worksheet, but overkill for a single quote. Choose based on the content, not on whichever button you clicked first.
2. Forgetting about page format
If your document is in Pageless mode, a page-style border can feel oddly placed. If print layout matters, use Pages mode.
3. Crushing the text against the edge
Borders need breathing room. Padding, margins, and spacing matter. A border should frame your content, not tackle it.
4. Overdecorating
Yes, Docs lets you use dashed lines, bright colors, shaded backgrounds, and drawings. That does not mean every border should behave like it is auditioning for a reality show.
Which Border Method Should You Choose?
| Goal | Best Method | Why It Works |
|---|---|---|
| Highlight one section of text | Paragraph border | Fast, native, and clean |
| Make an image stand out | Image border | Simple and visually effective |
| Create a page-like frame | 1×1 table | Best practical page-border workaround |
| Design a custom frame | Drawing rectangle | Flexible and stylish |
| Build a decorative layout | Text box or border image | Great for creative documents |
Final Thoughts
Google Docs may not hand you a giant glowing Add Border button, but it still gives you several useful ways to get the job done. The trick is knowing what kind of border you actually need.
If you want something quick and clean, use paragraph borders or image borders. If you want a page-style frame, use a single-cell table. If you want more design control, the Drawing tool is your best friend. And if you want decorative flair, a text box or border image can take your document from plain to polished without leaving Google Docs.
In other words, the border exists. It is just playing hard to get.
Real-World Experience: What Usually Happens When People Try to Add a Border in Google Docs
In real-world use, the experience of adding a border in Google Docs usually follows a very predictable little drama. First comes optimism. You open the document, assume there is a page border feature somewhere obvious, and click through the menus with the confidence of someone who has used word processors before. Then comes confusion. You spot image borders. You spot paragraph borders. You spot table formatting. But the exact border you had in mind is nowhere to be seen. That is the moment many people decide Google Docs is either hiding the feature or personally testing their patience.
Once people get past that moment, the process becomes much easier. The biggest lesson is that Google Docs is not really asking, “Do you want a border?” It is asking, “What exactly are you trying to frame?” That mental shift changes everything. When users realize they need one method for a paragraph, another for an image, and a workaround for a full-page look, the tool suddenly makes a lot more sense.
Another common experience is discovering that the 1×1 table trick is weirdly powerful. At first, it sounds almost too simple to be useful. A table? Really? But once you resize it, adjust the border width, and add some cell padding, it becomes one of the most practical solutions in the whole platform. For worksheets, letterheads, printable forms, and title pages, it often works better than a drawing because the text stays easier to manage. You are not fighting floating objects or nudging rectangles around like tiny furniture in a dollhouse.
The Drawing tool creates a different kind of experience. It is the method people love once the design clicks, but complain about while editing. It is excellent for custom rectangles, text boxes, and decorative frames. It lets you make the document look more polished and more intentional. But it can also feel one step removed from the document itself. You create the border in a separate drawing window, save it, close it, then go back and reposition it. It is useful, but it is not exactly a lightning-fast workflow when you are trying to revise content and layout at the same time.
Paragraph borders, on the other hand, tend to be the surprise favorite. They are quick, built-in, and look much cleaner than many people expect. For callout sections, summaries, warnings, instructions, and highlighted quotes, they are often the best answer. People who discover this feature usually start using it everywhere, which is both understandable and slightly dangerous. A few well-placed bordered sections look organized. Ten of them in one document start to look like the page is trying to file a police report.
One more practical lesson shows up again and again: spacing matters almost as much as the border itself. A good border with bad padding looks awkward. A simple border with strong spacing looks professional. That is why the most successful Docs layouts usually keep the line clean, the margin balanced, and the style restrained. The border should guide the eye, not steal the whole show.
So the overall experience is this: Google Docs does not make borders obvious, but it absolutely makes them possible. Once people learn which method matches which goal, the frustration drops fast. After that, adding a border feels less like a workaround and more like a smart formatting move.