If your shower could talk, it would probably say: “Help. I’m basically a rainforest in here.”
Warm water, steam, soap scum, and a bunch of damp corners make showers the ultimate vacation resort for mold and mildew.
And unlike your relatives, mold never forgets to visit.
The good news: the “secret” to a mold-free shower isn’t a magical cleaner that costs $49.99 and smells like a lemon got into a fistfight with a lab.
It’s a tiny routine that attacks mold’s only superpower: lingering moisture.
Cleaning pros know it, building science nerds cheer for it, and your grout will practically write you a thank-you note.
Here’s the simple strategy: Dry + Vent + Reset.
Do two minutes of “after-shower housekeeping,” keep air moving, and do a quick weekly reset before buildup turns into biology.
That’s it. No complicated schedules. No life coaching for your caulk.
The Real Reason Mold Loves Your Shower
Mold (and mildew, which is basically mold’s smug little cousin) needs a few basics to set up camp:
moisture, warmth, and something to snack on. In showers, moisture is everywhere, warmth is guaranteed, and the “snack”
is often a mix of soap residue, body oils, shampoo drips, and minerals from hard water.
Even “clean-looking” showers can feed growth because soap scum forms a thin film that holds water like a sponge.
Add poor ventilation (or the habit of shutting the bathroom door tight after a steamy shower), and you’ve made a cozy,
humid terrariumjust without the cute frogs.
The Cleaning Pro’s Secret: Make Your Shower Dry Faster Than Mold Can Think
Here’s the headline habit: don’t let water sit.
Most mold problems in showers aren’t because you’re “bad at cleaning.” They’re because water hangs out
on tile, glass, grout, and caulk long enough to invite trouble.
The simplest mold-prevention routine has three parts:
(1) Ventilate, (2) Remove water from surfaces, and (3) Prevent buildup.
Done consistently, it makes deep cleans rarer and easier.
Part 1: Vent Like You Mean It (During the Shower + After)
Turn on the exhaust fan before you start the shower, keep it running while you bathe, and let it run afterward.
Many indoor air and consumer home experts suggest keeping it on for roughly 20–30 minutes after to pull out lingering humidity.
If you don’t have a fan, open a window (when weather and safety allow) and keep the bathroom door cracked to boost airflow.
- Upgrade move: Put the fan on a timer switch, so you don’t have to remember.
- Quick test: Hold a single sheet of toilet paper up to the fan grille. If it barely clings, airflow may be weak or the cover may be dusty.
- Maintenance tip: A dusty fan can’t move air efficiently. Clean the cover periodically and vacuum lint buildup.
No fan? Don’t panic. You can still win by helping moisture escape: keep the door open, avoid trapping steam,
and encourage airflow with a small circulating fan outside the splash zone.
Part 2: The 60-Second Squeegee (Your Shower’s Cheapest “Insurance Policy”)
Cleaning labs and pros love squeegees for a reason: they remove water fast.
One minute of squeegeeing after each shower can dramatically reduce what’s left to evaporate (and what gets trapped in grout lines).
How to do it (the lazy-but-effective way):
Start at the top and pull down in long strokes on glass and tile. Hit the corners and the bottom edge where water likes to gather.
If your shower is all tile and no glass, still squeegee the wallsespecially around grout and caulk seams.
- Best pairing: Squeegee first, then a quick wipe of corners and the tub ledge with a microfiber cloth.
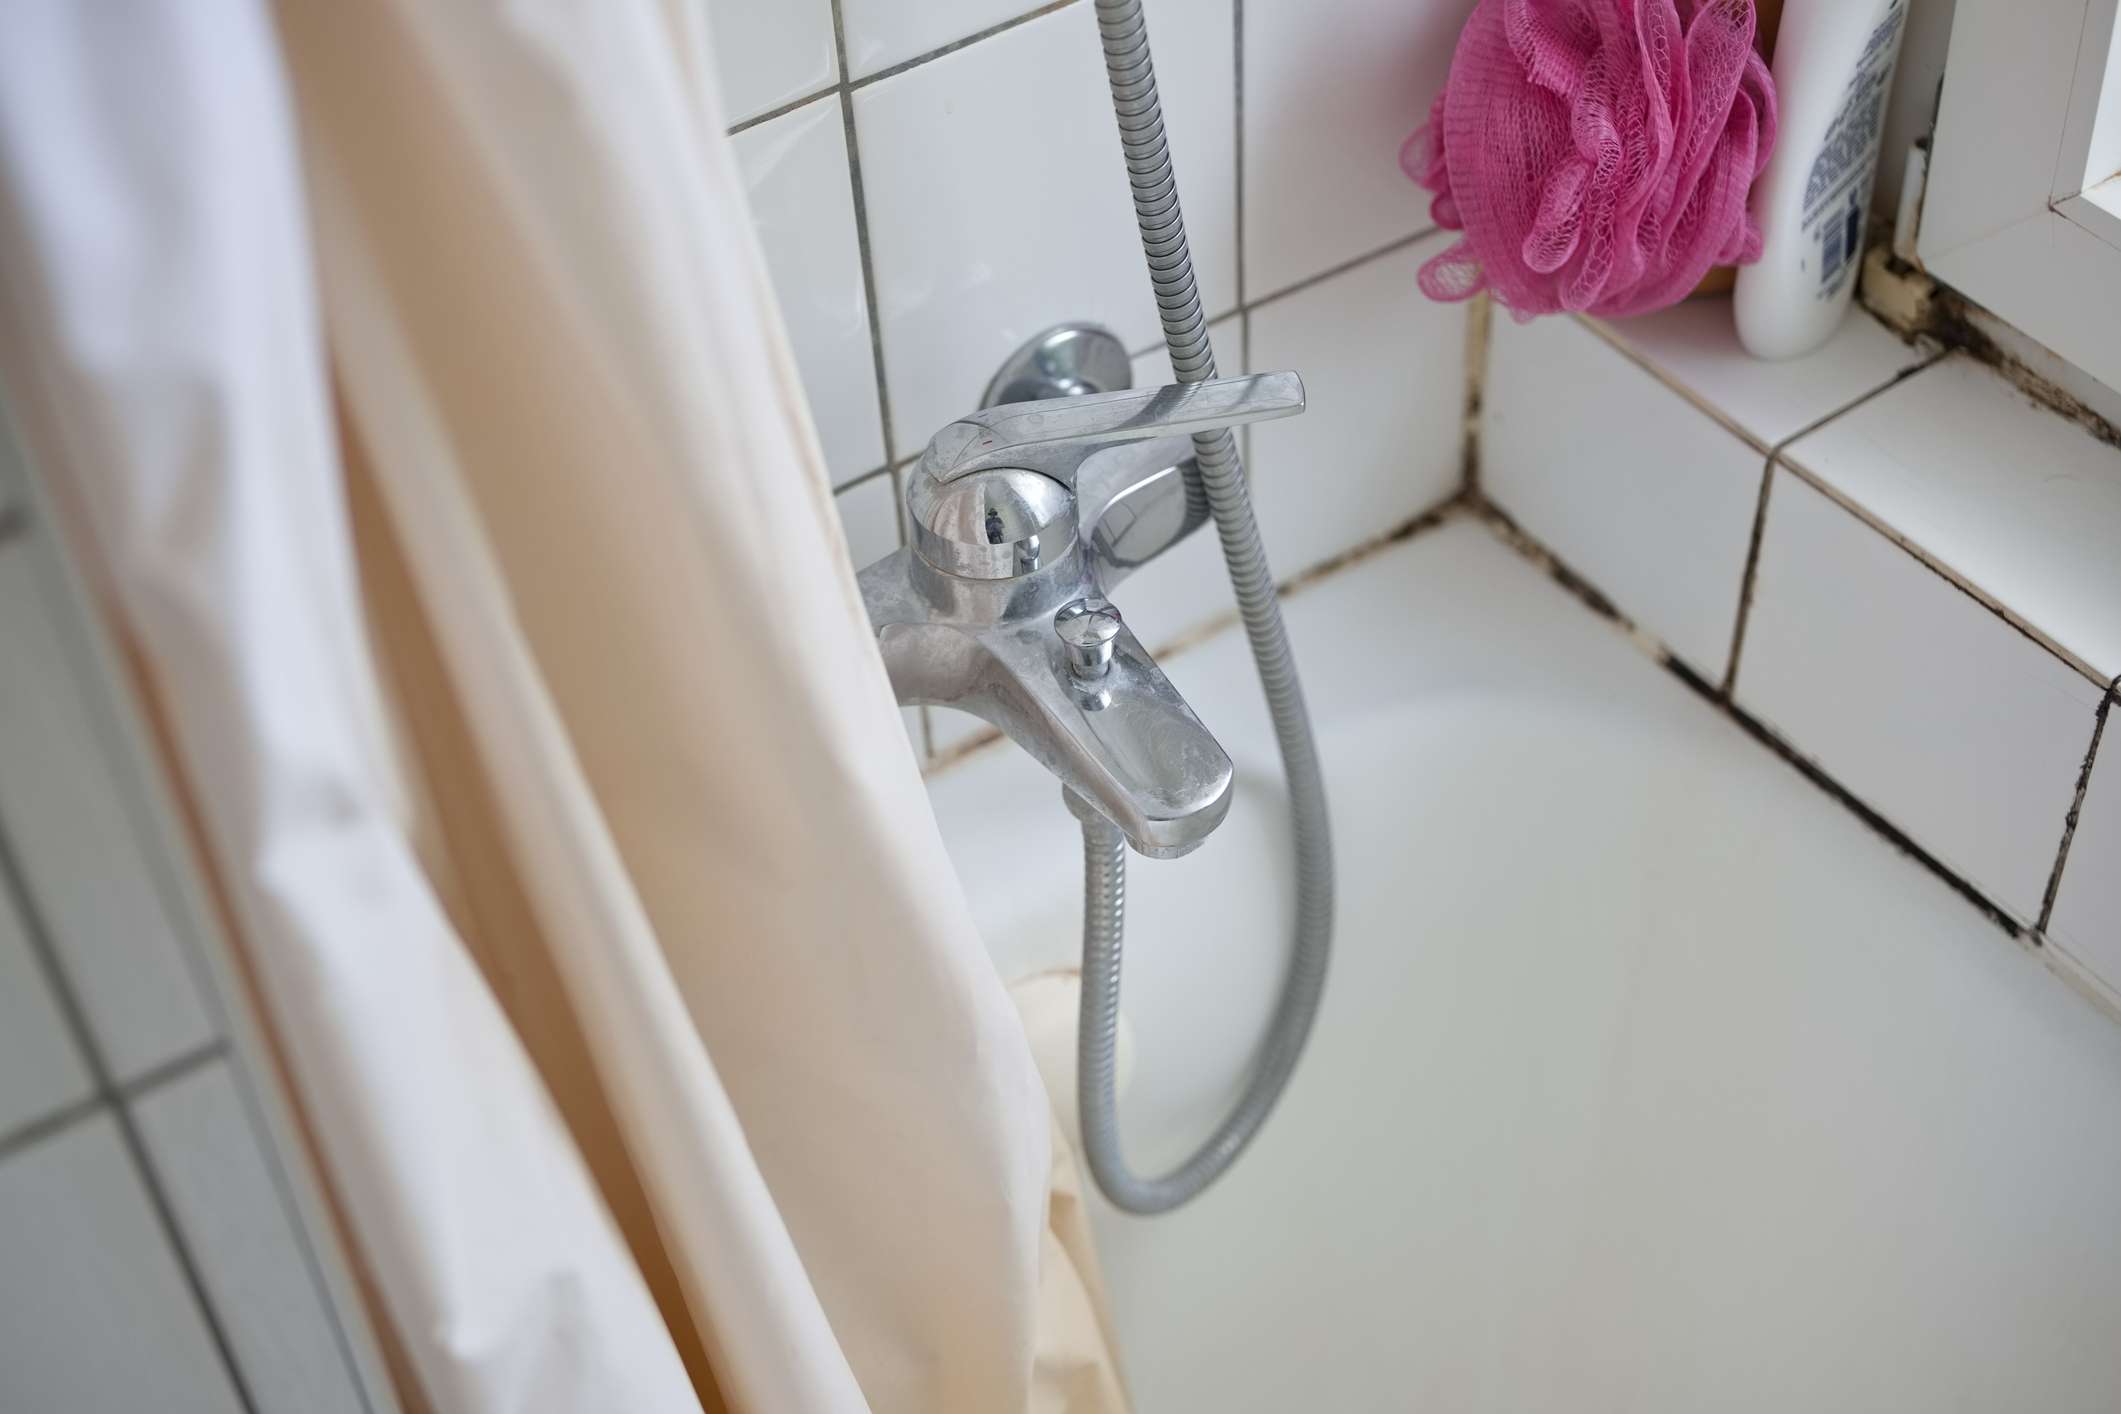
- Where mold starts: Caulk lines, grout corners, and anywhere bottles sit and trap puddles.
- Pro storage hack: Keep the squeegee inside the shower, within arm’s reach. “Out of sight” becomes “never used.”
Part 3: A Daily Shower Spray (Optional, But Shockingly Helpful)
If you want the easiest “extra credit,” add a no-rinse daily shower spray after you squeegee.
The goal isn’t to bleach your shower into submissionit’s to reduce soap scum and mineral film so mold has less to eat and fewer places to cling.
Important safety note: Never mix cleaning chemicals (especially bleach with ammonia or acids).
Always follow product labels, keep ventilation going, and store sprays safely away from kids and pets.
Choose the right type of spray for your surfaces:
- For most tile, fiberglass, acrylic, and glass: Daily shower sprays that target soap scum are great.
- For natural stone (marble, travertine, limestone): Avoid vinegar/acidic cleaners. Use a stone-safe, pH-neutral product.
- For hard water areas: Look for formulas designed for mineral deposits (often mild acids or chelators). If you’re sensitive to odors, enzyme-based or low-odor options exist.
If you don’t want another product, you can skip the spray and still get major results from the fan + squeegee combo.
The spray just reduces how often you need to scrub.
The Weekly Reset: 15 Minutes That Prevents a Weekend of Regret
Daily habits keep moisture down. Weekly maintenance removes the “food” layer (soap scum + oils + minerals) so mold struggles to return.
Pick one daySunday, Wednesday, “whenever I run out of clean socks”and do this quick reset:
Step 1: Attack Soap Scum First (Because Mold Hides Behind It)
Soap scum isn’t just uglyit’s sticky and holds moisture. It also makes disinfectants less effective because they can’t reach the surface.
Use a bathroom cleaner that targets soap scum, let it sit for the recommended time, then rinse and wipe.
Example: If your shower walls feel squeaky-clean when wet, you’re winning. If they feel slippery or waxy, you’ve got film.
Step 2: Grout Gets a “Toothbrush Moment”
Grout lines are textured and porous, which means they collect moisture and grime. Once a week, scrub grout lines lightly with a soft brush.
You’re not sanding a deck; you’re just lifting residue.
- Bonus prevention: Once grout is fully clean and dry, consider sealing it periodically so it resists moisture and stains.
- Watch the corners: The vertical corners and the bottom edge where wall meets tub are prime zones.
Step 3: Check Caulk Like You’re a Detective
Caulk is where “black spots” love to appear, because it can hold moisture and (over time) can degrade or separate.
If caulk is cracked, peeling, or has stubborn staining that returns quickly, cleaning is only a temporary bandage.
The real fix is removing and replacing compromised caulk with a quality, mold-resistant bathroom silicone.
If you replace caulk, the prevention plan becomes even more powerful:
clean thoroughly, let everything dry completely, recaulk, and then stick to your daily dry-down routine.
Step 4: Launder the Soft Stuff (It’s a Mold Motel)
Towels, bath mats, loofahs, and shower curtains hold moisture and body oils. That combo breeds funk.
Make sure towels dry fully between uses, wash bath mats regularly, and don’t leave wet washcloths crumpled in a corner like a crime scene.
For shower curtain liners: if you can’t get rid of stains or smells even after washing, replacement may be the simplest move.
Many health and cleaning experts suggest swapping liners roughly every 6–12 months, depending on humidity and usage.
“But My Shower Gets Pink Slime…” (Plot Twist: It’s Often Not Mold)
That pink/orange film that shows up around drains, corners, or along the tub line is frequently linked to bacteria
that thrives in damp environments and feeds on soap and body oils.
The strategy is still the same: remove the film, reduce moisture, and keep surfaces from staying wet.
Practically speaking, your routine doesn’t change:
ventilate, squeegee, wipe corners, and do a weekly scrub where buildup starts.
The less biofilm you allow, the less anything (mold, mildew, or bacteria) can cling and spread.
Make the Routine Ridiculously Easy (So You Actually Do It)
The “secret” only works if it’s effortless. Here’s how cleaning pros design a mold-free shower system for real life:
Set Up a 2-Minute After-Shower Station
- Hang a squeegee inside the shower (hook, suction holder, or over the shower head).
- Keep a microfiber cloth nearby for corners and the tub edge (swap weekly).
- Use a fan timer or smart switch so airflow happens automatically.
- Store bottles smartly: use a wire caddy so water doesn’t pool under products.
Use This “No-Thinking” After-Shower Script
- Turn the fan on (or let the timer do it).
- Squeegee glass and walls top-to-bottom.
- Wipe corners, grout seams, and the tub ledge with microfiber.
- Leave the shower door/curtain open so it dries faster.
- Optional: quick mist of daily shower spray.
Total time: about as long as it takes your conditioner to “work,” which is ironic because now you’re the one working.
But only for a minute. You’ve got this.
If You Already Have Mold: What’s Safe, What Works, and When to Call a Pro
First: don’t panic. Small spots on nonporous surfaces are usually manageable with routine cleaning and moisture control.
The key is to fix the underlying moisture problemotherwise it comes right back, like a bad sequel.
For Small Areas on Tile/Glass/Tub Surfaces
- Ventilate (fan/window) and wear gloves; eye protection is smart if you’re splashing cleaners.
- Clean the film first (soap scum) so your disinfecting step can actually reach the surface.
- Use an appropriate bathroom cleaner and follow label dwell time (how long it needs to sit).
- Dry thoroughly after cleaning. Moisture control is the real long-term fix.
For Caulk That’s Dark-Stained or Keeps Coming Back
Caulk can be tricky. If mold has penetrated or staining is deep, scrubbing may not fully remove it.
In those cases, replacement is often the more permanent solution:
remove old caulk, clean and dry the area completely, then apply a mold-resistant bathroom silicone.
When You Should Consider Professional Help
If mold covers a large area, keeps returning aggressively, or you suspect hidden moisture behind walls,
it’s worth consulting a professionalespecially if anyone in the home has asthma, severe allergies, or immune issues.
Also investigate plumbing leaks, failed grout/caulk lines, or ventilation problems.
Mold prevention always starts with moisture control, not “stronger chemicals.”
Pro-Level Prevention: Small Upgrades That Pay Off Big
1) Control Humidity
Many indoor air quality guidelines recommend keeping indoor humidity in a healthier range (often around 30–50%, and generally under 50–60%).
If your bathroom stays humid long after showers, consider a dehumidifier placed safely outside the splash zone,
or upgrade ventilation.
2) Fix Leaks and Slow Drips
A tiny drip can keep a surface damp all day, which is basically a mold subscription service.
Check shower heads, tub spouts, and plumbing connections. Fixing a leak is prevention with a cape.
3) Seal Grout Periodically
Clean, dry grout can often be sealed to resist water and staining. If your grout darkens quickly when wet and stays dark for a long time,
it may be absorbing moisture and could benefit from sealing (after a deep clean and full dry).
4) Keep the Shower “Uncluttered”
Ten bottles on the ledge means ten tiny puddles underneath them.
Fewer items in the shower = fewer places for water to hide = less scrubbing later.
Minimalism, but make it mold prevention.
The Mold-Free Shower Checklist (Print This in Your Brain)
- Every shower: Fan on + door/curtain open afterward.
- Every shower: Squeegee walls/glass (60 seconds).
- Every shower: Microfiber wipe corners + tub edge (30 seconds).
- 2–3x/week: Quick scan for pooling water, drips, or damp bath mats.
- Weekly: Soap scum clean + grout scrub + rinse well.
- Weekly: Check caulk lines for peeling or recurring dark spots.
- Monthly: Wash or refresh shower curtain/liner as needed.
- Every 6–12 months: Replace liner if it won’t come clean or smells musty.
- As needed: Reseal grout and re-caulk when materials degrade.
Conclusion: The “Secret” Is a Habit, Not a Harsh Chemical
A mold-free shower isn’t about winning a cleaning war every Saturday. It’s about preventing the battlefield from forming in the first place.
Run the fan, remove water from surfaces, and do a quick weekly reset before soap scum and moisture turn your bathroom into a science project.
The best part? Once you build the routine, your shower stays cleaner with less effort.
You’ll scrub less, breathe easier, and stop making eye contact with that suspicious corner of caulk like it owes you money.
Extra: of Real-World “Cleaning Pro” Experiences (So You Can Picture It Working)
Cleaning pros see the same shower story on repeatdifferent bathrooms, same plot twists. The “mystery mold”
almost always comes down to two things: moisture that lingers and film that feeds growth. Here are a few
common scenarios (and what actually fixed them) that might sound painfully familiar.
Experience #1: The Gorgeous Glass Shower That Looked Like a Foggy Aquarium
One home had a stunning glass enclosurehotel vibes, spa lighting, the whole dream. But the glass always looked cloudy,
and the grout line at the bottom edge had started to darken. The owners were using a strong cleaner weekly, scrubbing hard,
and still losing. The fix wasn’t “stronger.” It was faster drying.
They started squeegeeing the glass after every shower and running the fan on a timer for 30 minutes.
Within two weeks, the cloudiness slowed down. Within a month, weekly cleaning took half the time because
soap scum wasn’t building up like concrete.
Experience #2: The “It’s a New Build, Why Is It Moldy?” Bathroom
New homes can still grow mold fastsometimes fasterbecause bathrooms are sealed tight for energy efficiency.
In one newer place, the family kept the bathroom door closed “to keep steam in” (because warm = cozy, right?).
Unfortunately, cozy for humans is also cozy for mold. The ceiling corner started spotting, and the caulk line
behind shampoo bottles turned peppery-black. The “secret” was simply to stop trapping humidity:
door cracked open, fan on, bottles moved to a wire caddy so water couldn’t pool underneath, and a microfiber wipe
of the tub edge after each shower. The change was dramatic. The bathroom stopped smelling musty, and new spots didn’t form.
Experience #3: The Rental Shower Curtain That Wouldn’t Quit
Rentals often come with a plastic liner that’s doing its best… but also collecting grime like it’s paid per stain.
One tenant tried every “hack” to save a liner that had persistent mildew at the bottom edge. Washing helped, but the smell lingered.
The simplest solution was also the most satisfying: replace the liner, then make sure it dries properly.
The real game-changer was leaving the curtain spread open after showers (instead of bunched up),
so air could circulate and the liner could dry instead of staying damp all day. Add a quick weekly rinse and occasional wash,
and the new liner stayed cleaner much longer.
Experience #4: The “Pink Slime” Panic
Some households panic when they see pink film near the drain or along the tub line. Here’s what usually happened:
lots of body wash, lots of warm water, and a habit of leaving wet washcloths and loofahs sitting in the shower.
Once they started rinsing residue away, drying the shower edge, and letting items dry fully outside the shower,
the pink film slowed down. The lesson is simple: if you remove the damp, nutrient-rich environment,
the problem struggles to return.
The biggest “aha” from the field is this: you don’t need perfectionyou need consistency.
If your shower dries quickly most days, mold can’t build momentum.
A minute of prevention is worth an hour of scrubbing (and a lot fewer arguments with your grout brush).