If your engine is idling like it drank three espressos, your check engine light is throwing attitude, or you hear a suspicious little hiss under the hood, your vacuum hoses may be trying to tell you something. Usually that something is: “I am cracked, loose, brittle, or hanging on by pure optimism.”
Engine vacuum hoses may be small, but they do a big job. They help route vacuum to systems like the PCV setup, brake booster, emissions controls, and other engine-management components. When one of those hoses splits, collapses, hardens, or slips off, unmetered air can sneak into the system and throw the air-fuel mix out of balance. That can lead to rough idle, stalling, poor acceleration, weak fuel economy, and a dashboard light that suddenly becomes the star of the show.
The good news is that checking engine vacuum hoses is one of the more realistic DIY jobs. You do not need a race shop, a dramatic soundtrack, or a diploma in wizardry. You do need patience, decent light, and the good judgment to avoid grabbing hot engine parts like they are decorative handles. Here is how to inspect vacuum hoses the smart way, in four practical steps.
Why Vacuum Hoses Matter Before You Even Touch One
Before you start poking around under the hood, it helps to know what you are looking for. Vacuum hoses are usually rubber or molded plastic lines that connect the intake manifold or throttle body area to components that rely on engine vacuum. On older vehicles, there may be more of them. On newer vehicles, there may be fewer traditional vacuum lines, but the ones that remain still matter.
A bad vacuum hose can mimic other engine problems, which is why people sometimes replace perfectly good parts while the actual culprit is a ten-dollar hose acting like a villain in a low-budget mystery. Common vacuum leak symptoms include:
- Rough idle or a wandering idle speed
- Hissing, whistling, or sucking noises from the engine bay
- Sluggish acceleration or loss of power
- Stalling, especially at idle
- Poor fuel economy
- A check engine light, often with lean-condition behavior
- Brake assist issues if the brake booster hose is involved
That is why the goal is not just “find a hose.” The goal is to check hose condition, routing, connections, and related symptoms together. That combination gives you a much better shot at finding the real problem.
Step 1: Let the Engine Cool and Map the Vacuum Hose Layout
Start with a cold engine. Not a “sort of warm but I believe in myself” engine. A cold one. Rubber hoses are easier to inspect when they are cool, and your fingers will appreciate not being sautéed over the exhaust manifold.
Open the hood and locate the main vacuum lines. The easiest way to do this is to check:
- The under-hood emissions or vacuum diagram sticker, if your vehicle has one
- Your repair manual or service information
- The larger hose running to the brake booster
- The PCV hose and related vacuum plumbing near the intake
- Small hoses leading to emissions-control components
This step matters because vacuum hoses do not fail only by cracking. Sometimes they are simply routed incorrectly after previous work, left half-connected, pinched under an intake duct, or swapped with another line during a repair. In other words, sometimes the hose is not broken. It is just lost.
What to look for before touching anything
Use a flashlight and scan slowly. You are looking for obvious trouble such as:
- Disconnected ends
- Collapsed sections
- Sharp kinks
- Oil-soaked rubber
- Loose fittings or clamps
- Hoses rubbing on brackets, metal edges, or hot engine parts
If a hose looks suspiciously shiny, sticky, crusty, split, or flattened, congratulations: you have likely found a strong suspect before the engine even starts.
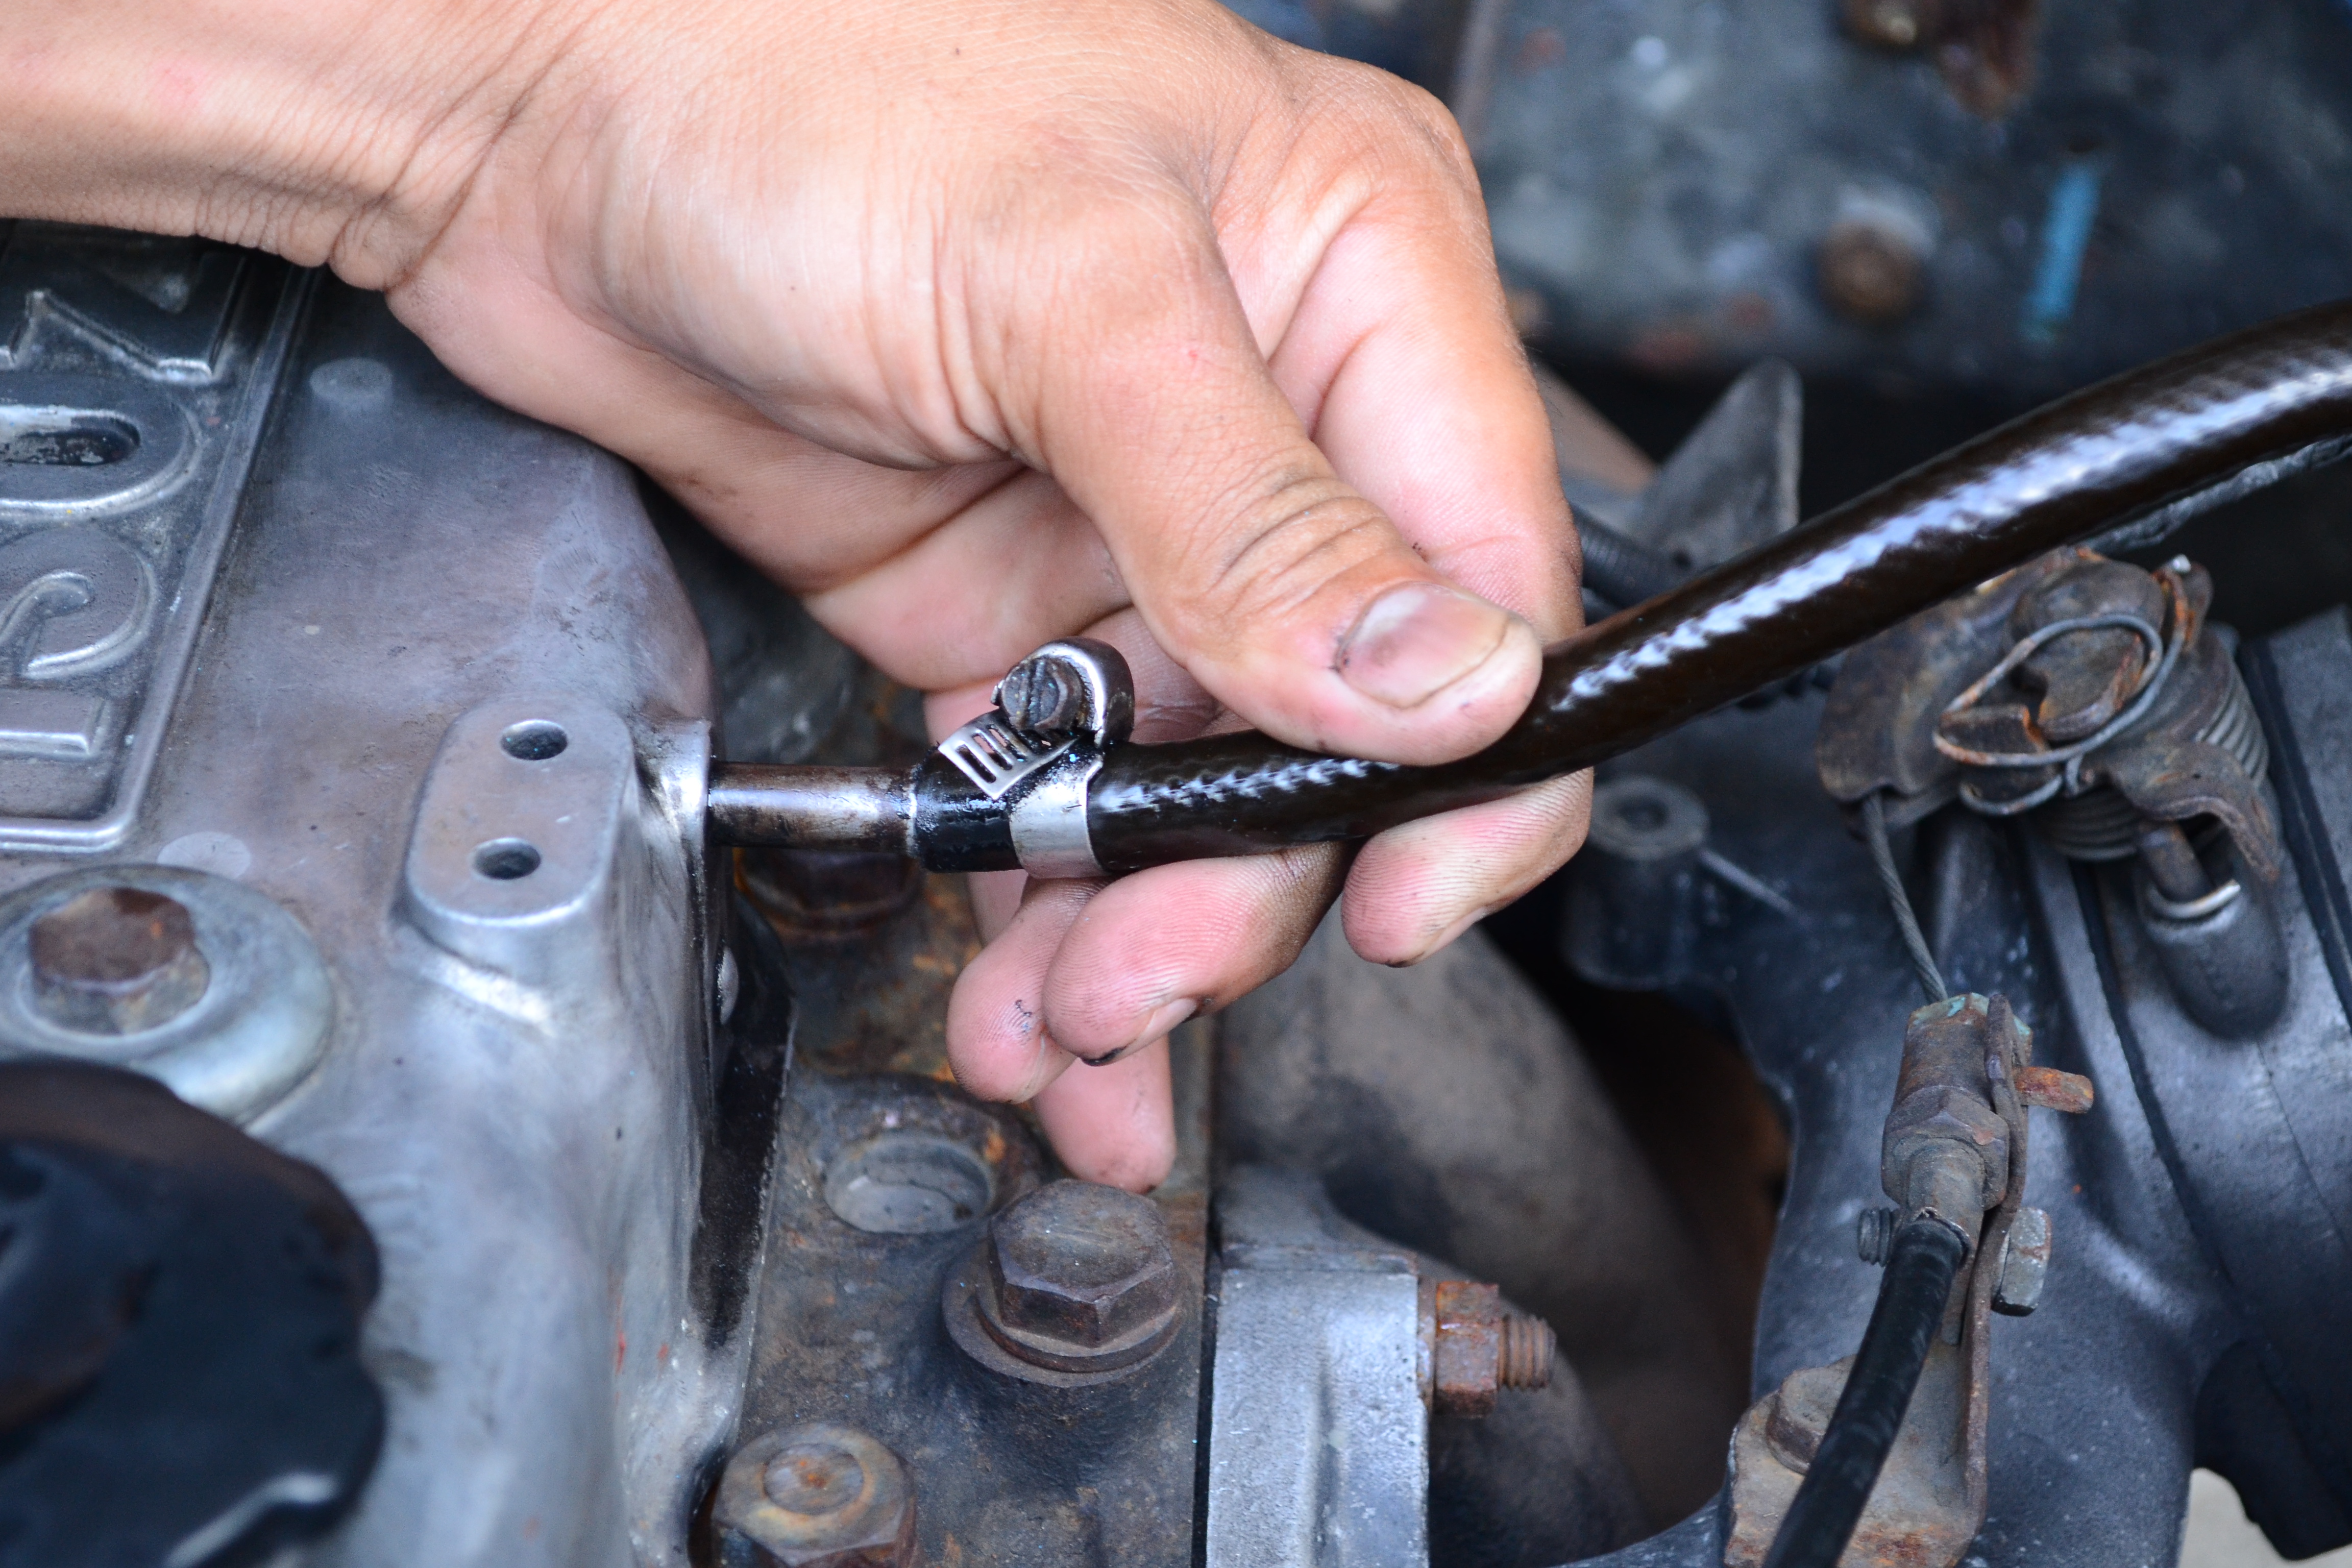
Step 2: Inspect Each Hose by Sight and Touch
Now do the close inspection. This is the part where patience beats speed. Run your eyes and fingers along the full length of each accessible vacuum hose. Many failures happen near the ends, where heat, oil vapor, and repeated expansion work the rubber hard. The middle of the hose can look fine while the end is split like an overbaked hot dog bun.
Check the hose surface
Look for:
- Hairline cracks
- Dry rot
- Fraying or abrasion marks
- Bulges or soft spots
- Flattened sections
- Ends that no longer fit tightly on their ports
Use the squeeze test
Gently squeeze rubber hoses. A healthy hose should feel flexible but not mushy. A bad one may feel brittle, crunchy, spongy, or oddly soft from oil contamination. If the outer surface cracks when flexed, that hose is not “probably okay.” It is auditioning for replacement.
Pay special attention to these areas
- PCV hoses: These often carry oil vapor and can soften or split over time.
- Brake booster hose: A leak here can affect both idle quality and brake feel.
- Elbows and molded bends: These fail more often than straight sections.
- Connections at nipples and fittings: Tiny splits hide here all the time.
If you find a loose hose, do not just jam it back on and declare victory. Check why it came loose. The hose end may be stretched, the fitting may be oily, or the rubber may have hardened enough that it no longer seals reliably.
Step 3: Start the Engine and Listen for Clues
Once the visual inspection is done, start the engine and let it idle. Now the vacuum system is active, and leaks often become easier to spot. Keep hands, sleeves, hair, and tools away from moving belts, fans, and pulleys. This is the time to diagnose the engine, not donate a hoodie string to it.
Listen first
A vacuum leak often makes a hissing, whistling, or sucking sound. Move around the engine bay and listen closely near hose connections, elbows, the intake manifold area, and the brake booster hose. A larger leak can be obvious. A tiny one may sound like a very annoyed tea kettle.
Watch how the engine behaves
At idle, vacuum leaks usually show their personality most clearly. Watch for:
- Rough shaking or misfire-like behavior
- Idle speed that surges or stays unusually high
- Stalling or near-stalling
- A change in engine note when you lightly move a suspect hose
If gently repositioning a hose changes the idle, that is a giant clue. It often means the hose is cracked underneath, split at the end, or barely sealing on the fitting.
Notice related symptoms outside the engine bay
Some vacuum hose issues show up in other systems. For example, a problem in the brake booster line may make the brake pedal feel harder than normal. A PCV-related hose issue may come with rough idle, oil consumption concerns, or a check engine light. Engine vacuum problems also tend to be more noticeable at idle than at higher throttle openings, because a small leak is a larger percentage of total airflow when the throttle is mostly closed.
Step 4: Confirm the Problem Before Replacing Parts
This is the step that separates diagnosis from guessing. If you already found a split, collapsed, or disconnected hose, your job may be nearly done. But if symptoms point to a leak and nothing looks obvious, confirm it with a better test.
Use a vacuum gauge if you have one
A vacuum gauge is an old-school tool that still earns its keep. On many gasoline engines, a steady manifold vacuum reading around 19 to 22 inches of mercury at idle is a healthy sign. A lower, unstable, or fluctuating reading can point to a vacuum leak or another engine problem. The important part is not obsessing over one number; it is looking for a reading that is steady and reasonable for your engine.
Consider a smoke test for stubborn leaks
If the leak is small or hidden, a smoke test is often the cleanest next step. Smoke introduced into the intake or vacuum system will escape where the leak is. This is especially helpful when the hose problem is tucked behind the intake, under a cover, or hidden at a gasket or fitting. In short: if your ears are not enough, let the smoke do the gossiping.
Replace the hose correctly
When you find the bad section, replace it with the correct hose type, diameter, and routing. Do not use random tubing that merely “looks close enough.” Vacuum hoses need to fit tightly, resist heat, and hold shape under engine vacuum. Cut the new hose cleanly, seat it fully, and make sure it does not rub, kink, or rest against hot parts.
After replacement, restart the engine and check whether the idle smooths out, the hissing disappears, and the hose stays put. If the check engine light remains on, the code may need to be cleared or the vehicle may need a drive cycle to confirm the repair.
Common Mistakes to Avoid
- Checking a hot engine with bare hands: Great way to learn what regret feels like.
- Ignoring the hose ends: Many leaks happen right at the connection point.
- Replacing only what you can see: If one hose is cooked, its neighbors may be close behind.
- Using the wrong replacement hose: Wrong size or weak material can create a sequel nobody asked for.
- Assuming every rough idle is a vacuum hose: Ignition, fuel, sensors, and intake gasket problems can look similar.
When a DIY Check Is Enough and When It Is Not
A DIY inspection is usually enough when the problem is obvious: a disconnected hose, visible cracking, a soft PCV line, or a split elbow you can see with a flashlight. But if you have strong symptoms and cannot find the leak, do not keep replacing parts just to feel productive. That is how budgets get weird.
Bring in a professional if:
- The leak appears to be under the intake manifold
- You suspect a brake booster, intake gasket, or emissions component problem
- You have multiple lean codes or persistent drivability issues
- You need a smoke test and do not have the equipment
- The vehicle still runs poorly after hose replacement
Sometimes the vacuum hose is the problem. Sometimes it is the messenger. A good diagnosis tells you which is which.
Real-World Experience: What Checking Vacuum Hoses Is Actually Like
In real life, vacuum hose problems rarely announce themselves with a neat label that says, “Hello, I am the broken one.” They show up in annoying little ways first. The engine may idle fine one day, then stumble the next morning when it is cold. You may notice the RPM dips at a stoplight, then climbs back up like the car is trying to save face. A lot of drivers describe the experience as something that feels “small but wrong” before it becomes obvious.
One common experience is chasing the wrong problem at first. A driver notices rough idle and assumes the spark plugs are due. Someone else sees a check engine light and blames a sensor because modern cars love doing that kind of emotional manipulation. Then the hood goes up, a flashlight comes out, and there it is: a tiny cracked vacuum elbow hiding behind the intake tube like it pays rent there. That is one reason vacuum hose checks matter so much. A cheap rubber part can imitate a much more expensive repair.
Another typical experience is discovering how heat ages rubber. Hoses near the engine often look decent from above until you flex them. Then the cracks open up like a dry riverbed. Many DIYers are surprised by how often the bad section is not the middle of the hose but the last half inch at the connection point. It is the automotive version of a sweater that looks fine until you notice the cuff is falling apart.
There is also the classic “the noise disappears when I get near it” moment. You hear a hiss with the hood open, lean in, and suddenly the engine bay sounds innocent. Then you step back and hear it again. That back-and-forth is normal. Small leaks can be subtle, especially with fan noise, injector clicking, and general under-hood chaos competing for attention. That is why people who have done this a few times get very methodical. They slow down, isolate one area at a time, and stop expecting the car to confess immediately.
Many owners also remember the satisfaction of finding a simple fix. Replacing one cracked hose and hearing the engine settle into a smooth idle feels disproportionately rewarding. It is one of those repairs where the improvement can be instant. The engine sounds calmer, throttle response feels cleaner, and the mystery hiss is gone. You close the hood feeling like a mechanical detective, which is a nice bonus.
Of course, not every experience ends with a dramatic victory in the driveway. Sometimes the visual inspection shows nothing obvious, and that is useful too. It tells you the next step should be a vacuum gauge or a smoke test, not random parts roulette. Experienced DIYers learn that a good inspection is not just about finding damage. It is also about narrowing the problem without making it worse. That mindset saves money, saves time, and keeps you from replacing half the engine because one little hose decided to age badly.
Conclusion
Checking engine vacuum hoses is one of those maintenance tasks that looks minor until you see how many problems it can explain. If you work through the job in four steps, map the hose layout, inspect each hose carefully, listen with the engine running, and confirm the issue before replacing parts, you can catch many vacuum hose problems before they turn into bigger drivability headaches.
The big takeaway is simple: do not ignore small symptoms. A faint hiss, a rough idle, or one tired little hose can snowball into wasted fuel, annoying performance issues, and unnecessary repairs. A careful inspection now is a lot cheaper than a guessing game later.