Somewhere between “I’ll just use up these fabric scraps” and “why does this doll’s head look like a lopsided potato,” I accidentally fell in love with making rag dolls.
If you’ve ever scrolled through Bored Panda and thought, “People actually make these magical little creatures by hand?”this is my version of that story.
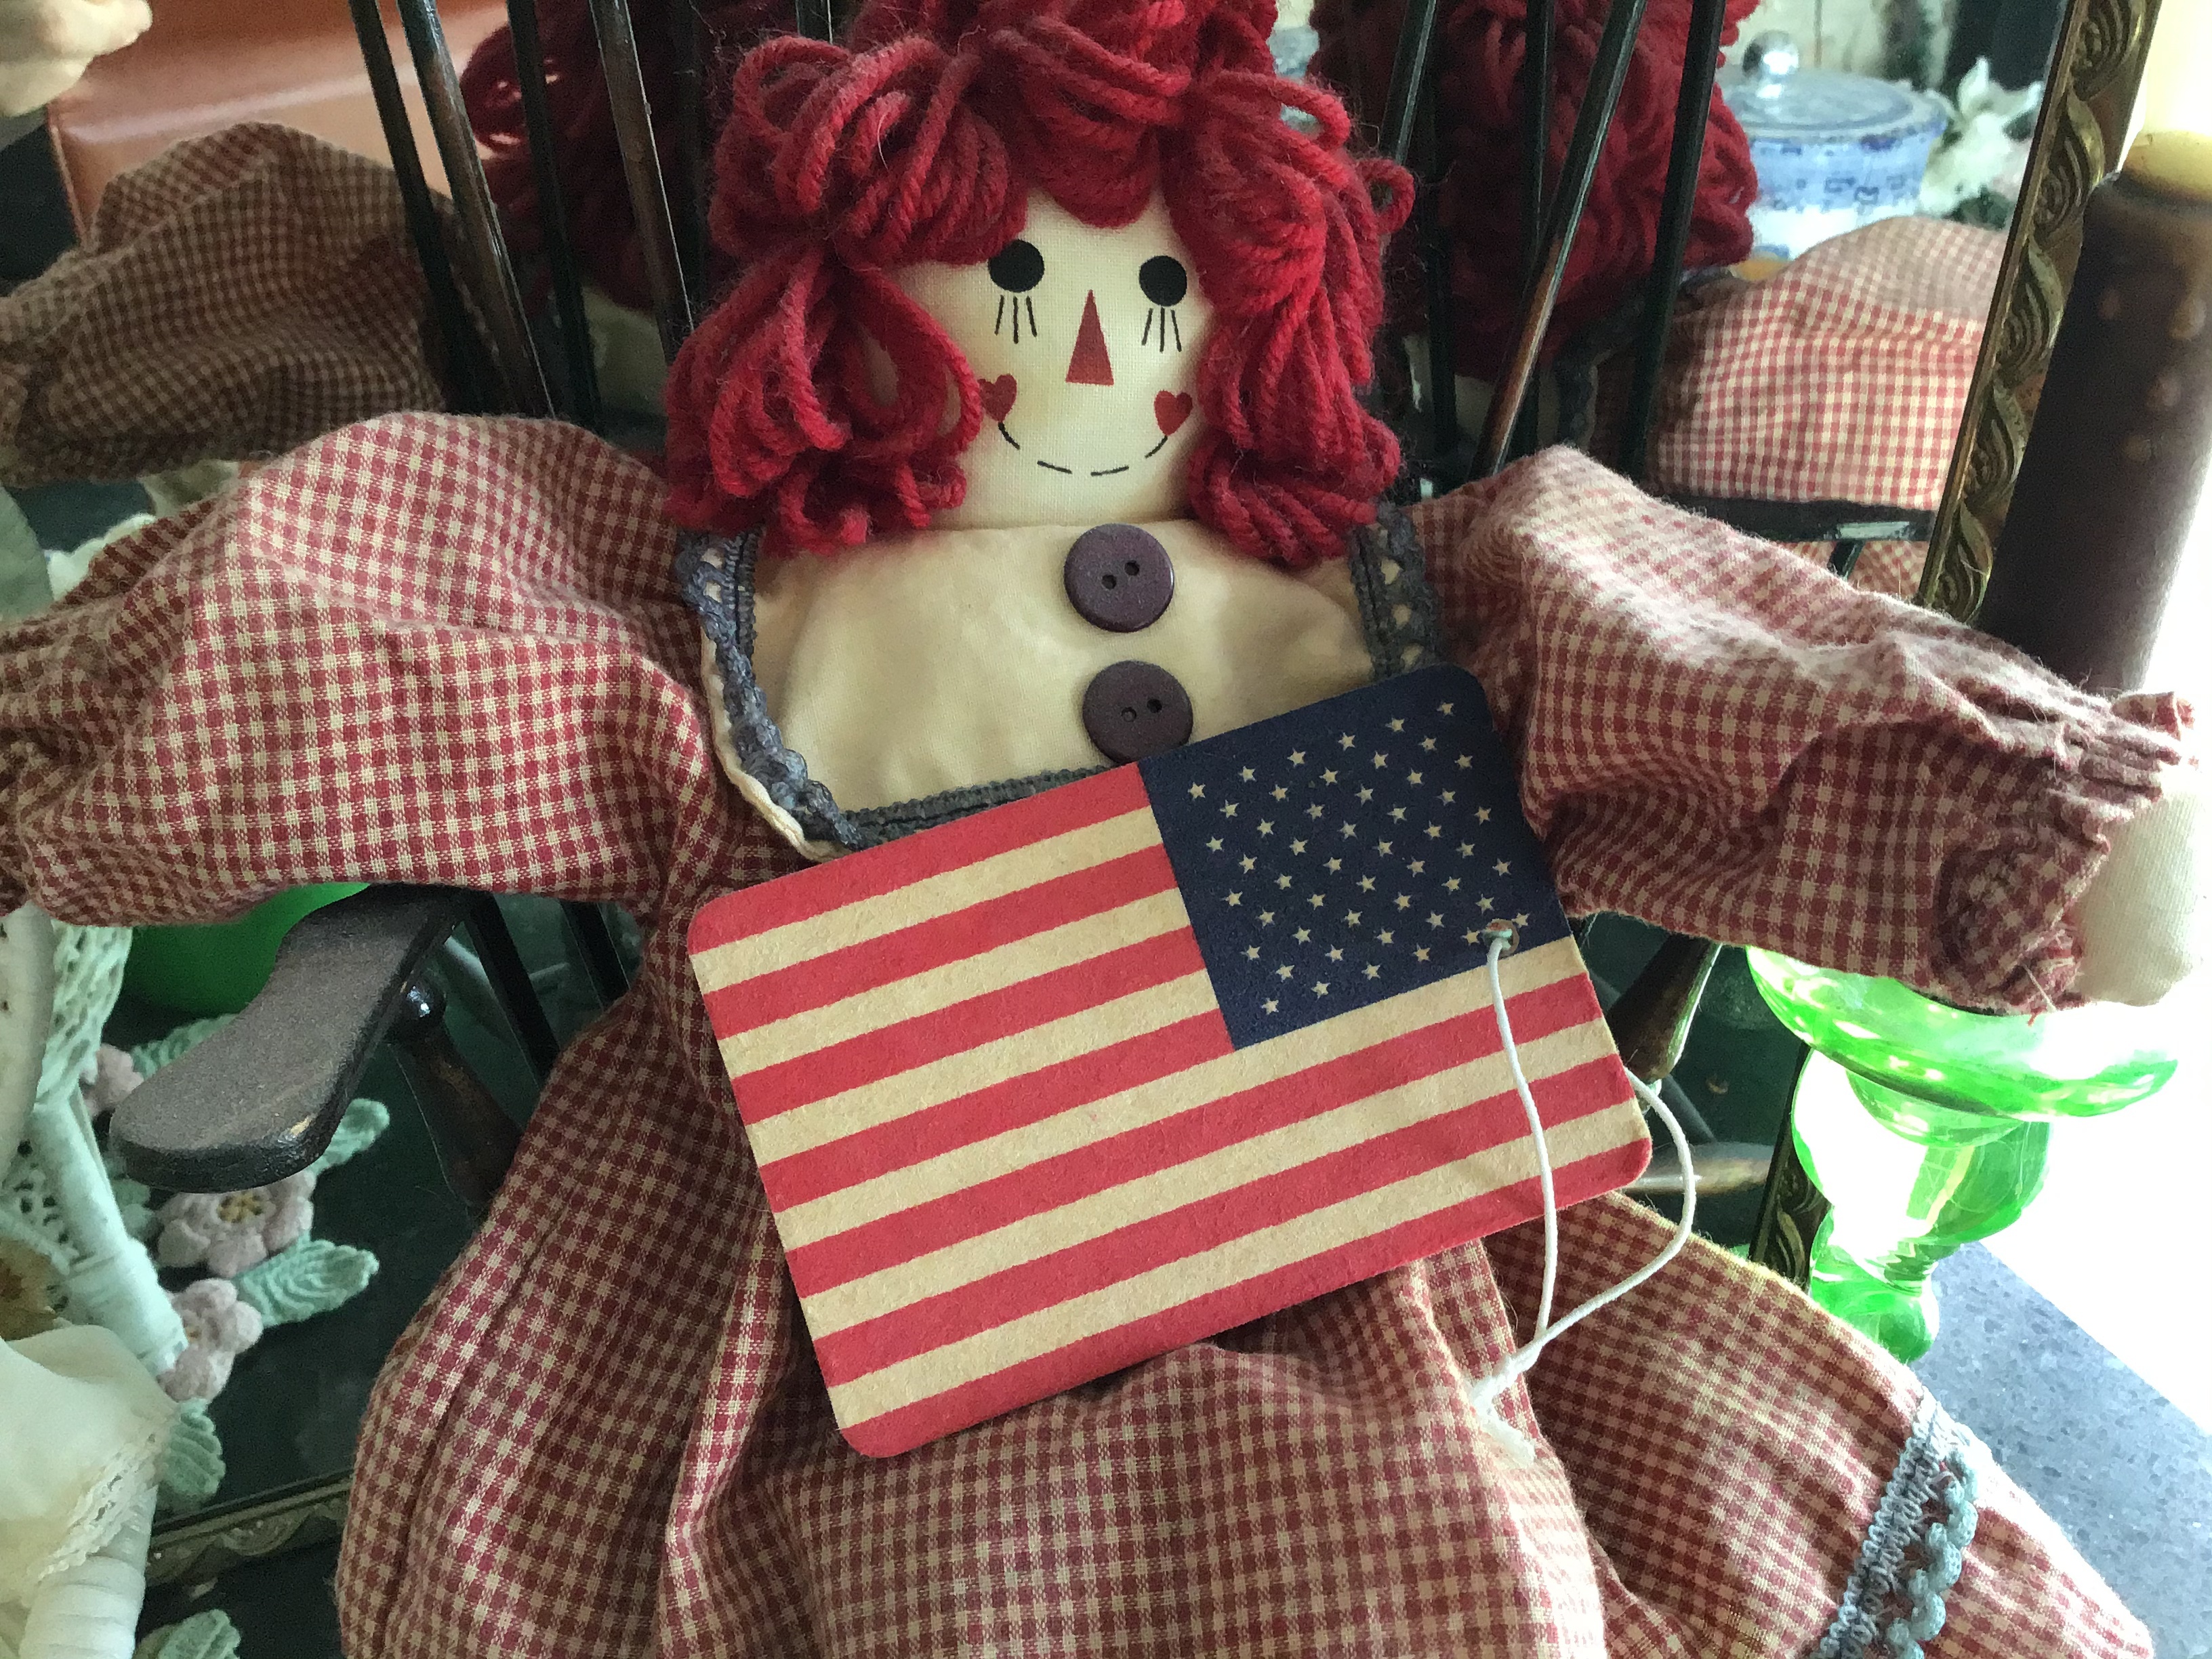
I made this rag doll, and she turned out to be part DIY project, part therapy session, and part time machine back to childhood.
Rag dolls are one of the oldest toys in the world, stitched together from leftover cloth long before toy aisles existed. Historians have found cloth dolls in ancient Egyptian graves,
Roman sites, and across Europe, where they were used both as playthings and as a way to teach sewing skills to children.
Today, they’re having a quiet comebackappearing as heirloom gifts, custom look-alike dolls, and whimsical art pieces that wouldn’t look out of place in a Bored Panda feature.
So here’s the full behind-the-scenes look at how I designed, sewed, stuffed, and styled my own rag dollfrom the first sketch to the last tiny stitch on her yarn hair
along with practical tips so you can make your own without losing your sanity (or your bobbin).
Why Rag Dolls Still Feel So Magical
There’s a reason rag dolls keep showing up in nostalgic blog posts, crafting tutorials, and heart-melting Bored Panda stories about artists who sew one-of-a-kind dolls for kids.
They’re simple, but never generic. Every handmade doll carries the personality of its makerthe crooked smile, the slightly mismatched fabrics, the tiny details only you notice.
Historically, rag dolls were born out of practicality: parents used leftover fabric to create toys when money and resources were scarce.
Instead of buying mass-produced plastic, families stitched dolls at the kitchen table. Those dolls weren’t just toys; they became comfort objects, teaching tools, and keepsakes that lived in memory long after they fell apart.
Modern artists have turned this humble tradition into an art form. Some create fantasy creatures, hand-sculpting faces and painting details like tiny works of art.
Others sew heirloom dolls that look like the kids who receive them, complete with freckles, wheelchairs, scars, or birthmarks, so each child sees themselves represented.
My doll sits somewhere in betweena simple cloth doll with just enough personality to feel like she could have her own Bored Panda post one day, but easy enough for a determined beginner to make.
Planning My DIY Rag Doll (a Little Chaos, a Little Strategy)
Picking Fabrics: Scraps, Stories, and Safety
I started where most rag dolls start: with a pile of fabric scraps that I’d been “saving for something special” for about five years. Muslin or medium-weight cotton is great for the bodysoft, easy to sew, and forgiving when your seams
are not Pinterest-perfect. Many tutorials recommend muslin or quilting cotton for the doll’s body and patterned cotton for clothes, and honestly, they’re right.
For stuffing, I went with polyester fiberfilllight, washable, and easy to find. Some crafters love wool stuffing for a more natural feel, but fiberfill is a solid choice if you’re just starting.
If your doll is for a baby or toddler, avoid loose buttons or beads and instead embroider the face or use certified “safety eyes” designed for children’s toys.
My doll is more of a shelf-sitter than a chew toy, so I allowed myself cute stitched details and some decorative trim.
Designing Her Personality First
Before I touched the scissors, I decided who this doll was. Not in a “deep backstory” waymore like: is she whimsical? Serious? Chaos in a dress?
I knew I wanted her to look like she’d just stepped out of a children’s book: simple dress, Mary Jane-style shoes, and big soft hair.
I sketched a basic front view: oval head, slightly wider torso, simple arms and legs. Nothing fancy, nothing proportionally accurate. The point of a rag doll is charm, not anatomical realism.
Many great fabric doll patterns are literally just a rounded rectangle body, a simple head, and long tube-like limbs.
Step-by-Step: How I Actually Made This Rag Doll
1. Creating the Pattern Pieces
I traced my sketch onto card stock and broke it into parts:
- Head and torso as one piece (front and back)
- Two arms
- Two legs
I left about a 1/4-inch seam allowance around everything. Some tutorials skip seam allowances and have you sew on the drawn line, but I like having that visual breathing room.
Once I had my pattern pieces, I pinned them onto folded fabric so I’d cut mirrored pairs. The goal: no “one arm longer than the other” situation. Did I achieve that goal? Eventually.
2. Sewing the Limbs and Body
I started with the arms and legs. Here’s the basic process:
- Place two arm pieces right sides together and sew around them, leaving the top open.
- Repeat for the other arm and both legs.
- Trim the seam allowances and clip the curves so the limbs turn smoothly.
Turning skinny fabric tubes right-side out should count as a workout, by the way. A chopstick, blunt knitting needle, or even the eraser end of a pencil helps push the fabric through without poking holes.
This approach matches common beginner-friendly instructions you’ll see in step-by-step rag doll guides.
3. Stuffing Without the “Weird Neck Lump” Problem
Stuffing a doll looks easy until you hit the neck. A lot of beginners end up with a doll that has a hard bump where the head meets the body because the stuffing bunches inside the narrow section.
A clever trick dollmakers use is lightly misting the fabric with water before stuffing so the fibers relax and distribute more smoothly.
I stuffed the limbs firstfirm but still squeezableand then pinned them to the right side of the body front, pointing inward. Then I placed the back body piece on top, right sides together, sandwiching the arms and legs inside.
I stitched around the body, leaving a small opening at the top of the head for turning and stuffing.
After turning the whole doll right-side out, I stuffed the head gradually in small handfuls, pausing to roll and shape it as I went. The goal is “softly round,” not “accidentally football-shaped.”
4. Giving Her a Face and Hair
For the face, I kept it simple: two small embroidered eyes, a tiny nose, and a curved smile. Many traditional rag dolls have very minimal facial features, and some folk-style dolls have none at all,
leaving the doll’s expression to the imagination.
If your doll is for a very young child, embroidered eyes and mouth are the safest choice, since they’re flush with the fabric and can’t be pulled off. For older kids or decorative dolls, safety eyes or tightly sewn-on buttons can work.
For hair, I wrapped yarn around a book to create multiple strands, stitched the bundle down along the “part line,” and then added more rows until she had a nice, full head of hair. You can style it in pigtails, braids, buns, or a wild mane.
Some artists even use wool roving or faux fur for fantasy looks, similar to the magical creature dolls you might see in art-doll galleries or Bored Panda features.
5. Dressing the Doll
Her dress is essentially a tiny, gathered rectangle:
- Cut a rectangle of fabric wide enough to wrap around her torso with a little overlap.
- Hem the bottom edge.
- Fold the top edge over to create a casing, stitch it, and thread elastic or a ribbon through.
- Gather it slightly and sew the back closed, leaving enough ease to slide it on and off.
I added a felt collar and a bit of lace trimbecause if you’re spending hours making a doll, you absolutely earn the right to go overboard on details.
Why Handmade Rag Dolls Are So Good for Kids (and Adults)
Beyond the cuteness factor, rag dolls are surprisingly powerful little objects. Child development experts often highlight how dolls help kids practice empathy, storytelling, and social skills as they role-play
everyday situations like bedtime, school, or going to the doctor.
And for adults, making a doll is a slow, intentional craft that forces you to unplug for a while. It’s mindful by default: you can’t doom-scroll while hand-stitching a tiny arm.
Plenty of makers have shared how creating dolls has turned into a meaningful side business, a healing hobby, or even a charitable projectlike sewing custom dolls for kids with unique medical conditions so they can see themselves reflected in their toys.
My doll doesn’t represent a specific child, but she does carry tiny pieces of my own story: fabric from an old shirt, leftover lace from a sewing project, and all the “let’s rip that seam out and try again” moments in between.
Bored Panda–Style: If My Rag Doll Had Her Own Post
If this doll appeared on Bored Panda, the headline might be something like:
“I Turned My Fabric Scrap Pile Into a Rag Doll, and Now She’s the Main Character of My Craft Room.”
She’d sit in a little photo series, propped on a windowsill, leaning on a stack of books, maybe drinking (fake) tiny coffee. The caption might read:
- “Face embroidered by someone who thought this would take 10 minutes. It did not.”
- “Dress made from a scrap of fabric I loved too much to throw away for three years.”
- “Hair: 100% yarn, 100% drama.”
Bored Panda is full of creators who fuse practical skills with imaginative storytellingcrafters who transform clay, fabric, or polymer into creatures that feel alive.
This rag doll is my small entry into that tradition: she’s not perfect, but she is unmistakably mine.
Tips So Your First Rag Doll Doesn’t Look Like a Horror Prop
Let’s be honest: first-time dolls can get a little… intense-looking. Here are a few things I learned (the hard way) that might save you some unpicking:
1. Start with a Simple Shape
Resist the urge to design a hyper-realistic doll with fingers, toes, and complex joints. Traditional rag dolls use very basic shapes, and that simplicity is exactly what makes them charming and durable.
2. Keep the Features Small and Low
For a cute, relaxed face, place the eyes lower on the head than you think and keep them small. Oversized features or eyes placed too high can make the doll look startled or eerie.
3. Don’t Overstuff
Overstuffing turns soft limbs into stiff sticks and makes it hard for the doll to sit. Aim for plush and flexible rather than rock-solid. Add stuffing gradually and stop before the seams look like they’re about to burst.
4. Use Strong Thread and Small Stitches
Dolls get hugged, dragged, dropped, and occasionally used as stunt doubles. Strong polyester thread and tight stitches help everything hold together. Many experienced dollmakers recommend a short stitch length on the machine and sturdy hand-sewn ladder stitches for closing openings.
5. Plan for Play (or Display)
If the doll is going to a small child, keep everything sewn-on and secure: embroidered features, extra-strong seams, no small removable pieces. For decorative dolls, you can experiment with more delicate trims, lace, and accessories.
Extra: What I Learned from Making This Rag Doll (500-Word Experience Dump)
When I started this project, I thought I was just making a cute rag doll. I didn’t realize I was going to bump into all the usual creative roadblocks: perfectionism, impatience, and the classic “this is terrible, I should quit” phase.
The first wave of doubt hit as soon as I stitched the body together and turned it right-side out. The proportions looked odd. One leg seemed slightly longer than the other. The arms were at a vaguely suspicious angle.
For a solid minute, I considered tossing the whole thing in the scrap bin. But then I remembered something I’d seen artists say in interviews: the quirks are the point.
Many handmade doll creators mention that they never aim for factory-perfect symmetryeach doll’s uniqueness is what makes it special and collectable.
So instead of unpicking every seam, I leaned into it. I adjusted what I could, stuffed carefully to soften the differences, and decided that my doll was “slightly off-center in a charming way.”
Once I embroidered her face, something shifted. Suddenly, she didn’t look like a failed project. She looked like a character.
That’s one of the strangest and most delightful parts of doll-making: there’s a moment when the doll goes from “pile of fabric and stuffing” to “little being with vibes.”
Adding eyes and a smile is like flipping a switch. I found myself instinctively propping her up upright, apologizing when I dropped her, and fussing with her hair like she could actually feel it.
On a practical level, making this doll taught me more about sewing than almost any other project I’ve done. Clothes are forgivingyou can hide mistakes in hems or ease.
Dolls, on the other hand, magnify small errors: slightly uneven seams show in the limbs, rushed stuffing makes the body lumpy, and sloppy closing stitches are very obvious.
It forced me to slow down. I used smaller stitches, pressed seams more carefully, and took breaks instead of pushing through when I got frustrated.
It also changed how I think about “wasted time.” The hours I spent redoing her dress, restyling her hair, or tweaking the placement of her features weren’t wasted at all; they were practice.
Every time I fixed something, I knew I could do it faster and better on the next doll. That’s how many dollmakers evolve from awkward first attempts to the stunning art dolls you see onlinethey just keep refining the process, one tiny improvement at a time.
Emotionally, this project felt surprisingly grounding. There’s something powerful about making a soft, comforting object with your own hands in a world that’s loud and digital most of the time.
I found myself working in quiet, without podcasts or shows in the background, just the sound of the sewing machine and the tiny rhythm of hand stitches.
It felt more like meditation than “productivity.”
When I finally tied the last knot and sat my rag doll on a shelf, I didn’t just see fabric and thread. I saw an evening I chose to spend creating instead of scrolling,
a mini masterclass in patience, and proof that handmade things still matter. She may never go viral on Bored Panda, but in my little corner of the world, she’s already internet-famous.
Wrapping It Up
Making this rag doll turned out to be more than a craft project. It was a hands-on reminder that you don’t need perfect tools, a huge budget, or professional-level skills to create something meaningful.
With a simple pattern, a few fabric scraps, and a willingness to embrace imperfection, you can stitch together a doll that feels uniquely yoursone that could easily sit alongside the handmade treasures
you see shared and celebrated online.
If you’ve ever felt inspired by the artists, parents, and crafters who share their dolls and stories on platforms like Bored Panda, consider this your nudge: you can absolutely make your own.
Start with one small doll, learn from the quirks, and let each stitch be a tiny vote in favor of creativity over perfection.