Transformers are the strong, silent types of the electrical world. They do not ask for applause, they do not make dramatic speeches, and when they fail, they usually do it with all the charm of a Monday morning outage. The good news is that transformer testing does not have to feel like decoding ancient wizardry. With the right process, the right tools, and a healthy respect for electricity, you can figure out whether a transformer is healthy, damaged, miswired, or simply having a very bad day.
This guide explains a standard field approach to transformer testing in clear English. It is written for a general audience, but it follows the logic used by electricians, maintenance technicians, and commissioning teams. It focuses on common checks such as visual inspection, continuity, winding resistance, insulation resistance, turns ratio, and secondary voltage verification. One important warning before we start: if you are dealing with a medium-voltage, high-voltage, liquid-filled, or utility-owned unit, this is not a casual weekend project. That is professional territory.
Before You Touch Anything: Know What Kind of Transformer You Are Testing
Not all transformers are created equal. A small HVAC control transformer, a dry-type building transformer, and a liquid-filled distribution transformer may all share the same basic job, but they are tested a little differently. The first step is knowing the unit’s type, voltage class, kVA rating, tap settings, and whether you are doing routine maintenance, troubleshooting, or pre-energization checks.
In plain terms, your goal is simple: confirm that the transformer is safe, correctly connected, electrically sound, and producing the voltage it is supposed to produce. Everything else is just method.
How to Test a Transformer in 12 Steps
Step 1: Read the Nameplate Like It Owes You Money
Start with the transformer nameplate and manufacturer information. You want the rated primary voltage, rated secondary voltage, frequency, phase, kVA, tap positions, temperature rise, and wiring diagram. This is your baseline. Testing a transformer without checking the nameplate first is like grading a math test without knowing what subject the class is taking.
If the nameplate says the unit is 480V primary and 120/240V secondary, your measured values should make sense in that context. Also check whether it is single-phase or three-phase, and whether taps have been moved. A tap changer in the wrong position can make a healthy transformer look suspicious.
Step 2: Shut It Down and Use Proper Lockout/Tagout
This is the step that keeps the rest of the steps from becoming your last steps. De-energize the transformer, isolate it from the source, and follow proper lockout/tagout procedures. Do not rely on a switch label, a faded marker note, or someone saying, “Yeah, I’m pretty sure it’s off.” Electricity loves confidence. It respects verification.
Make sure testing is performed only by qualified personnel, especially if there is any chance of exposure to energized parts. Even basic checks like resistance and continuity should be performed only after the transformer is safely isolated.
Step 3: Verify the Transformer Is Actually De-Energized
After lockout/tagout, verify with appropriate test equipment that the transformer is de-energized. Check the primary terminals, the secondary terminals, and any associated conductors that could still carry voltage. This matters because transformers can be fed from more than one source, and backfeed is nobody’s favorite surprise.
If you are using a digital multimeter, confirm that the meter itself is rated for the environment and in good condition. Damaged probes, cracked insulation, or the wrong meter category turn “testing” into “guessing with consequences.”
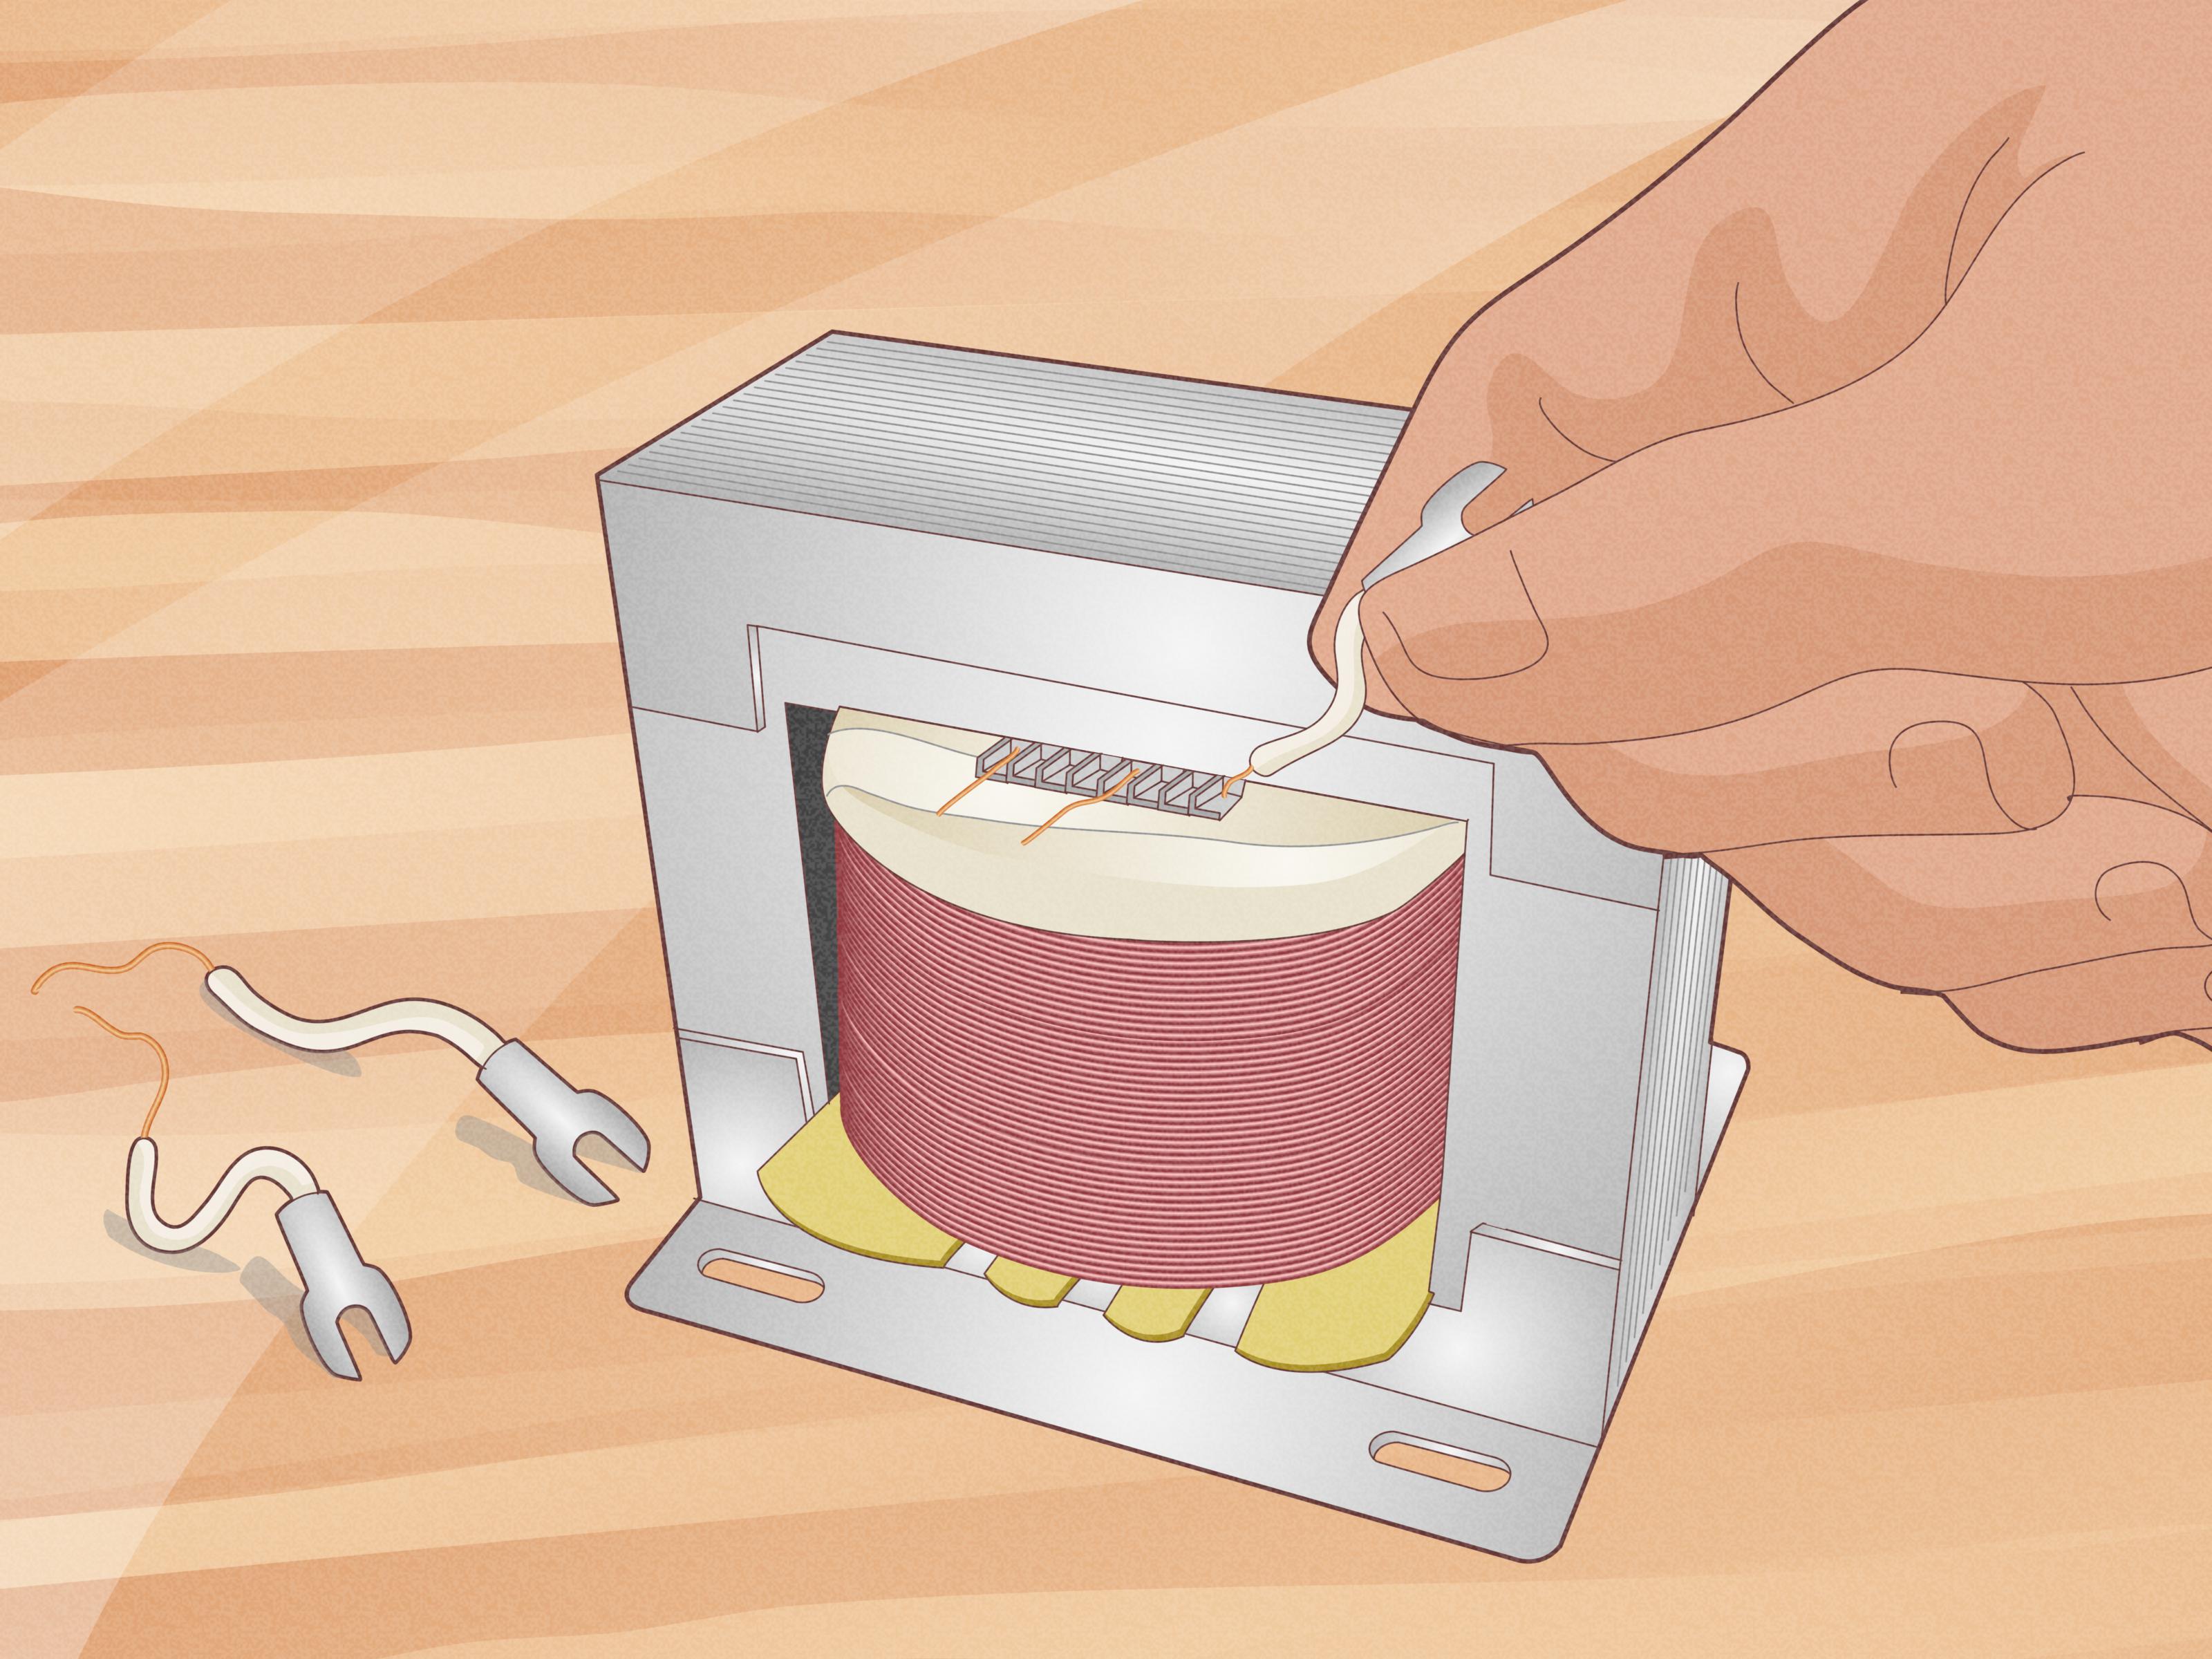
Step 4: Perform a Thorough Visual Inspection
Now look before you measure. A visual inspection often saves time because some transformer problems are not subtle at all. Check for burned insulation, cracked bushings, loose lugs, corroded terminals, oil leaks, swelling, discoloration, dust buildup, blocked cooling paths, moisture, and signs of overheating. On dry-type transformers, pay attention to the coils, core, and ventilation openings. On liquid-filled units, leaks and fluid condition matter a lot.
Also inspect grounding connections, tap settings, enclosure condition, and any temperature indicators or cooling fans. A transformer can fail a test before the meter even comes out of the bag.
Step 5: Isolate the Windings and Disconnect the Load if Required
For meaningful readings, isolate the transformer as much as practical from the rest of the system. Disconnect load-side conductors when needed so your test results reflect the transformer, not the downstream circuit. If you leave the transformer tied into a bunch of other components, your readings can become a mystery novel with too many suspects.
This is especially important for continuity testing, winding resistance testing, and insulation resistance testing. The cleaner the setup, the cleaner the data.
Step 6: Check Continuity of the Primary and Secondary Windings
With power off, use your multimeter in continuity or resistance mode to check whether each winding is open. A good winding usually shows continuity and some measurable resistance. An open circuit, often shown as OL or infinite resistance, can indicate a broken winding, a bad connection, or an internal failure.
Do not confuse “continuity exists” with “the transformer is healthy.” Continuity only tells you the winding is not completely open. It does not prove that the insulation is good, the turns ratio is correct, or the winding is free from shorted turns. Think of continuity as a quick first date, not a full background check.
Step 7: Measure Winding Resistance
Next, measure the resistance of the primary winding and the secondary winding. The absolute values vary widely by transformer size and design, so the key is not chasing a magical number from the internet. The key is whether the readings are reasonable, stable, and consistent with the transformer’s design and past test records.
In many common transformers, the higher-voltage winding has more turns and often shows higher resistance than the low-voltage winding. For example, on a small 480V-to-120V control transformer, the primary winding may read significantly higher resistance than the secondary winding. If one phase of a three-phase transformer is wildly different from the others, or if a reading is near zero when it should not be, you may be looking at a shorted turn, poor connection, or internal damage.
For larger units, technicians often use a low-resistance ohmmeter rather than a standard meter because small differences matter.
Step 8: Perform an Insulation Resistance Test
An insulation resistance test checks the condition of the insulation between windings and ground, and often between primary and secondary windings. This test is commonly done with a megohmmeter, not a standard multimeter. The idea is to see whether insulation is dry, intact, and able to resist leakage current.
Poor insulation resistance can point to moisture, contamination, aging, heat damage, or deteriorated insulation. That does not automatically mean the transformer is doomed, but it definitely means you should not shrug and move on. Compare results to manufacturer guidance, temperature-corrected expectations, and previous baseline data when available. A trending decline over time is often more informative than one lonely number.
For some dry-type transformer documentation, a reading below acceptable minimums may suggest moisture contamination and the need for drying or further evaluation.
Step 9: Run a Turns Ratio Test
A transformer turns ratio test confirms that the relationship between primary and secondary windings matches the design. If the ratio is off, the transformer may have shorted turns, incorrect internal connections, a tap setting problem, or other winding-related faults.
This test is especially valuable because a transformer can look perfectly normal and still fail ratio testing. On many units, testing all tap positions is recommended, not just the one currently in service. If a transformer is supposed to step 480V down to 120V, the ratio should align with that design. If it does not, the transformer is telling you something important, and it is not trying to be mysterious. It is trying to fail politely.
Step 10: Check Polarity, Phase Relationships, and Grounding
On single-phase units, polarity matters for safe reconnection and correct operation. On three-phase transformers, phase relationships and tap positions matter even more. A wrong connection can produce low voltage, no voltage, improper phase balance, or equipment misbehavior that sends everyone chasing the wrong problem.
Also verify that grounding is correct and that there is no unintended ground on windings that should be isolated. Grounding mistakes can distort readings and create hazards. If the transformer has auxiliary devices, such as temperature alarms, fans, or control wiring, inspect those too. Sometimes the transformer is fine and the “problem” lives in the accessories.
Step 11: Reconnect Carefully and Verify Secondary Voltage
Once the static tests look acceptable, reconnect the transformer as required, remove temporary test leads and grounds, and verify everything is ready for safe energization. Then, when appropriate and under qualified supervision, energize the unit and measure the output voltage.
This is where your earlier homework pays off. Compare the measured secondary voltage to the nameplate value and the actual tap setting. If the no-load voltage is close to expected but drops badly under load, the issue may involve overload, loose connections, or downstream faults. If the output is wrong even with little or no load, revisit the ratio, tap setting, supply voltage, and wiring configuration.
Step 12: Monitor Heat, Sound, and Performance Under Real Conditions
A transformer test is not complete just because the meter gave you one pretty number. Let the unit operate and observe it. Listen for abnormal buzzing, watch for overheating, check for unusual smells, and confirm that connected equipment behaves normally. Transformers do hum, but they should not sound like they are composing industrial jazz in distress.
Monitor for temperature rise, unbalanced currents, nuisance trips, or signs of harmonic stress in systems with lots of electronic loads. A transformer that passes basic voltage checks can still struggle in real service if the load profile is rough, the ventilation is poor, or the connections are loose.
Common Transformer Test Results and What They Usually Mean
- No continuity on a winding: possible open winding, broken lead, failed connection, or internal damage.
- Very low resistance where it should not be: possible shorted turns or winding fault.
- Weak insulation resistance: moisture, contamination, thermal aging, or deteriorated insulation.
- Bad turns ratio result: tap error, shorted turns, wrong internal connection, or nameplate mismatch.
- Correct ratio but wrong output voltage: supply issue, wiring issue, tap setting issue, or excessive load.
- Excessive noise or heat: loose core components, harmonics, overload, poor ventilation, or internal fault.
Example: A Simple Transformer Troubleshooting Scenario
Imagine a maintenance team is checking a dry-type transformer rated 480V primary to 208Y/120V secondary. The connected panel is reporting low secondary voltage on one phase. The team shuts the unit down, isolates it, verifies zero energy, and performs testing. Visual inspection finds no burn marks, but one terminal lug is loose. Continuity is present on all windings. Winding resistance on one phase is slightly off compared with the others. Turns ratio testing also shows that phase is outside the expected range. After tightening the connection, rechecking the lug, and investigating the affected winding further, the team confirms that the issue is not just a loose termination but a winding-related defect developing in one phase.
The lesson is simple: one voltage symptom can have multiple causes. That is why a good transformer troubleshooting process moves from safe isolation to inspection to electrical testing, not from guesswork to expensive replacement.
Mistakes to Avoid When Testing a Transformer
- Skipping lockout/tagout because the shutdown “should” be enough.
- Testing resistance or continuity on a live circuit.
- Comparing readings to random online numbers instead of the nameplate and baseline data.
- Ignoring tap positions during testing.
- Leaving connected loads in place and then wondering why the readings look bizarre.
- Using damaged test leads, the wrong meter category, or the wrong test instrument.
- Treating one good voltage reading as proof that the transformer is perfect.
Real-World Experiences: What People Learn the Hard Way About Testing Transformers
In real maintenance work, the most memorable transformer tests are usually not the dramatic failures. They are the cases where everything looked normal at first, and the real issue only appeared because someone followed a disciplined process. Technicians often say the biggest surprise is how many “bad transformers” turn out to have a wiring problem, a bad lug, a wrong tap setting, or a downstream issue that only imitates transformer failure. In other words, the transformer gets blamed because it is big, quiet, and conveniently nearby.
Another common experience is discovering that visual inspection matters far more than people expect. A layer of dirt, blocked ventilation, moisture inside the enclosure, or discoloration around one terminal can explain a lot before formal electrical testing even begins. Experienced crews also learn to respect baseline data. A winding resistance number by itself can be interesting, but a winding resistance number compared with last year’s reading is useful. Trending tells a story. A single snapshot just gives you one frame from the movie.
People who work around transformers also learn that time pressure is the enemy of good testing. When a building is down, a process line is waiting, or a client wants immediate answers, the temptation is to jump straight to the “main” reading. But skipping the sequence usually creates more confusion. One of the most repeated field lessons is that a correct turns ratio does not cancel out poor insulation resistance, and good continuity does not prove the unit is healthy. Each test answers a different question, which is exactly why the order matters.
There is also a practical lesson about tools. Seasoned technicians trust good instruments and inspect them before use. They do not assume a meter is fine just because it was fine yesterday. Test leads wear out, insulation cracks, and setups get messy in real job conditions. A rushed measurement with questionable leads can waste more time than it saves. Field experience tends to make people less casual, not more.
Finally, teams learn that transformer testing is part science, part pattern recognition, and part patience. Sometimes the fix is obvious. Sometimes it is a slow process of comparing phases, checking taps, confirming grounding, and measuring again after isolating one more connection. The best testing habits are not flashy. They are consistent. Read the nameplate. Verify de-energization. Inspect carefully. Measure methodically. Compare results. Recheck assumptions. That may not sound glamorous, but it is how expensive mistakes get avoided. And in the world of transformers, avoiding expensive mistakes is basically its own superpower.
Final Thoughts
If you want to know how to test a transformer the smart way, the answer is not one magic meter reading. It is a sequence. Identify the transformer, make it safe, inspect it, isolate it, test continuity, measure winding resistance, evaluate insulation resistance, verify turns ratio, check grounding and polarity, confirm output voltage, and watch how it behaves in service. That process gives you a far more reliable answer than swapping parts and hoping the electrical gods feel generous.
A transformer is basically a very disciplined relationship between magnetism, copper, and insulation. Your job during testing is to find out whether that relationship is healthy, stressed, or already writing breakup letters.