If you have ever looked at a cool graphic tee and thought, “I could make that,” the good news is yes, you absolutely can. The slightly messier news is that you may also end up with ink on your fingers, your table, and possibly one eyebrow. That is part of the charm. Screen printing a T shirt is one of the most satisfying DIY skills because it turns a simple blank shirt into something that looks personal, polished, and surprisingly professional.
Whether you want to print merch for a small brand, make shirts for a school event, or just put your oddly specific sense of humor on cotton, learning how to screen print a T shirt is a skill worth having. The process is not magic, though the first clean print feels suspiciously close. It is a method: create a stencil, place the screen, pull the ink, cure the print, and try not to celebrate so early that you smudge it.
This guide walks through the full process in plain English, from choosing the right shirt and ink to avoiding the beginner mistakes that make people question their life choices. By the end, you will know how to screen print a shirt at home, what tools actually matter, and how to get results that survive more than one trip through the laundry.
What Screen Printing Actually Is
Screen printing is a printing method where ink is pushed through a mesh screen onto fabric. Parts of the screen are blocked off by a stencil, so the ink only passes through the open areas that form your design. For a one-color print, you use one screen. For a two-color print, you use two screens. For a six-color print, you use six screens and suddenly start speaking in the language of registration marks and mild panic.
For beginners, the easiest project is a one-color design on a light-colored cotton T shirt. That setup keeps the learning curve manageable and helps you focus on the basics: pressure, placement, ink control, and curing.
What You Need Before You Start
Essential supplies
- A blank T shirt, ideally 100% cotton or a cotton-heavy blend
- A screen with your stencil already made, or a blank screen plus stencil materials
- Fabric screen-printing ink
- A squeegee
- Masking tape or screen tape
- A flat work surface or platen
- A piece of cardboard or shirt board to place inside the shirt
- Parchment paper or copy paper for heat setting
- An iron, heat press, or other ink-appropriate curing method
Helpful extras
- Lint roller
- Gloves
- Spray adhesive for the platen
- Ruler or T-square for placement
- Scrap fabric or test shirts for practice prints
If this is your first attempt, using a pre-burned screen or a simple cut stencil can save a lot of frustration. You can absolutely learn photo emulsion, and it is worth it, but there is no shame in choosing the beginner route. Nobody wins a medal for making their first project harder than necessary.
Choose the Right Shirt, Ink, and Screen
The best T shirt for beginners
Start with a light-colored shirt made from 100% cotton. Cotton takes ink well, feels good to print on, and makes troubleshooting easier. Cotton-heavy blends can also work well, but stretchy, slick, or heavily textured garments are less forgiving when you are learning. If you want a clean print with crisp edges, a smooth shirt is your friend.
White or light gray shirts are especially beginner-friendly because dark ink shows up clearly and you do not need an underbase. Printing white ink on a black shirt is absolutely possible, but it is not the easiest first date with screen printing.
Water-based ink vs. plastisol ink
This is where beginners usually pause and say, “Wait, there are types of ink?” Yes. Of course there are. Crafting loves a learning curve.
Water-based fabric ink is often the friendliest option for home printing. It cleans up with soap and water, usually has a softer feel on the fabric, and works well for simple DIY printing. The downside is that it can dry in the screen faster, so you need to keep moving and clean up promptly.
Plastisol ink is popular in commercial screen-printing shops because it is opaque, vibrant, and does not dry in the screen the way water-based ink does. It is very forgiving during the print run, but it must be cured properly at the right temperature to become durable. In a home setup, plastisol can be harder to manage unless you have the right curing equipment.
For most at-home beginners printing a one-color tee, a quality water-based fabric screen ink is the easier starting point. For production work or bulk orders, plastisol often becomes more attractive.
What mesh count should you use?
Mesh count refers to the number of threads per inch in the screen. Lower mesh counts let more ink through. Higher mesh counts hold finer detail.
Here is the simple version:
- 110–160 mesh: good for bold prints, heavier ink deposits, and white underbases
- 156–200 mesh: a strong all-purpose range for many T-shirt prints
- 180–230 mesh: better for finer detail and thinner inks
- 230+ mesh: best for very fine detail, halftones, and specialty smoothing screens
If you want one safe beginner recommendation, use a screen around 156 or 160 mesh for a simple one-color shirt. It is flexible enough for many starter designs without making life unnecessarily dramatic.
Make Your Design Screen-Ready
The best beginner design is bold, high-contrast, and not overloaded with tiny detail. Think solid shapes, thick lettering, simple logos, and strong line work. Tiny serif fonts and intricate illustrations may be beautiful, but they are not the kindest starting point.
If you are using photo emulsion, your artwork should be printed as a dark, opaque film positive. The more solid the black areas, the better your stencil usually turns out. If the light sneaks through, the emulsion may harden where it should wash out, and your beautiful design can become a mysterious blob.
A good first print size is around 8 by 10 inches for a center chest design or smaller for a left chest print. Keep the design proportionate to the garment. A giant print on a small shirt can look less “fashion-forward” and more “billboard with sleeves.”
How to Screen Print a T Shirt Step by Step
1. Prep the shirt
Lay the shirt flat on your printing surface. Slide a piece of cardboard or a shirt board inside so the ink does not bleed through to the back. Smooth out wrinkles. Use a lint roller if needed. Tiny fuzz may seem innocent, but it loves to show up exactly where you do not want it.
2. Secure the garment
If you have platen adhesive, apply a light amount so the shirt stays put during printing. If you do not, take extra care to keep the shirt flat and still. Movement is one of the fastest routes to blurry prints and regret.
3. Position the screen
Place the screen where you want the design to appear. Check alignment before ink enters the chat. A ruler helps. So does stepping back for two seconds and making sure the design is not drifting toward one armpit.
If there are open areas near the frame, tape them off so ink only goes through the design. This small step prevents big cleanup headaches later.
4. Add ink and flood the screen
Put a line of ink at the top of the image area. With light pressure, use the squeegee to flood the screen by spreading the ink across the stencil. This fills the open mesh with ink and gets it ready for the print stroke.
Think of the flood stroke as preparation, not the main event. It is the warm-up lap, not the victory speech.
5. Pull the print stroke
Hold the squeegee at an angle and pull the ink across the screen with firm, even pressure. One good print stroke is usually better than several hesitant ones. Too many passes can oversaturate the fabric and soften the edges of your design.
Your goal is consistency. Not brute force. You are printing a shirt, not trying to scrape winter ice off a windshield.
6. Lift the screen carefully
Lift the screen straight up or like a hinge if your setup allows. Avoid shifting it sideways. Check the print. If it looks crisp and even, congratulations. You have created wearable evidence of competence.
If coverage is a little light, you may be able to do one additional controlled pass, but avoid overworking the print. Test shirts are incredibly useful here because they let you learn without sacrificing the garment you actually care about.
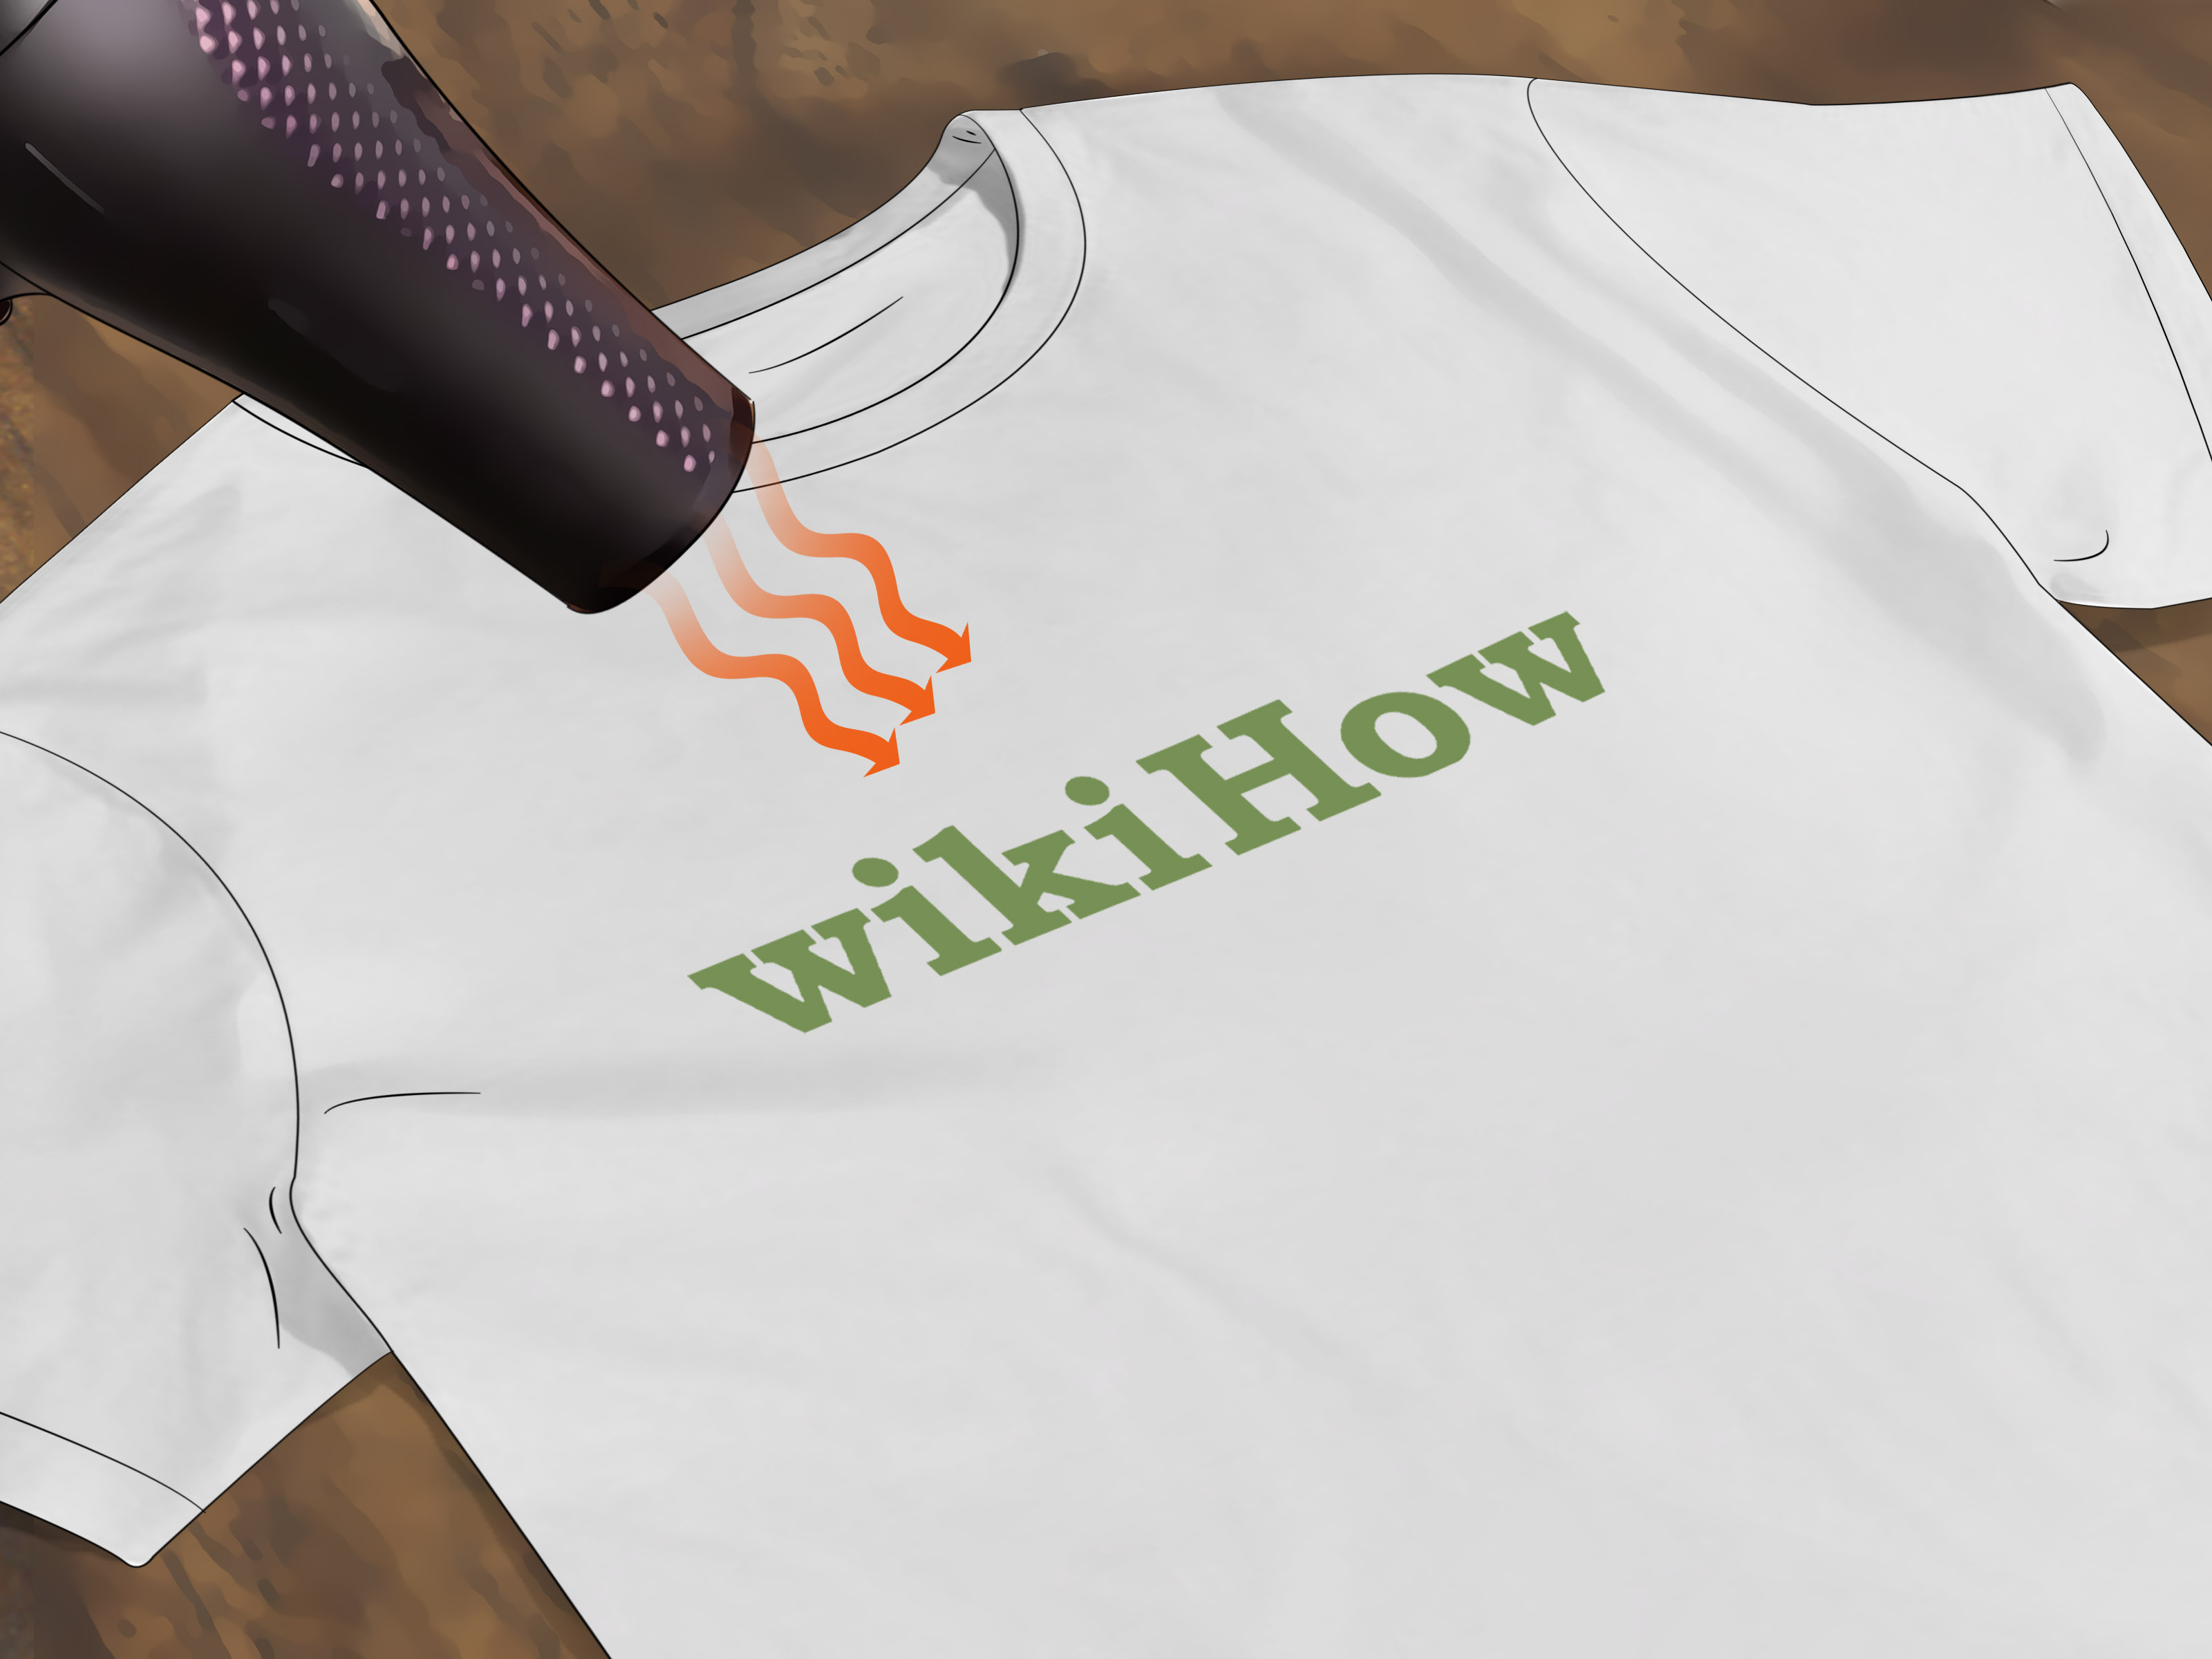
7. Let the print dry, then cure it
Drying and curing are not the same thing. Dry ink may look finished, but if it is not cured correctly, the wash will reveal your optimism.
Follow the ink manufacturer’s curing instructions exactly. Many water-based fabric inks for home use require heat setting with an iron or heat press, usually with a sheet of paper or parchment between the heat source and the print. Plastisol requires a full cure at the right temperature throughout the ink layer. If the print cracks, peels, or washes poorly, under-curing is often the culprit.
Using Photo Emulsion for a More Professional Stencil
If you want more detail and repeatability, photo emulsion is the classic route. The process is straightforward, even if the first explanation makes it sound like you need a chemistry degree and a moon phase calendar.
Basic photo emulsion workflow
- Coat the screen evenly with emulsion
- Let it dry in a dark place
- Place your film positive tightly against the screen
- Expose it to the proper light source for the correct amount of time
- Wash out the unexposed image area
- Let the screen dry fully before printing
The key word here is tight. If your film positive does not sit snugly against the screen during exposure, your edges can come out soft or blurry. That is why many tutorials recommend using a piece of glass to press the artwork firmly against the screen.
Also, do not rush the drying step. Freshly coated screens need darkness, patience, and a break from chaos. In other words, they are just like people.
How to Cure the Print So It Lasts
Proper curing is what separates a real printed shirt from a temporary fabric mood. A shirt can look amazing fresh off the table and still fail spectacularly in the wash if the ink has not been cured correctly.
With water-based fabric inks, home printers often use an iron or heat press. Always protect the print surface with the recommended paper and check that the garment itself can handle the heat. With plastisol, the ink layer must reach full cure, not just feel warm on top. That is why dedicated dryers are common in professional shops.
A smart move is to print a test sample, cure it, and wash it before committing to a full batch. It is a lot better to learn from one questionable shirt than from twenty matching mistakes.
Common Screen-Printing Problems and How to Fix Them
Blurry edges
Usually caused by too much pressure, poor contact during exposure, or movement during printing. Tighten up your setup, reduce pressure, and make sure the stencil was exposed with the film pressed firmly against the screen.
Patchy or uneven print
This can happen if the shirt is not flat, the screen is not making good contact, there is not enough ink, or the mesh is clogging. Keep the garment stable and clean the screen before the ink starts drying in place.
Ink bleeding outside the image
That often means too much pressure, too much ink, or poor taping around the image area. Screen printing rewards control, not enthusiasm.
Pinholes
These tiny accidental openings in the stencil can leave random dots in the print. Block them out with tape or filler before printing the final shirt.
Ink drying in the screen
A common issue with water-based inks. Work steadily, avoid long pauses, and clean the screen promptly after the print run. In screen printing, snacks are important, but maybe schedule them after the last pull.
A Simple Beginner Project That Actually Works
If you want a low-stress first attempt, try this setup:
- White or heather gray cotton T shirt
- One-color black ink design
- Simple text or bold icon
- 156 mesh screen
- Water-based fabric ink
- Single center-chest print
This combination is beginner-friendly because dark ink shows clearly on a light garment, the design does not require registration, and the mesh count is versatile enough for clean detail without starving the print. In other words, it gives you a fair fight.
Conclusion
Learning how to screen print a T shirt is part technique, part patience, and part accepting that your first few prints are tuition. The good news is that the process becomes intuitive surprisingly fast. Once you understand garment prep, ink choice, mesh count, print pressure, and curing, you stop feeling like you are guessing and start feeling like you are making deliberate decisions.
Start simple. Print one color. Use a shirt that is easy to work with. Choose an ink that fits your setup. Test before production. And remember: even experienced printers have bad pulls, clogged mesh, crooked shirts, and the occasional moment of staring at a print and whispering, “Well, that is not what I planned.” The difference is that they know how to fix it. Now, you do too.
Experiences From the Print Table: What Screen Printing a T Shirt Really Feels Like
One of the most relatable experiences in screen printing is how the first print can swing wildly between “This is easier than I thought” and “Why is the ink on everything except the shirt?” Beginners often assume the hard part is the actual squeegee pull, but in practice, the bigger lessons usually come from setup. The first time someone forgets to place cardboard inside the shirt, they learn immediately why bleed-through matters. The first time someone prints on a wrinkled tee, they understand why smooth fabric is not just a nice idea but a real requirement.
Another common experience is discovering that placement matters more than expected. A design can be technically perfect and still look wrong if it sits too high, too low, or slightly off center. Many first-time printers spend more time nudging the screen by half an inch than they do actually printing. That is normal. In fact, learning to slow down before the print stroke is one of the most useful habits you can build.
There is also the moment when people realize that screen printing is physical. Not exhausting, but physical. The pressure of the squeegee, the angle of the pull, the steadiness of your hands, and even how firmly the garment is held in place all affect the result. Two people using the same screen and ink can get noticeably different prints simply because their print stroke is different. That is why screen printing starts as a recipe but becomes a feel-based skill over time.
Many beginners also experience the heartbreak of an under-cured print. The shirt looks fantastic, the ink feels dry, and confidence is sky-high. Then the first wash happens, and the design fades, cracks, or softens into disappointment. It is a frustrating experience, but it teaches one of the most important lessons in garment printing: the job is not finished when the ink looks dry. It is finished when the ink is cured correctly for that specific product and fabric.
Then there is the surprisingly fun part: repetition. Once you print the second or third shirt, the rhythm starts to click. Flood, pull, lift, inspect, repeat. The motion becomes smoother, your eye gets better at spotting problems early, and you start making small improvements without even thinking about them. That is usually the point where screen printing stops feeling like a craft experiment and starts feeling like a real production skill.
Perhaps the best experience of all is pulling a clean print off the platen and realizing you made something that looks store-bought, except better because it is yours. The image is crisp, the shirt fits the design, and the whole thing feels intentional. That moment is why people stick with screen printing. It combines creativity with process in a way that is oddly addictive. One good print leads to another idea, then another shirt, then suddenly you are evaluating blank garments like a person with very strong opinions about cotton weight. It happens fast.