If your window screen looks like it lost a fight with a cat, a lawn chair, or one very ambitious mosquito, good news: rescreening a window is one of the easiest home repairs you can do yourself. You do not need a workshop full of mysterious gadgets. You do not need to summon a contractor. And you definitely do not need to stare at that ragged screen all summer while bugs treat your living room like an all-inclusive resort.
With a few basic tools, a little patience, and about the length of one playlist, you can replace torn mesh, tighten up a sagging screen, and make your window look fresh again. The trick is not strength or speed. It is knowing the right order: remove the old material, install the new mesh, and lock everything in place without turning the frame into a pretzel.
This guide walks you through exactly how to rescreen a window in 3 quick and easy steps, plus what tools to use, how to avoid the most common mistakes, and which screen material makes sense for your home. Whether you are fixing one sad screen or planning a full-house refresh, this is the kind of DIY project that gives you instant results with very little drama. And in the home-improvement world, that is basically a standing ovation.
Why Rescreening a Window Is Worth It
Rescreening improves airflow, keeps insects outside where they belong, and instantly makes older windows look better. It is also cheaper than replacing an entire screen frame when the frame itself is still in decent shape. In many cases, the only parts that actually need help are the torn mesh and maybe the old spline.
If your frame is square, reasonably sturdy, and not badly bent, a simple rescreen job is usually the smart move. If the frame is twisted, cracked, or badly damaged, that is when a full replacement may make more sense.
Signs Your Screen Needs Replacing
- Tears, holes, or frayed edges in the mesh
- A sagging screen that looks loose and tired
- Brittle or cracked spline that no longer holds tightly
- Discoloration, corrosion, or general wear from years of sun and weather
- Pet damage, because some household “helpers” are less helpful than advertised
What You Need Before You Start
One reason this project is so beginner-friendly is that the supply list is pleasantly short. No power saws. No demolition. No dramatic soundtrack required.
Basic Tools and Materials
- Replacement screen mesh
- Screen spline
- Spline roller tool
- Flathead screwdriver or small pick
- Utility knife with a sharp blade
- Scissors
- Clamps or painter’s tape
- Clean rag and mild soap or water
Choosing the Right Screen Material
The best window screen material depends on your priorities. Fiberglass is the most common option because it is affordable, flexible, and easy for beginners to work with. Aluminum is more rigid and can resist sagging better, but it is less forgiving during installation. Pet-resistant screen is thicker and tougher, which is great for homes with dogs or cats, though it may require a different spline size. If you want better outward visibility or protection from tiny insects, specialty screening is also available.
For most standard DIY window rescreening projects, fiberglass is the easiest choice. It behaves well, cuts cleanly, and gives you a little grace if your hands are not perfectly steady. And frankly, grace is nice when you are holding a roller tool and trying not to say anything impolite at a corner.
How to Rescreen a Window in 3 Quick & Easy Steps
Step 1: Remove the Screen Frame, Old Spline, and Damaged Mesh
Start by removing the screen frame from the window and placing it on a flat, stable work surface. A table works well, but a clean floor is fine too. You want enough space to move around the frame without stepping on the new mesh like a DIY gremlin.
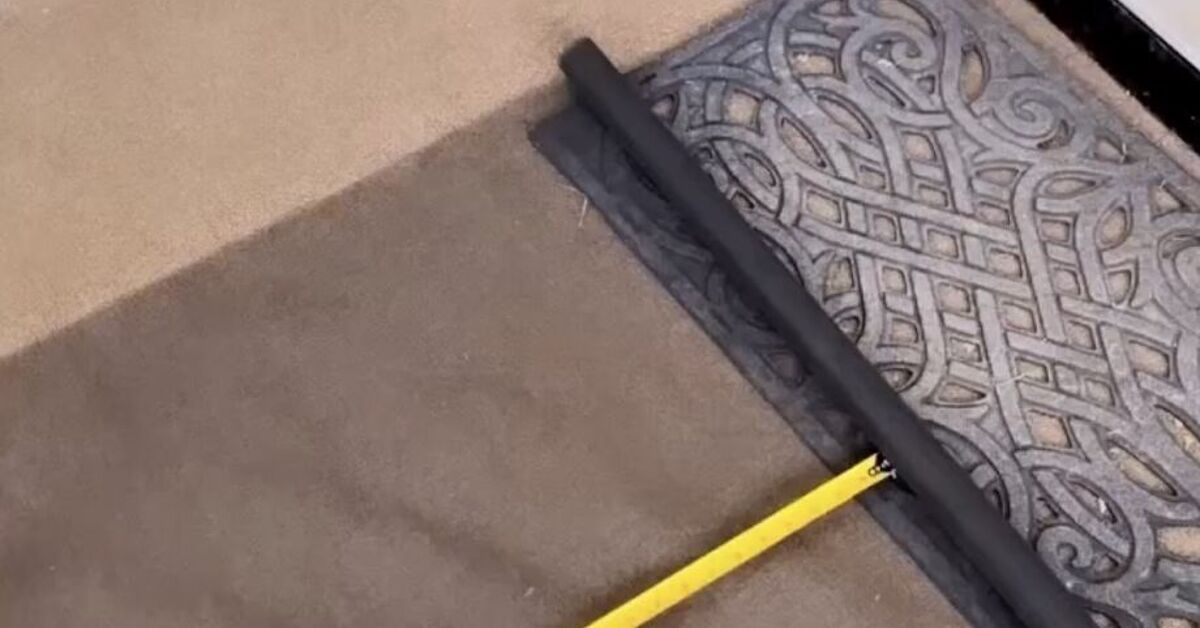
Locate the spline, which is the rubbery cord tucked into the groove around the edge of the frame. Use a small flathead screwdriver or pick to lift one end. Once you get a section loose, pull the spline out around the perimeter. The old screen mesh should come free as soon as the spline is removed.
Before you toss everything aside, inspect the spline. If it still feels flexible and looks intact, you may be able to reuse it. But if it is brittle, cracked, flattened, or stretched, replace it. This is not the part of the project where “good enough” usually pays off.
Next, clean the frame thoroughly. Wipe out the groove where the spline sits, remove dust and debris, and make sure the frame is dry before moving on. Tiny crumbs of dirt do not seem like a big deal until they make your spline sit unevenly and your new screen wrinkle like a shirt abandoned in a suitcase.
Step 2: Lay Out, Align, and Position the New Screen Mesh
Roll the new screen mesh over the frame so it overlaps all sides. Leaving about 1 to 2 inches of extra material around the edges is usually enough to give you working room. Make sure the screen lies flat and straight across the frame. If the weave looks crooked now, it will still look crooked later, only with more commitment.
If the screen material arrived curled on a roll, let it relax for a moment or place it curved side down so it sits flatter. You can use clamps or painter’s tape on opposite sides of the frame to hold it in place while you work. This is especially helpful for beginners because it keeps the mesh from shifting at the worst possible moment.
The goal here is gentle tension, not a tug-of-war. Pull the mesh smooth so there are no obvious ripples, but do not stretch it like you are trying to tune a drum. Too little tension leads to sagging. Too much can bow the frame or distort the finished screen.
Step 3: Roll in the Spline, Tighten the Screen, and Trim the Excess
Now for the satisfying part. Starting at one corner, use the roller tool to press the screen lightly into the groove. Then place the spline on top and roll it into the channel section by section. Work your way around the frame slowly, keeping the screen smooth with your free hand as you go.
Do one side, then the opposite side, then the remaining edges. That pattern helps distribute tension more evenly. If you notice wrinkles, bunching, or bulges, stop and fix them before continuing. Pull up the spline in that area and try again. This is normal. Even experienced DIYers occasionally need a do-over, especially at the corners, where screens like to test your patience for sport.
Once the spline is fully seated, check the screen for even tension. It should look flat and neat, not loose and floppy, but not stretched so tightly that the frame bends inward. When everything looks right, use a sharp utility knife to trim the excess mesh along the outer edge of the spline. Angle the blade away from the spline so you do not accidentally nick it.
Reinstall the finished screen in the window, step back, and admire the fact that your fresh air now comes with fewer insects and significantly more dignity.
Common Mistakes to Avoid
Rescreening a window is simple, but a few small mistakes can turn an easy project into a mildly annoying one. Here are the big troublemakers to avoid:
Using the Wrong Spline Size
If the spline is too small, it may pop out. If it is too large, it can be difficult to roll in and may damage the frame or warp the screen. Measure the groove or match the old spline carefully before buying a replacement.
Pulling the Screen Too Tight
Many beginners assume tighter means better. It does not. Over-tension can bow lightweight aluminum frames, making the finished screen harder to reinstall.
Skipping Frame Cleaning
Dust, old debris, and bits of damaged spline can keep the new spline from seating correctly. A quick wipe-down saves a lot of frustration.
Using a Dull Blade
Trimming with a dull utility knife is a fantastic way to snag your beautiful new screen five seconds before the finish line.
Ignoring Frame Damage
If the frame is bent or no longer square, a new screen may still look bad or fit poorly. In that case, replacing the whole frame may be the better fix.
Should You Patch a Screen or Rescreen the Whole Thing?
For tiny holes or very small tears, a patch can be a quick fix. Patch kits and repair tape are useful when you need a temporary solution or do not care much about appearance. But if the tear is large, the mesh is sagging, or the screen has multiple damaged areas, full rescreening almost always looks better.
Think of it this way: patching is like putting a bandage on a paper cut. Rescreening is replacing the shirt that has three holes, a stain, and an unfortunate history. Sometimes the fresh start wins.
How Long Does It Take to Rescreen a Window?
For one standard window screen, the project often takes between 20 and 45 minutes, depending on your experience and whether the old spline fights back. Your first one may take longer while you learn the rhythm. After that, most people get faster quickly.
If you have multiple windows to do, set up an assembly line: remove and clean all frames first, then cut mesh pieces, then install spline one screen at a time. It makes the work more efficient and keeps you from bouncing around like a caffeinated octopus.
Maintenance Tips to Make Your New Screen Last Longer
- Clean screens gently with a soft brush, cloth, or light vacuum attachment
- Avoid pushing on the mesh when removing or reinstalling screens
- Check corners and spline every season for loosening
- Upgrade to pet-resistant mesh if animals frequently scratch at windows
- Store removable screens carefully if you take them out seasonally
A little maintenance goes a long way. Window screens are not dramatic, but they do appreciate basic respect.
Extra Experience: Real-World Lessons From Rescreening Windows
One of the most useful things people discover after rescreening a few windows is that the project is less about force and more about rhythm. The first screen often feels awkward. The roller tool may seem a little fussy, the mesh may slide when you do not want it to, and the corners may behave like they were designed by a committee of pranksters. But once you get through the first frame, the process starts to click. You begin to understand how much tension is enough, how slowly to roll the spline, and when to pause instead of trying to power through a wrinkle.
A common real-world experience is realizing that preparation matters more than expected. Homeowners often want to jump straight to the “fun” part and roll in the new screen right away, but the jobs that come out best usually start with a clean frame, a sharp blade, and a calm setup. A screen replacement that looked like it would take ten rushed minutes often ends up taking longer if the groove is dirty or the spline is worn out. On the other hand, when the frame is cleaned first and the materials are laid out neatly, the work tends to go smoother from the first pass.
Another practical lesson is that screen material has personality. Fiberglass is generally more forgiving and tends to be friendlier for beginners. It flexes, it lies flatter, and it is less likely to fight back if you reposition it. Aluminum can look great, but it tends to make every little misstep more obvious. People who choose aluminum for a first attempt sometimes find that it creases more easily or feels harder to keep perfectly aligned. That does not make it a bad choice, just one that rewards a slower hand and a bit more patience.
Many DIYers also notice that old frames tell a story. Some pop out easily and are ready for new mesh in minutes. Others reveal hidden problems: bent corners, loose joints, brittle spline, or hardware that has clearly seen better decades. In those situations, rescreening becomes a helpful diagnostic project. You are not just replacing mesh. You are learning whether the frame is still worth saving. That can prevent you from wasting time on a repair that never had a fair chance of looking good in the first place.
There is also a confidence factor that sneaks up on people. Rescreening a window is one of those home repairs that seems oddly specialized until you do it once. Then suddenly it becomes part of your practical skill set. The next torn screen does not feel like an annoying mystery. It feels like a straightforward fix. That shift matters, especially for homeowners or renters who want to be more self-sufficient without diving into huge, complicated projects.
Finally, there is the simple satisfaction of the finished result. A newly rescreened window looks clean, crisp, and well cared for. The breeze comes through better. The room feels fresher. And every time you look at that smooth, neatly fitted screen, you get a small reminder that not every home repair has to be expensive, exhausting, or accompanied by a trip to the hardware store where you accidentally buy twelve unrelated things. Sometimes a simple project really is simple. And that is part of what makes rescreening a window such a rewarding DIY win.
Final Thoughts
If you have been putting off this repair because it sounded technical, here is the truth: learning how to rescreen a window is one of the most approachable DIY skills you can pick up. Once you understand the basic sequence, the project becomes surprisingly fast, affordable, and repeatable.
Remember the formula: remove the old screen, position the new mesh, then roll in the spline and trim. That is really it. The rest is just taking your time, using the right materials, and resisting the urge to over-tighten everything like you are preparing the screen for a wind tunnel.
Do one window well, and the next one will be even easier. Before long, you will have cleaner-looking windows, better airflow, and one fewer home repair sitting on your mental to-do list. Not bad for a project that starts with a torn screen and a screwdriver.