
Note: This publish-ready article synthesizes practical woodworking methods, ring-making best practices, finishing guidance, and safety recommendations from reputable woodworking and shop-safety references. Source links are intentionally omitted for clean web publication.
Introduction: A Tiny Ring, a Big Woodworking Win
Making a wooden ring is one of those DIY projects that looks suspiciously fancy for the amount of material it requires. You can start with a scrap of hardwood no bigger than a cookie, and a few hours later you may have a smooth, wearable piece of handmade jewelry. It is small, affordable, personal, and just complicated enough to make you feel like a wizard with sandpaper.
Wooden rings are popular because each one is naturally unique. Walnut gives a rich chocolate color, maple offers a clean pale look, cherry warms beautifully over time, and exotic woods can show dramatic grain patterns. You can make a simple solid wood ring, a laminated ring with contrasting layers, or a wooden ring built around a metal core for extra strength. This guide focuses on a beginner-friendly solid or laminated wooden ring method using common woodworking tools, careful sanding, and a protective finish.
Before you begin, remember that rings are tiny but tools are not. Cutting, drilling, sanding, and finishing all require patience and basic shop safety. Wear eye protection, use a dust mask or respirator when sanding, secure your workpiece, and ask an experienced adult or trained woodworker for help with power tools if you are new to them. A ring is not worth a dramatic finger-related plot twist.
Materials and Tools You Will Need
Recommended Materials
- Small hardwood blank, about 2 inches by 2 inches by 1/2 inch
- Wood glue if making a laminated ring
- Sandpaper in several grits: 80, 120, 180, 220, 320, 400, and 600
- CA glue, tung oil, Danish oil, beeswax blend, or another durable wood finish
- Pencil and ruler
- Painter’s tape or masking tape
- Ring sizing chart or a ring that already fits
Useful Tools
- Drill or drill press
- Forstner bit, spade bit, or brad-point bit sized for the inner hole
- Hole saw, coping saw, scroll saw, or band saw for the outer shape
- Round file or small sanding drum
- Clamp
- Dowel, ring mandrel, or tapered stick for shaping
- Rotary tool or small belt sander, optional
- Digital caliper, optional but very helpful
How to Make Wooden Rings: 15 Steps
Step 1: Choose the Right Wood
Start with a hardwood that is strong, attractive, and not too brittle. Walnut, maple, cherry, oak, ash, and mahogany are common choices. Avoid softwoods like pine for your first ring because they dent easily and may not hold up well during daily wear. Also be cautious with woods known to cause skin irritation or strong allergic reactions, especially if the ring will sit against skin for hours.
For beginners, maple and walnut are excellent choices. Maple is hard and clean-looking, while walnut sands beautifully and hides small beginner mistakes better than pale wood. If you want a striped look, glue together thin layers of contrasting woods. Laminated rings are often stronger than rings cut from a single piece because the grain direction can be arranged to reduce cracking.
Step 2: Decide on the Ring Style
There are three common wooden ring styles: solid wood rings, laminated wood rings, and wooden rings with metal cores. A solid wood ring is carved from one piece of wood. It is simple and beautiful, but it can be weaker if the grain runs in an unlucky direction. A laminated wood ring uses several thin pieces glued together, creating strength and visual contrast. A ring with a metal core combines the warmth of wood with the durability of stainless steel, titanium, or ceramic.
For this guide, a laminated or solid wood ring is easiest. A metal core ring usually requires more accurate measuring and a lathe or ring mandrel system. It is a fantastic upgrade later, but for your first wooden ring, keep things friendly.
Step 3: Measure the Ring Size
Use a ring sizing chart, a ring mandrel, or an existing ring that fits the intended finger. Measure the inside diameter carefully. A ring that is slightly too tight will be annoying, and a ring that is too loose may disappear faster than snacks at a movie night.
Wooden rings can feel slightly different from metal rings because wood is warmer and often wider. If you are making a wide band, consider adding a tiny bit of extra room. Comfort matters. A beautiful ring that cannot pass the knuckle is basically a tiny wooden bracelet with commitment issues.
Step 4: Prepare the Blank
Cut your wood blank slightly larger than the final ring. A 2-inch square piece is usually enough. If you are laminating layers, cut several thin slices, spread a thin, even layer of wood glue between them, stack them neatly, and clamp them flat. Let the glue cure fully before drilling or shaping. Many wood glues need at least several hours before handling and about 24 hours before the joint reaches full strength.
Do not rush the glue-up. A ring is small, and small pieces punish impatience. If the layers shift while clamped, your beautiful striped ring can turn into a tiny leaning tower of walnut.
Step 5: Mark the Center
Draw diagonal lines from corner to corner on the blank. Where the lines cross is the center. Mark this spot clearly. Centering is important because the inside and outside circles need to line up. If they do not, one side of the ring may end up too thin and weak.
If your blank has especially attractive grain, take a moment to decide which side should become the face of the ring. Small decisions now can make the finished piece look intentional instead of accidental.
Step 6: Drill the Inner Hole
Clamp the blank securely to a work surface. Use a drill press if available because it keeps the hole straight. Choose a bit slightly smaller than the final ring size. Drill slowly and steadily through the center mark. A Forstner bit often creates a cleaner hole than a standard twist bit, especially in hardwood.
Do not hold the blank by hand while drilling. Small wood pieces can spin suddenly, and that is not the kind of excitement this project needs. Use clamps, keep fingers clear, and let the bit do the work.
Step 7: Cut the Outer Circle
Once the inner hole is drilled, draw the outer circle around it. The distance between the inner hole and outer edge will become the ring wall. For a beginner ring, leave the band a little thicker than you think you need. You can always sand wood away, but putting it back requires magic, glue, or acceptance.
Cut the outside shape with a hole saw, coping saw, scroll saw, or band saw. Stay outside the line so you have material left for shaping. The rough ring does not need to look elegant yet. At this stage, “wooden washer with potential” is a perfectly acceptable appearance.
Step 8: Refine the Inside Fit
Use a round file, sanding drum, or sandpaper wrapped around a dowel to enlarge and smooth the inner hole. Test the fit frequently. Sand evenly around the inside so the ring stays round. If one area receives too much sanding, the hole can become oval.
A comfortable inside edge is essential. Sharp inner corners make a ring unpleasant to wear, so gently round the inside edges. This small detail can make a handmade ring feel much more professional.
Step 9: Shape the Outside Profile
Mount the ring on a dowel, tapered stick, or ring mandrel. If it is loose, wrap the dowel with tape until the ring fits snugly. Sand the outside until the ring becomes round and balanced. You can create a flat band, a rounded comfort shape, or a gently domed profile.
Work slowly and rotate the ring often. Symmetry matters more on a ring than on many larger projects because the eye notices uneven edges quickly. A slightly rounded band is usually the most forgiving shape for beginners.
Step 10: Thin the Band Carefully
Now adjust the width and thickness. A wooden ring that is too bulky can feel awkward, while one that is too thin may crack. For many casual rings, a band width of about 6 to 8 millimeters works well, though personal taste varies.
Sand both sides flat and check the ring on your finger or sizing tool. Keep the walls thick enough for strength, especially if you are using solid wood. Laminated rings can be more forgiving, but they still need enough material to survive daily wear.
Step 11: Sand Through the Grits
Sanding is where the ring changes from “I found this in a garage” to “I made this on purpose.” Start with a coarse grit such as 80 or 120 to remove saw marks. Move gradually through 180, 220, 320, 400, and 600 grit. Each grit should remove the scratches from the previous one.
Do not skip too aggressively between grits. Jumping from 80 to 600 sounds efficient, but it usually leaves scratches that appear later under finish. Sand the inside, outside, and edges. The smoother the ring feels before finishing, the better it will look afterward.
Step 12: Remove Dust Completely
Before applying finish, remove sanding dust with a clean cloth, soft brush, or vacuum. Dust trapped under finish creates cloudy spots and rough patches. Since a ring is handled closely, tiny flaws are easy to feel.
You can lightly dampen the wood to raise the grain, let it dry, and sand again with fine grit. This is especially useful if you plan to use a water-based finish. It helps prevent the surface from becoming fuzzy after the first coat.
Step 13: Apply a Protective Finish
Wood needs protection from sweat, handwashing, humidity, and everyday bumps. Popular wooden ring finishes include CA glue, tung oil, Danish oil, wipe-on polyurethane, shellac, and wax blends. CA glue creates a hard, glossy coating and is common for jewelry, but it requires careful application and ventilation. Oils and waxes feel more natural but may need more maintenance.
Apply thin coats rather than one heavy coat. Let each coat dry according to the product instructions. If the surface feels rough between coats, sand lightly with very fine grit. The goal is a smooth, sealed ring that still shows the grain.
Step 14: Polish the Ring
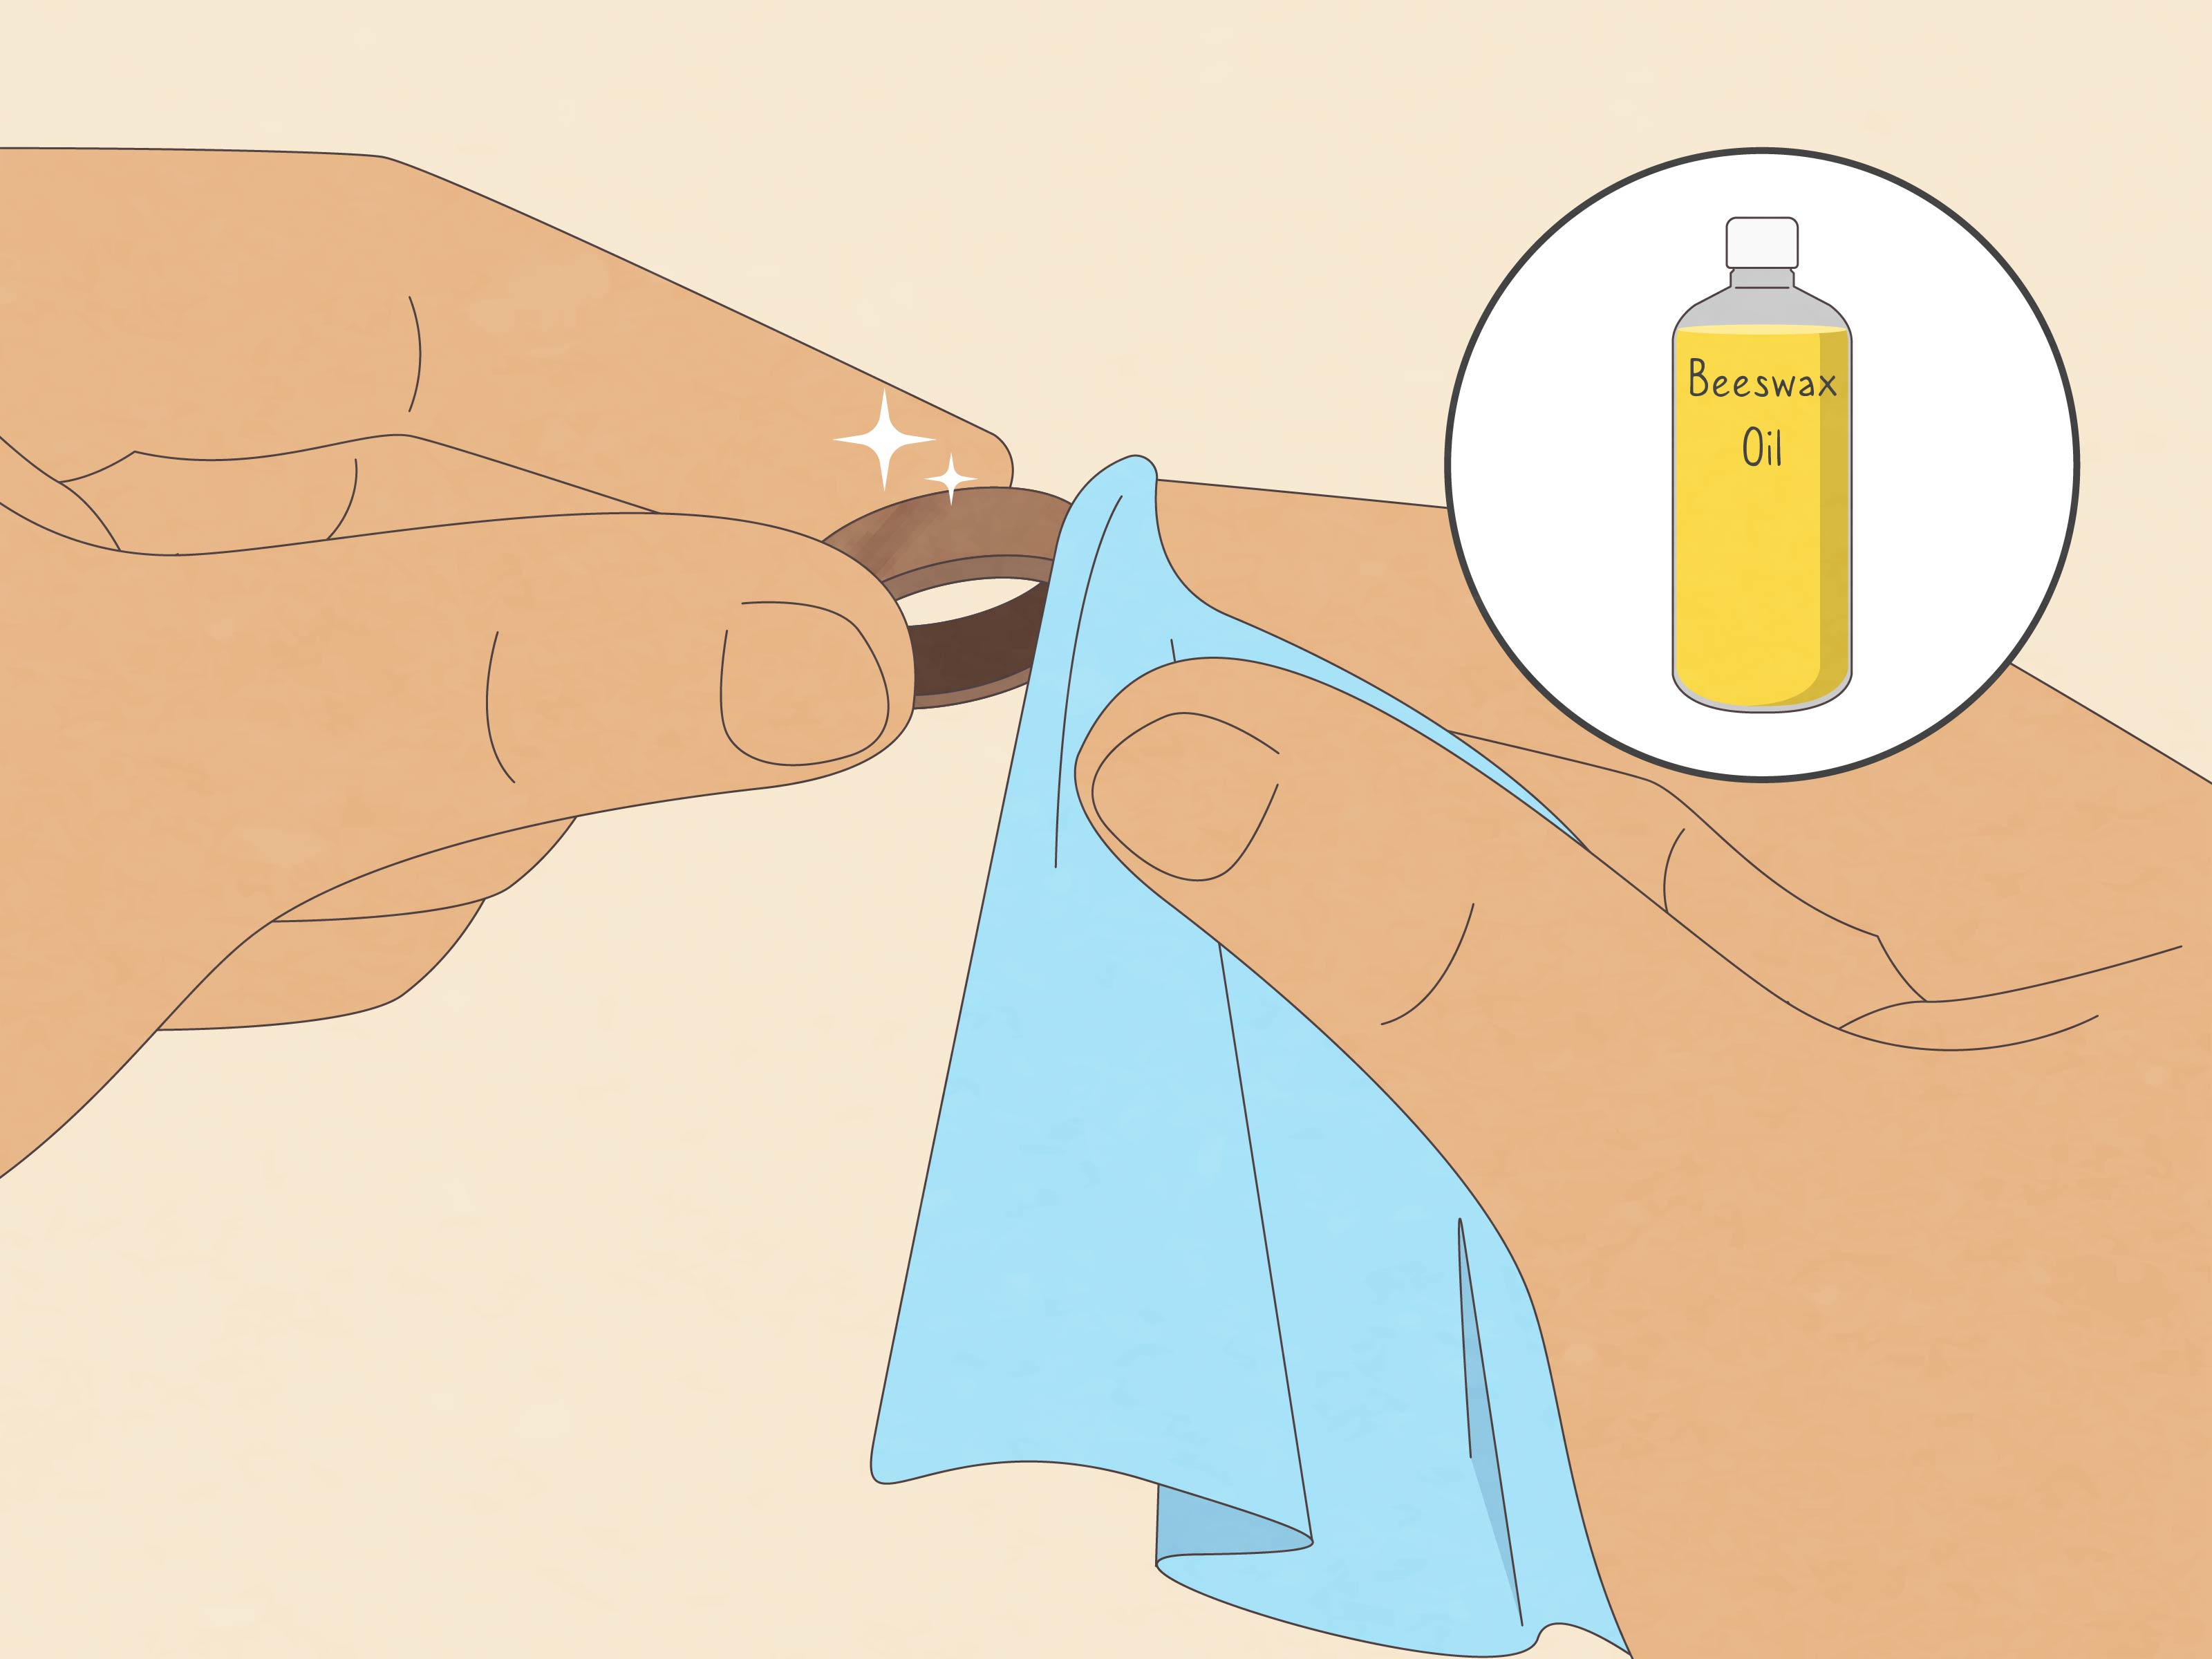
After the finish has dried or cured, polish the ring with a soft cloth. For a glossy finish, you can use micro-mesh pads or very fine polishing compounds suitable for wood finishes. For a natural satin look, buff with beeswax or a soft cloth until the surface feels silky.
Polishing is not just about shine. It also helps reveal uneven finish, rough edges, or spots that need touch-up. A well-polished wooden ring should feel comfortable the moment it slides onto the finger.
Step 15: Care for the Finished Ring
Wooden rings are durable when made well, but they are not invincible. Remove the ring before swimming, showering, heavy cleaning, weightlifting, gardening, or working with harsh chemicals. Wipe it dry if it gets wet. If the finish dulls over time, lightly buff it and apply a maintenance coat of wax or oil if appropriate.
A handmade wooden ring is part jewelry, part tiny woodworking project, and part conversation starter. Treat it with care, and it can last for years. Abuse it, and it may remind you that trees prefer forests over dishwashers.
Best Woods for Wooden Rings
The best wood for a ring depends on strength, grain, color, and comfort. Dense hardwoods usually perform better than softwoods. Walnut is a favorite because it is attractive, easy to shape, and forgiving. Maple is hard and bright, making it perfect for clean modern designs. Cherry has a warm tone that deepens with age. Oak has visible grain, though its open pores may require more finishing work.
For decorative contrast, try laminating maple with walnut, cherry with ash, or mahogany with maple. Thin layers create stripes that look far more complicated than they are. If you use exotic woods, research them first. Some species produce dust that can irritate skin, eyes, or lungs. Good dust control and protective gear are important with any wood, not just the dramatic-looking ones.
Solid Wood vs. Bentwood vs. Laminated Rings
Solid Wood Rings
Solid wood rings are made from one piece of wood. They are simple and beautiful, but the grain direction can create weak points. If the grain runs straight across the band, the ring may crack under pressure. A thicker design helps, but solid rings are best for occasional wear unless reinforced with finish or a core.
Bentwood Rings
Bentwood rings are made by wrapping thin veneer around a form and bonding the layers together. Because the grain wraps around the ring, bentwood designs can be surprisingly strong. They take more practice, especially when softening and bending veneer, but they are a great next step after your first basic ring.
Laminated Rings
Laminated rings are made by gluing multiple thin pieces of wood together before cutting the ring shape. They offer strength, color contrast, and creative design options. For beginners, laminated rings are often the sweet spot: easier than bentwood, stronger than many solid rings, and stylish enough to make people ask, “Wait, you made that?”
Common Mistakes to Avoid
Making the Ring Too Thin
Thin rings look elegant, but wood needs enough thickness to survive. If this is your first attempt, leave the ring slightly chunkier. You can refine future versions after learning how your chosen wood behaves.
Skipping Sandpaper Grits
Sanding shortcuts almost always show up later. Move through the grits gradually and inspect the ring under good light. Scratches that look invisible before finishing can become surprisingly bold afterward.
Using Too Much Finish
Heavy finish can drip, cloud, or create a plastic-like buildup. Thin coats are easier to control and usually look better. Patience wins. The ring is small, but it still deserves proper drying time.
Ignoring Safety
Small projects can be risky because your fingers are close to the action. Clamp the workpiece, wear eye protection, control dust, and avoid loose sleeves or dangling accessories around rotating tools. A calm shop is a productive shop.
Creative Wooden Ring Ideas
Once you understand the basic process, wooden rings become a playground for design ideas. Try a walnut ring with a thin maple stripe through the center. Add a small crushed stone inlay for color. Use a darker finish on open-grain wood for a rustic look. Make matching rings from the same board for a meaningful gift. You can even use wood from a special object, such as an old chair, a family keepsake, or leftover material from a home project.
Just make sure sentimental wood is stable, dry, and safe to work with. Old painted wood may contain unsafe coatings, and mystery scraps can behave unpredictably. When in doubt, practice on ordinary hardwood first.
Experience Notes: What Making Wooden Rings Teaches You
Making wooden rings teaches patience faster than many larger woodworking projects. With a table, shelf, or cutting board, you can sometimes hide small flaws in a corner or on the underside. A ring offers no such mercy. It is small, round, handled closely, and worn against skin. Every scratch, bump, flat spot, and sharp edge becomes noticeable. That may sound intimidating, but it is actually what makes the project so useful. A wooden ring forces you to slow down and pay attention to the details that separate rough work from refined work.
One of the first lessons is that wood grain matters. A beginner may choose a scrap only because the color looks nice, then discover that the grain direction makes the ring fragile. After a few attempts, you start looking at wood differently. You notice straight grain, end grain, tight grain, open pores, and color changes. You begin to understand that wood is not just “brown material.” It has structure, mood, and occasionally a stubborn personality.
The second lesson is that sanding is not punishment, even though it sometimes feels like it. Sanding is shaping, smoothing, correcting, and polishing all at once. On a wooden ring, the difference between 120 grit and 600 grit is enormous. Coarse sanding creates the form, medium grits remove tool marks, and fine grits create that soft, almost stone-like surface. The first time you polish a ring and see the grain glow, the sanding suddenly feels worth it. Mostly. Your fingers may still file a complaint.
Another experience many makers share is that the first ring often breaks. Sometimes it cracks while drilling. Sometimes it snaps during sanding. Sometimes the wall becomes too thin because “just a little more shaping” turned into “oops.” This is normal. In fact, it is smart to make several blanks at once. That way, one broken ring is not a disaster; it is tuition. Every failed ring teaches something about pressure, grain, glue, tool speed, or patience.
Finishing also becomes a lesson in restraint. A beginner may want to flood the ring with finish to make it waterproof forever. Unfortunately, too much finish can create drips, sticky spots, or a cloudy surface. Thin coats work better. Letting each coat dry properly works better. Buffing gently works better. The ring rewards calm, careful work.
Perhaps the best part of making wooden rings is the personal connection. A handmade ring does not have to be perfect to feel meaningful. The tiny asymmetry, the visible grain, and the memory of shaping it by hand all become part of the object. Store-bought jewelry may be flawless, but handmade jewelry has a story. And when someone asks where the ring came from, saying “I made it” feels pretty great.
Over time, wooden ring making can lead to more advanced skills: bentwood techniques, metal cores, resin inlays, stone powder accents, lathe turning, and custom sizing. But even the simplest ring teaches accuracy, tool control, finishing, and design. It is a small project with a surprisingly large education packed inside. Also, it gives you a noble reason to keep tiny wood scraps instead of admitting your workshop has become a retirement home for offcuts.
Conclusion
Learning how to make wooden rings is a rewarding entry point into small-scale woodworking and handmade jewelry. The project requires only a small amount of wood, but it teaches big skills: measuring, drilling, shaping, sanding, finishing, and caring for a wearable object. Whether you choose walnut, maple, cherry, or a laminated combination, the best wooden rings come from careful planning and patient finishing.
Start simple. Make more than one blank. Sand longer than you think you need to. Use a finish that matches how the ring will be worn. Most importantly, enjoy the process. A wooden ring may be small enough to lose in a pocket, but the satisfaction of making one by hand is anything but tiny.