Your car smells like a campfire, a wet dog, and a forgotten gym sock all signed a lease together. You’ve vacuumed.
You’ve sprayed “Mountain Breeze.” You’ve even tried driving with the windows down like you’re auditioning for a shampoo commercial.
And yetthe funk persists.
That’s where an ozone shock treatment comes in. It’s a high-powered deodorizing method detailers use when
ordinary cleaning and air fresheners are basically throwing confetti at a dumpster fire. Done correctly, ozone can help
neutralize stubborn odors from smoke, mildew, food spills, and “mystery smells” that appear whenever your in-laws are in town.
Done incorrectly, it can irritate your lungs, damage some materials, and leave your car smelling like a lightning storm had a bad day.
This guide walks you through 8 clear steps to do a car ozone treatment safely, effectively,
and without turning your vehicle into a science experiment you regret.
What an Ozone Shock Treatment Actually Does
Ozone (O3) is a highly reactive form of oxygen. That reactivity is the whole point: ozone can oxidize (break down)
odor-causing compounds instead of simply covering them up. Think of it like a tiny chemical cleanup crew that attacks smells at the
molecular levelespecially the ones that cling to fabric, carpet, headliners, and HVAC ducts.
But here’s the catch: ozone is also a lung irritant and can react with materials and other chemicals in the air. That’s why
ozone treatments must be done in an unoccupied vehicle, followed by thorough ventilation. Ozone is a “last step” tool,
not a substitute for cleaning.
When an Ozone Treatment Makes Sense (and When It Doesn’t)
Good candidates
- Smoke odor removal: cigarettes, cigars, wildfire smoke that seeped into upholstery
- Mold and mildew smell: after you’ve fixed leaks and dried the interior fully
- Food and drink spills: lingering sour smells after cleanup
- Pet odors: especially in carpets and seat fabrics
- HVAC funk: odors that blast you in the face when you turn on the A/C
Not-so-great candidates
- Active mold growth or wet interiors: ozone can’t “fix” moisturedrying and remediation come first
- Rodent contamination without cleanup: you must remove nests, droppings, and affected insulation/materials first
- Mechanical odor sources: coolant leaks, fuel smells, or oil smells should be diagnosed and repaired
- If you can’t ventilate safely afterward: ozone needs time and airflow to dissipate
Before You Start: Safety Rules (Non-Negotiable)
-
No people or pets in the vehicle during treatment. Not “for a minute.” Not “with the windows cracked.”
Ozone is meant for unoccupied spaces. -
Work in a well-ventilated area. Outdoors is best. If you’re in a garage, keep doors open and airflow moving.
Avoid running ozone in a sealed, attached garage where ozone could drift into living spaces. -
Protect your lungs. Don’t inhale ozone. If you accidentally smell a strong “sharp/bleachy” odor near the car,
back away and ventilate more. -
Go conservative on time. Overdoing ozone can leave an “ozone smell,” and repeated heavy treatments may stress
rubber, dyes, and some plastics. Shorter cycles with good prep are usually smarter than marathon runs. -
Remove sensitive items. Take out any living plants (yes, people do this), food, medications, kids’ stuffed animals,
and anything you don’t want oxidized. If it smells like “life,” remove it. -
Follow the manufacturer’s instructions. Ozone generators vary wildly in output and recommended run times.
Treat this article as a practical framework, not permission to ignore your device manual.
What You’ll Need
- An ozone generator sized for vehicle interiors
- Extension cord (if needed) and a safe power source
- Basic cleaning supplies: vacuum, microfiber towels, mild interior cleaner
- Optional but helpful: enzyme cleaner for organic odors, cabin air filter replacement, A/C evaporator cleaner
- Fan(s) for post-treatment ventilation (optional, but makes life easier)
The 8 Steps to Do an Ozone Shock Treatment on a Vehicle
Step 1: Find the Odor Source (Because Ozone Isn’t a Magic Wand)
Before ozone, do detective work. Sniff the carpet near cup holders. Check under seats. Look for damp areas in the trunk and footwells.
If the smell is strongest when the A/C runs, your HVAC system (especially the evaporator area) may be the culprit.
Fix what caused the odor first: stop leaks, dry the interior, remove trash, and address anything biological (mold, pet accidents, spilled milk).
Ozone works best on residual odor compounds, not on an active source that keeps producing stink like it’s on payroll.
Step 2: Deep Clean and Dry the Interior
Ozone performs better when it can reach odor molecules instead of getting “used up” reacting with surface grime. Do a thorough vacuum,
including seat creases and carpet edges. Wipe hard surfaces. If there was a spill, clean it properly.
- Remove floor mats and clean them separately
- Clean fabric and carpet spots (enzyme cleaners help for organic smells)
- Let everything dry completelyozone + damp funk is not a cute combo
Step 3: Replace or Inspect the Cabin Air Filter
If your car has a cabin air filter (most modern vehicles do), check it. A dirty filter can hold smoke, mildew, and general “city air”
and blow it back into the cabin every time you turn on the fan. Replacing it is often one of the highest-impact, lowest-effort moves
in vehicle odor removal.
Pro tip: If the old filter smells bad, you just found a major contributor to your problem.
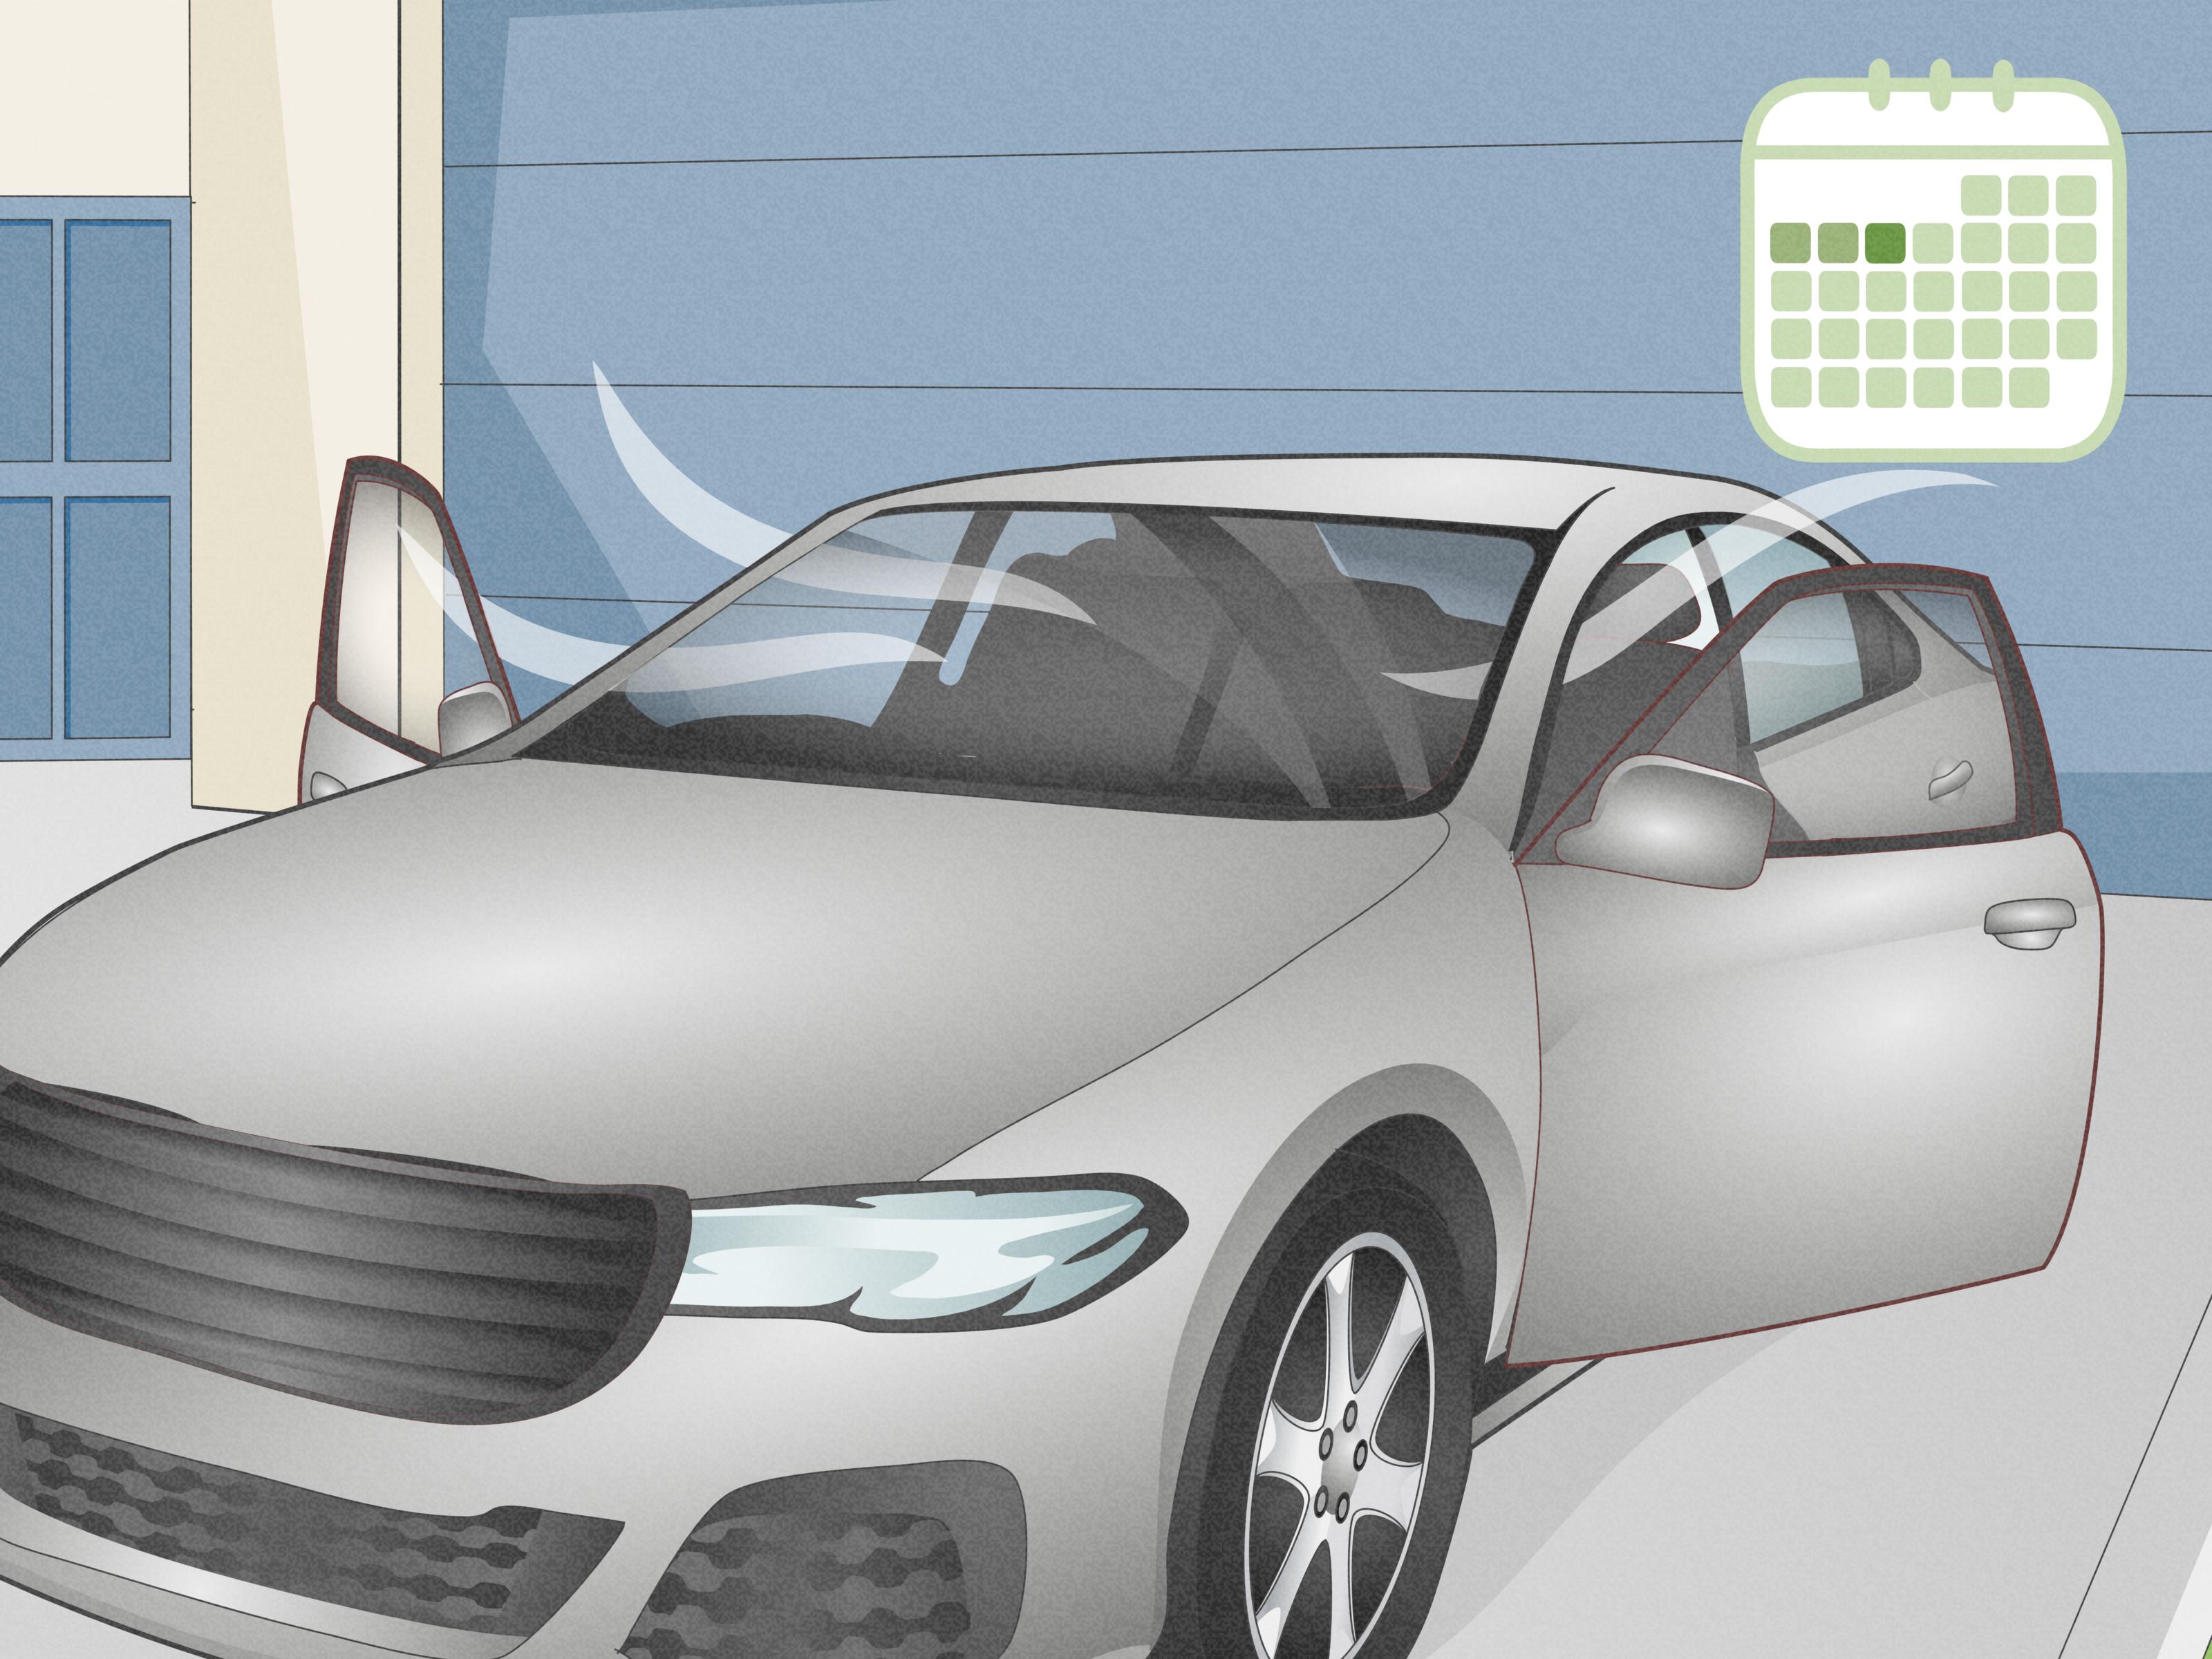
Step 4: Position the Ozone Generator Safely
Place the ozone generator on a stable surface inside the vehicleoften the center console or a flat portion of the floor.
Keep the air intake unobstructed. If the unit has a hose outlet, you can direct airflow toward the center of the cabin.
- Run the power cord through a slightly open window or door gap
- Use a towel to seal the gap as much as possible (helps keep ozone working inside the cabin)
- Make sure the cord isn’t pinched sharply or creating a trip hazard
Step 5: Set the HVAC to Recirculate (So Ozone Hits the Vents)
If HVAC odors are part of the issue, you want ozone to travel through the ductwork. Turn the ignition to accessory mode if needed
(or start the vehicle if that’s required to run the fanjust do it in a safe, ventilated area).
- Set airflow to recirculation
- Fan speed: medium
- Temperature: cool to neutral (you’re moving air, not baking cookies)
- Open all dash vents
If your odor is mainly in the cabin and not the HVAC, you can still run the fan briefly, but it’s not mandatory.
Step 6: Run the Ozone Cycle (Start Small, Then Adjust)
With doors closed and windows up, start the ozone generator and leave the vehicle area. A good rule for first-timers:
shorter is safer. You can always repeat a cycle; you can’t un-bake an over-ozoned interior.
Typical starting ranges (always defer to your machine’s guidance):
- Mild odors: 10–20 minutes
- Moderate odors (food, musty smell): 20–40 minutes
- Heavy odors (smoke, long-term funk): 30–60 minutes, sometimes repeated over multiple sessions
If the smell is severe, multiple shorter treatments with cleaning in between usually beats one mega-session that risks material stress.
Step 7: Let It Dwell, Then Ventilate Like You Mean It
When the cycle ends, don’t hop in immediately like it’s a rideshare and you’re late. Let the vehicle sit closed for a short dwell period
(often 15–30 minutes, depending on your setup). Then open all doors and let fresh air flush the cabin thoroughly.
- Open doors, trunk, and if possible, fold down seats to increase airflow
- Run the HVAC on fresh air (not recirc) for several minutes
- Use a fan to push air through the cabin if you have one
Ventilation is what turns “ozone treatment” into “safe-to-drive vehicle.” Don’t skip it.
Step 8: Evaluate Results, Then Prevent the Smell From Coming Back
After the car airs out, do an honest sniff test. If you still detect the original odor:
- Re-check for an ongoing source (damp carpet padding is a repeat offender)
- Clean again where needed
- Run another conservative ozone session
Then lock in the win:
- Keep the interior dry (especially after rain or spills)
- Use floor liners if you track in water or mud
- Change cabin air filters on schedule
- If you smoke in the vehicle… the most effective “odor prevention” is quitting the in-car part
Troubleshooting: Common “Why Does It Still Smell?” Moments
The odor improved, but returns after a day or two
This usually means there’s still a source producing odoroften deep in carpet padding, under-seat foam, or HVAC components.
Ozone can knock down surface odors, but it won’t remove soaked-in contaminants you haven’t cleaned out.
Now the car smells “sharp” or “like electricity”
That’s likely residual ozone or oxidation byproducts. Ventilate longer. Run the HVAC on fresh air. A short drive with windows down
(after airing out first) can help. Next time, shorten the cycle.
Smoke smell is stubborn even after ozone
Smoke is clingy. Headliners, seat foam, and fabric fibers hold onto it. Pair ozone with a thorough interior cleaning,
fabric extraction (if appropriate), and a cabin filter change for best results.
FAQs
Is ozone safe for car interiors?
Used correctly and conservatively, many detailers use it successfully. But ozone is reactive by nature and can be harsh on
certain materials over time. That’s why short sessions, proper ventilation, and avoiding repeated “nuke it” treatments matter.
Will ozone remove mold?
Ozone may reduce odors, but mold problems require moisture control and proper remediation. If you have active mold growth,
address that firstotherwise the smell and health risk can return.
How often can I do ozone treatments?
If you find yourself doing it frequently, the real issue is probably an ongoing source (leak, HVAC growth, smoking, wet carpets).
Ozone should be an occasional tool, not part of your weekly “self-care routine” for the car.
Field Notes: of Real-World Experiences and Lessons
Talk to enough detailers and restoration folks, and you’ll hear the same story with different characters: ozone works best when it’s
the final step, not the first. One shop described a used sedan that “smelled like the previous owner stored a cigar lounge in the trunk.”
The first ozone run helpedthen the smell crept back. The second run helpedthen the smell crept back again. The breakthrough happened when they
pulled the trunk liner and found a stale, tar-stained mat wedged underneath, plus a cabin air filter that looked like it had been through a dust storm.
Once those were replaced, a short ozone cycle finished the job. The lesson: ozone is powerful, but it can’t argue with physics. If the source remains,
the smell returns.
Another common experience is the “I left it running overnight” regret. People do this with good intentions and bad information:
if 30 minutes is good, 8 hours must be amazing, right? Not necessarily. Long, high-dose ozone treatments can leave that sharp, stormy smell that seems
to cling to plastics and rubber. In some cases, the cabin can feel irritating until it’s aired out thoroughlyespecially for anyone sensitive to respiratory
irritants. Pros typically avoid the nuclear option unless they’re treating extreme conditions in controlled environments, and even then they plan serious
ventilation afterward.
HVAC odors create their own little drama. If your car smells fine until the fan turns on, the ductwork and evaporator area can be the culprit.
A practical approach some pros use is to run the fan on recirculation during part of the ozone cycle, then switch to fresh air during ventilation afterward.
Pairing ozone with an evaporator cleaner and a new cabin filter often makes the difference between “mostly better” and “finally gone.”
Then there’s the classic “spilled milk in summer” situationarguably the final boss of car odors. People often clean the visible spill and miss what soaked
into carpet padding. In stories like these, ozone can reduce the smell temporarily, but it won’t fully solve it until the saturated material is cleaned or removed.
Once the padding is properly addressed and the area is dried, ozone is fantastic for the lingering sour notes that cling to the cabin air.
The best “experience-based” takeaway is simple: treat ozone like seasoning, not soup. A little at the right time makes everything better.
Dumping in the whole container doesn’t prove you’re seriousit proves you’re going to be airing out your car all weekend.
Conclusion
An ozone shock treatment is one of the most effective tools for vehicle odor removal when used responsibly.
The winning formula is: remove the source, clean thoroughly, then use ozone conservatively
and ventilate aggressively. Do that, and your car can stop smelling like a bad decision from 2019 and start smelling like… well,
nothing at allwhich is the true luxury.