If you’ve ever lifted the lid of your toilet tank and immediately wanted to unsee what you saw, you’re not alone. Mineral deposits, rust, mildew, and mysterious grime love to hide in there. The good news? Learning how to clean a toilet tank is way easier than it looks, and you don’t need a PhD in plumbing to pull it off.
In this step-by-step guide, we’ll walk through exactly how to clean a toilet tank safely, how to deal with stubborn stains, and the smart way to keep it cleaner longer. We’ll also talk about why plumbers side-eye those “drop-in tank tablets” and why good old white vinegar is basically the MVP of toilet tank cleaning.
Why Cleaning the Toilet Tank Actually Matters
Your toilet bowl gets most of the attention, but the tank is where the magic (and sometimes the mess) really happens. Water sits in the tank between flushes, which means:
- Mineral deposits build up from hard water, especially if you live in an area with lots of calcium and lime in the water.
- Rust, mold, and mildew can grow on metal parts and along the tank walls.
- Dirty tank water = dirty bowl water, which can leave stains and rings no matter how well you clean the bowl.
- Internal parts can wear out faster if they’re constantly coated in corrosive build-up or harsh chemicals.
Cleaning the toilet tank every few months helps your toilet flush better, smell fresher, and last longer. It’s a small job with big payoff for your bathroom and your plumbing budget.
Safety First: What to Know Before You Start
Before you dive into cleaning your toilet tank like a hero with a scrub brush, keep a few safety notes in mind:
- Turn off the water supply so the tank can empty and stay empty while you clean.
- Wear rubber gloves to protect your skin from cleaners, mineral deposits, and whatever else is in there.
- Keep the bathroom ventilated by cracking a window or turning on the fan.
- Don’t mix cleaning products, especially bleach with anything acidic like vinegar or store-bought cleaners that may contain acids or ammonia.
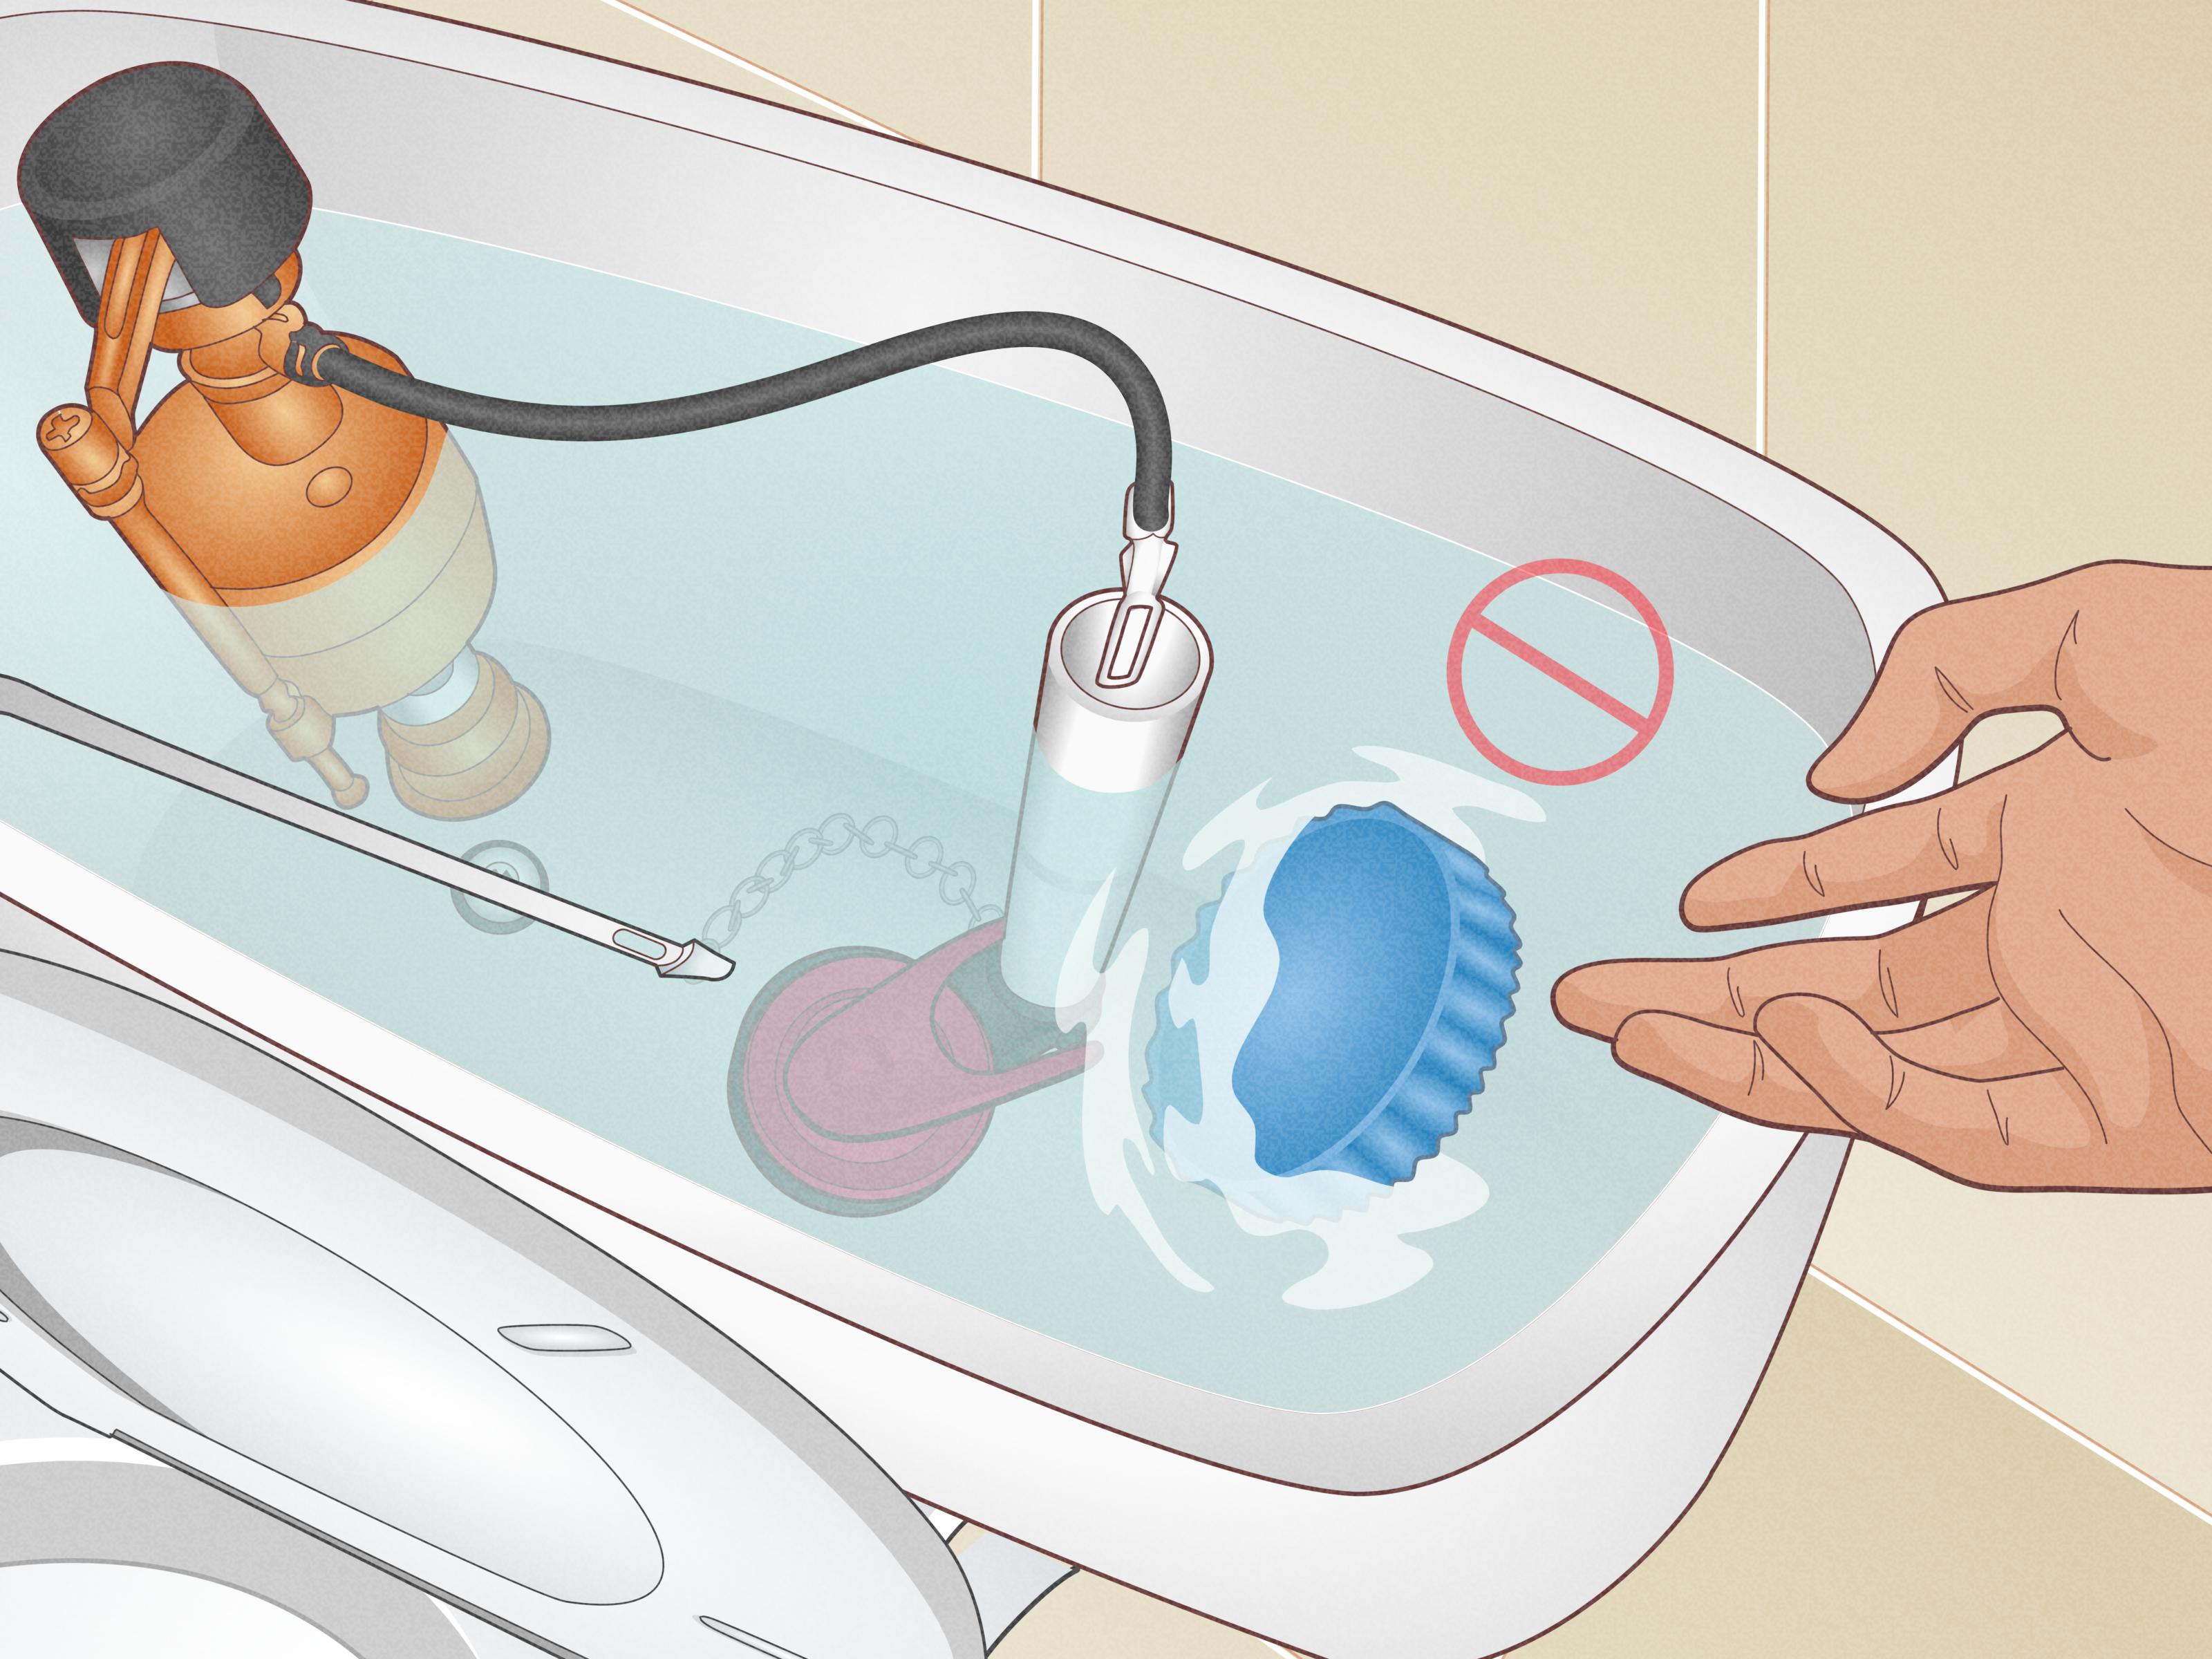
One more big rule: avoid putting bleach directly in the tank or using bleach-based drop-in tablets there. They can corrode rubber and metal parts inside the tank and shorten the life of your toilet’s inner workings. If you want to use bleach, keep it to the bowl and follow label directions carefully.
What You Need to Clean a Toilet Tank
To clean your toilet tank like a pro, gather these supplies:
- Rubber gloves
- Old clothes or an apron (splash zone protection)
- Bathroom cleaner without bleach or a mild all-purpose cleaner
- Distilled white vinegar (for mineral deposits and odors)
- Soft scrub brush or stiff nylon brush (one just for toilets)
- Old sponge or cloth
- Small plastic cup or container (for scooping out dirty water, if needed)
Optional but helpful:
- Baking soda (for extra scrubbing power)
- A toothbrush or small detailing brush for tight spots
- A flashlight so you can see what’s happening in the corners of the tank
How to Clean a Toilet Tank: A Step-by-Step Guide
Step 1: Turn Off the Water and Empty the Tank
Look behind or beside the toilet for the small shut-off valve on the wall or floor. Turn it clockwise to shut off the water supply. Once the water is off, flush the toilet and hold down the handle until most of the water drains out of the tank.
If there’s still some water at the bottom, you can use a small plastic cup or container to scoop it into the bowl. You don’t have to get every last drop, but the less water in the tank, the easier it will be to scrub.
Step 2: Lift the Tank Lid Carefully
Toilet tank lids are surprisingly heavy and usually made of ceramic. Use both hands, lift straight up, and set the lid gently on a towel or soft surface nearby. You don’t want to start your cleaning session by buying a new lid.
Step 3: Assess the Situation
Now for the dramatic reveal. Inside the tank, you might see:
- Brown or orange stains (often rust or iron from hard water)
- White or chalky buildup (mineral deposits)
- Dark spots or slimy areas (mildew or algae)
- Floating debris or sediment at the bottom
Don’t panic. This is all normal for a tank that hasn’t been cleaned in a while. The steps below will tackle each of these.
Step 4: Spray the Inside of the Tank
Use a bleach-free bathroom cleaner or an all-purpose cleaner to spray down the inside walls of the tank, the interior components (like the float and fill valve), and the bottom. Let the cleaner sit for about 5–10 minutes so it can loosen grime and residue.
If you prefer a more natural approach, you can pour 2–3 cups of white vinegar directly into the tank and let it sit for 10–15 minutes. Vinegar helps dissolve mineral deposits and neutralize odors without being harsh on most tank parts.
Step 5: Scrub the Tank Walls and Components
Put on your gloves and grab your scrub brush or sponge. Gently scrub the inside walls of the tank, starting at the top and working your way down. Use small circular motions to loosen buildup.
Then lightly scrub the internal partslike the fill valve, overflow tube, and flapper. Avoid yanking or twisting anything too hard; these parts are important and sometimes a bit fragile. Use a smaller brush or old toothbrush for hard-to-reach spots.
Step 6: Tackle Mineral Deposits and Stubborn Stains
If you see thick, crusty buildup that doesn’t want to budge, it’s probably from hard water. Try this:
- Pour more white vinegar over the problem spots and let it sit another 15–30 minutes.
- Sprinkle a little baking soda on your brush or sponge and scrub again. The mild abrasiveness helps lift buildup without scratching the tank.
- For extremely stubborn deposits on metal parts, consider removing the part (if you’re comfortable doing so) and soaking it in vinegar in a separate container, then scrubbing and reinstalling.
If you use any specialty descaler (like a commercial calcium/lime remover), follow the label directions exactly and keep it away from anything that might react badly with itespecially bleach-based products.
Step 7: Rinse and Refill the Tank
When everything looks clean and you’re satisfied, it’s time to rinse:
- Turn the water supply valve counterclockwise to turn the water back on.
- Let the tank refill fully with clean water.
- Flush the toilet a few times to rinse out any loosened residue and leftover cleaner.
Check that everything is working correctly: the tank should refill, the flapper should close properly, and the toilet should flush smoothly without any odd noises or leaks.
Step 8: Replace the Tank Lid and Clean the Outside
Once you’re done, carefully lift the lid and place it back on the tank. Wipe down the lid, handle, and exterior of the toilet with a disinfecting wipe or bathroom cleaner. You’ve come this far; might as well give the whole toilet a quick refresh.
What About Toilet Tank Tablets and Bleach?
Those colorful drop-in toilet tank tablets that promise “months of hands-free cleaning” seem tempting. Unfortunately, many plumbers will tell you they’re not worth the risk. Tablets that sit in the tank and slowly dissolveespecially those containing chlorine or bleachcan corrode rubber seals, plastic parts, and even metal hardware over time. That can lead to leaks, poor flushing, and more frequent repairs.
If you like the idea of low-effort toilet maintenance, you’re better off:
- Using toilet bowl cleaners in the bowl only, not in the tank.
- Doing a quick manual tank cleaning every month or two.
- Sticking with ingredients like vinegar that are safer for most plumbing systems.
And remember: never mix vinegar and bleach or use them back-to-back in the same water. Together, they can create dangerous fumes. Pick one method, rinse thoroughly, and give it time before trying another.
Keeping Your Toilet Tank Clean Longer
Once you’ve done the deep clean, future maintenance is much easier. Here’s how to keep your toilet tank from turning into a science experiment again:
- Do a quick check monthly. Lift the lid, peek inside, and see if there’s any obvious buildup or discoloration starting.
- Use vinegar as preventive maintenance. Pour one cup of white vinegar into the tank once a month, let it sit for an hour, then flush. This helps slow down mineral deposits and neutralize odors.
- Watch your water quality. If you have hard water, consider a water softener or point-of-use filters. Less mineral content in your water means less buildup in your tank.
- Fix running toilets quickly. Constantly cycling water can introduce more mineral loaded water and wear out parts faster.
A few minutes of attention every month can save you from heavy scrubbing marathons later.
Frequently Asked Questions About Cleaning a Toilet Tank
Can I just use bleach to clean the tank?
Bleach is a strong disinfectant, but it’s not gentle on the inner parts of your toilet tank. Over time, bleach can damage rubber flappers, gaskets, and metal hardware. If you do use a small amount of bleach occasionally, keep it in the bowl, not sitting inside the tank for long periods, and never mix it with vinegar or other acidic cleaners.
Is vinegar safe for toilet tanks?
Yes, in most cases white vinegar is safe and very effective. It’s great at dissolving mineral deposits, cutting odors, and helping with light staining. Just don’t use it at the same time as bleach-based products.
How often should I clean my toilet tank?
For the average home, cleaning the toilet tank every 2–3 months is usually enough. If you have very hard water or notice rapid buildup, you might want to check and clean it monthly.
What if there’s mold or slimy growth in the tank?
Turn off the water, empty the tank, and use a bathroom cleaner formulated to tackle mold and mildew (following label directions). Scrub thoroughly and make sure the bathroom is well ventilated. If you see recurring mold or suspect a plumbing problem, consult a plumber.
Real-Life Tips and Experiences for Cleaning a Toilet Tank
Once you’ve cleaned a few toilet tanks, you start to pick up tricks that don’t always make it into the standard cleaning checklists. Here are some practical, real-world lessons people learn after actually doing the job a few times.
1. The First Time Is the Worst Time
If your toilet tank hasn’t been cleaned in years (or ever), the first deep clean might feel a bit intense. You may find thick mineral deposits, rust, or slimy buildup that takes a little elbow grease to remove. That’s completely normal.
The upside: once you push through that first deep clean, future maintenance sessions are much easier. You’re basically “resetting” the system so you can keep it in good shape with quick touch-ups instead of major overhauls.
2. Hard Water House vs. Soft Water House
People with hard water quickly learn that their toilet tanks get crustier faster. They might see heavy white or tan buildup on metal parts and at the waterline. In a home with softened water, the tank often looks cleaner for longer, even if you’re not doing anything special.
If you’re in a hard-water area, you may want to make vinegar your best friend. A monthly “vinegar soak” in the tank (turn off the water, drain part of it, pour in vinegar, let sit, then scrub and flush) can dramatically slow down the build-up. It’s a low-cost habit that pays off in fewer repairs and less scrubbing.
3. The Tablet Trap
Many homeowners have tried those bright blue or green drop-in tank tablets at least once. The early days are dreamy: the water looks pretty, smells better, and you feel like you’ve hacked toilet maintenance. But over time, the reality sets inrubber parts get brittle, flushes become unreliable, and leaks or constant running noises show up.
After dealing with a few repair bills or replacement parts, a lot of people swear off tank tablets entirely. They realize a simple routine of manual cleaning plus safe cleaners (like vinegar) is cheaper, gentler on the toilet, and just as effective in the long run.
4. “I Didn’t Know That Could Grow in There” Moments
Another common experience: someone lifts the tank lid because of recurring toilet odors or stains and discovers a mini ecosystem inside. Dark spots on the walls, slime floating around, or a rusty-looking film over the water are all signs the tank needs more love.
Once people see what’s going on in the tank, they tend to take regular maintenance more seriously. It’s a moment of “I can’t unsee this,” but it usually leads to better cleaning habits and a fresher-smelling bathroom overall.
5. Rental Reality vs. Homeowner Mindset
Renters often assume the landlord or building maintenance handles deeper cleaning jobs like the toilet tank. Sometimes that’s true; often it’s not. In many rentals, the tank might not be cleaned for years unless the tenant does it themselves.
Homeowners, on the other hand, start to see cleaning the tank as part of protecting their investment. Replacing internal toilet parts or calling a plumber isn’t cheap. Spending thirty minutes every couple of months to keep things clean feels like a smart trade-off compared to repair costs and water waste from a running toilet.
6. Learning Your Toilet’s “Normal”
When you clean your toilet tank regularly, you get familiar with how it’s supposed to look and sound. You’ll know how full it typically gets, how quickly it refills, and where the water line sits. That makes it easier to spot problems earlylike a flapper that isn’t sealing, a fill valve that’s noisy, or rust starting on metal bolts.
Many people say that once they start checking their tank occasionally, they catch small issues before they turn into big headaches. That tiny leak or slow fill might not seem like much at first, but over time it can waste a lot of water (and money).
7. The “Future You” Thank-You Moment
There’s always that moment, weeks or months after you clean your toilet tank, when you lift the lid to check on something and realize it still looks pretty good. No horror movie slime. No surprise crust of mineral deposits. Just clear water and reasonably clean walls.
That’s when “future you” silently thanks “past you” for doing the not-very-glamorous job of cleaning the tank properly. And honestly, that little satisfactionplus a smoother-running toiletis what keeps most people doing it on a regular basis.
Final Thoughts
Knowing how to clean a toilet tank isn’t the most glamorous life skill, but it’s definitely one of the more practical ones. A clean tank supports a cleaner bowl, fewer smells, and fewer plumbing problems. Whether you use traditional bathroom cleaners or lean into natural options like vinegar and baking soda, a little consistent effort keeps things running smoothly.
Next time you’re doing a bathroom deep clean, don’t ignore the tank. Lift the lid, put on your gloves, and give it the attention it deserves. Your toiletand your nosewill appreciate it.