A pool without a deck is like a cupcake without frosting: still good, but you’re missing the fun part where everyone gathers.
A well-planned DIY pool deck creates a safer, drier, more comfortable “hangout ring” around the waterplus it can make an
above-ground pool look like it belongs in the yard instead of landing there via UFO.
This guide is built for real-world DIYers: it covers smart planning, material choices, design ideas you can actually pull off,
and the little details (like slip resistance and drainage) that separate “backyard resort” from “why is everyone walking like a penguin.”
Start here: what makes a pool deck work
Pool decks are different from regular decks because they live in the splash zone. That means your design needs to balance four things:
traction (wet feet happen), comfort (hot surfaces are rude), water management
(puddles are basically slip invitations), and durability (sun, chemicals, and constant moisture are not gentle).
Quick planning checklist
- Measure the “wet zone.” Map where people exit the pool, where kids cannonball, and where chairs will drip-dry.
- Decide the deck’s job. Is it just an entry platform? A full lounge space? A wrap-around walkway? All of the above?
- Think in zones. “Wet walking” zone near the pool + “dry lounging” zone a few steps back.
- Plan shade early. Pergola, umbrella sleeves, shade sail anchorsbecause sunburn is not a vibe.
- Know your local rules. Permits, guardrails, stairs, gates, electrical for pumps/lighting, and pool barriers vary by location.
Safety and code-ish reality (without the headache)
I’m not your building inspector, but I am your friendly reminder that decks and stairs are structural and safety-critical.
Many places use versions of residential codes that commonly require guardrails when a walking surface is around 30 inches or more above grade,
and stairs/handrails often have specific sizing rules. Your local building department is the final boss hereask early so you don’t build twice.
Common deck safety details that often apply
- Guardrails and gates: If your deck is elevated, you may need code-compliant rail height and a self-latching gate around pool access.
- Stairs: Consistent risers/treads reduce trips. Wide stairs feel safer when people are carrying towels, drinks, or the world’s largest inflatable flamingo.
- Electrical: Pool pumps and lighting must follow local electrical rulesthis is one area where “close enough” is not close enough.
Pick the right surface: best DIY-friendly pool deck materials
The “best” material depends on your budget, climate, and tolerance for maintenance. Below are the most DIY-friendly options,
plus what they’re actually like to live with.
Pressure-treated wood (classic DIY deck)
Pressure-treated lumber is popular because it’s accessible, familiar, and flexible for custom shapes around pools. It can also be comfortable underfoot.
The trade-offs: it needs thoughtful detailing to manage moisture, and it will require routine cleaning and sealing to stay splinter-free and good-looking.
- Best for: Above-ground pool platforms, wrap-around decks, custom steps, and built-in seating.
- Watch-outs: Rot prevention, good drainage, and corrosion-resistant fasteners (pool chemicals + moisture can be rough on hardware).
- DIY tip: Plan board spacing for drainage and keep the structure ventilated so it dries out after use.
Composite/PVC decking (low-maintenance “always looks clean” energy)
Composite and PVC boards are popular near pools because they don’t splinter like wood and they generally need less ongoing maintenance.
Many options have textured surfaces designed for traction. However, some composites can get warm in direct sunso color choice and shade matter.
- Best for: Lounge-heavy decks where you want fewer maintenance chores.
- Watch-outs: Heat buildup, upfront cost, and using the correct fasteners/spacing per manufacturer guidance.
- DIY tip: If your yard gets brutal sun, consider lighter tones or add shade structures early.
Pavers (the “barefoot-friendly patio” alternative)
If you want something that feels solid, stays relatively comfortable underfoot, and can be repaired piece-by-piece, pavers are a strong choice.
They also allow water to move through joints (and permeable systems can improve drainage in surrounding areas).
- Best for: In-ground pool surrounds, splash pads, and transitions from pool to yard.
- Watch-outs: Base prep and edge restraints (the boring parts are what keep pavers from turning into a wavy mess).
- DIY tip: Plan a proper separation joint near pool coping and focus on drainage so water doesn’t sit where people walk.
Concrete resurfacing or cool-texture coatings (upgrade without demolition)
If you already have a concrete slab (or an old pool deck that’s stained, rough, or dated), resurfacing can be a smart DIY-ish refresh.
Textured acrylic systems are often used to improve comfort and traction, and overlays can update color and finish.
- Best for: Refreshing existing concrete decks on a tighter timeline.
- Watch-outs: Surface prep is everything; coatings fail when prep is rushed.
- DIY tip: Avoid glossy, slick finishes in wet zonestexture matters more than “shine.”
12 DIY pool deck ideas you can mix-and-match
You don’t have to pick one “perfect” idea. The best pool areas combine a few: a safe entry, a comfortable lounge zone, and a surface strategy
that manages water. Here are options that work especially well for DIYers.
1) The half-wrap entry platform (above-ground pool MVP)
Build a partial wrap deck that covers the ladder/entry side only. It’s cheaper than a full wrap, improves safety, and instantly makes the pool
look more finished. Add a bench along the outer edge for a “towel drop zone.”
2) The split-level deck: wet up top, dry down below
Put the pool entry on a slightly higher platform and step down into a lounge area with chairs. That subtle change helps keep the wet traffic
close to the pool while the lounging zone stays (mostly) civilized.
3) The “boardwalk” walkway
Instead of a big deck, build a narrow walkway from the house to the pool with a small landing at the entry. It’s a great compromise if your yard
is tight or you’re trying to keep costs down.
4) Hybrid deck: paver splash ring + wood/composite lounge
Put pavers (or textured concrete) in the high-splash, high-traffic zone near the pool edge, then transition to wood or composite for lounging.
This can reduce maintenance where water is constant, while still giving you that “deck vibe.”
5) Pergola “shade bay”
Add a pergola over the lounge zone onlybonus points if you plan for curtains or a shade canopy. It keeps surfaces cooler and extends hangout time
beyond “10 minutes until everyone starts sizzling.”
6) Built-in storage bench seating
A bench with a hinged lid stores pool toys, test strips, towels, and the random goggles that multiply when you aren’t looking.
Place it on the dry side of the deck and you’ll reduce clutter fast.
7) Outdoor shower pad + privacy screen
A small paver pad with a simple screen creates a rinse spot so less water (and less grit) ends up on the main deck.
This also helps keep the pool cleaner because fewer people bring the yard into the water.
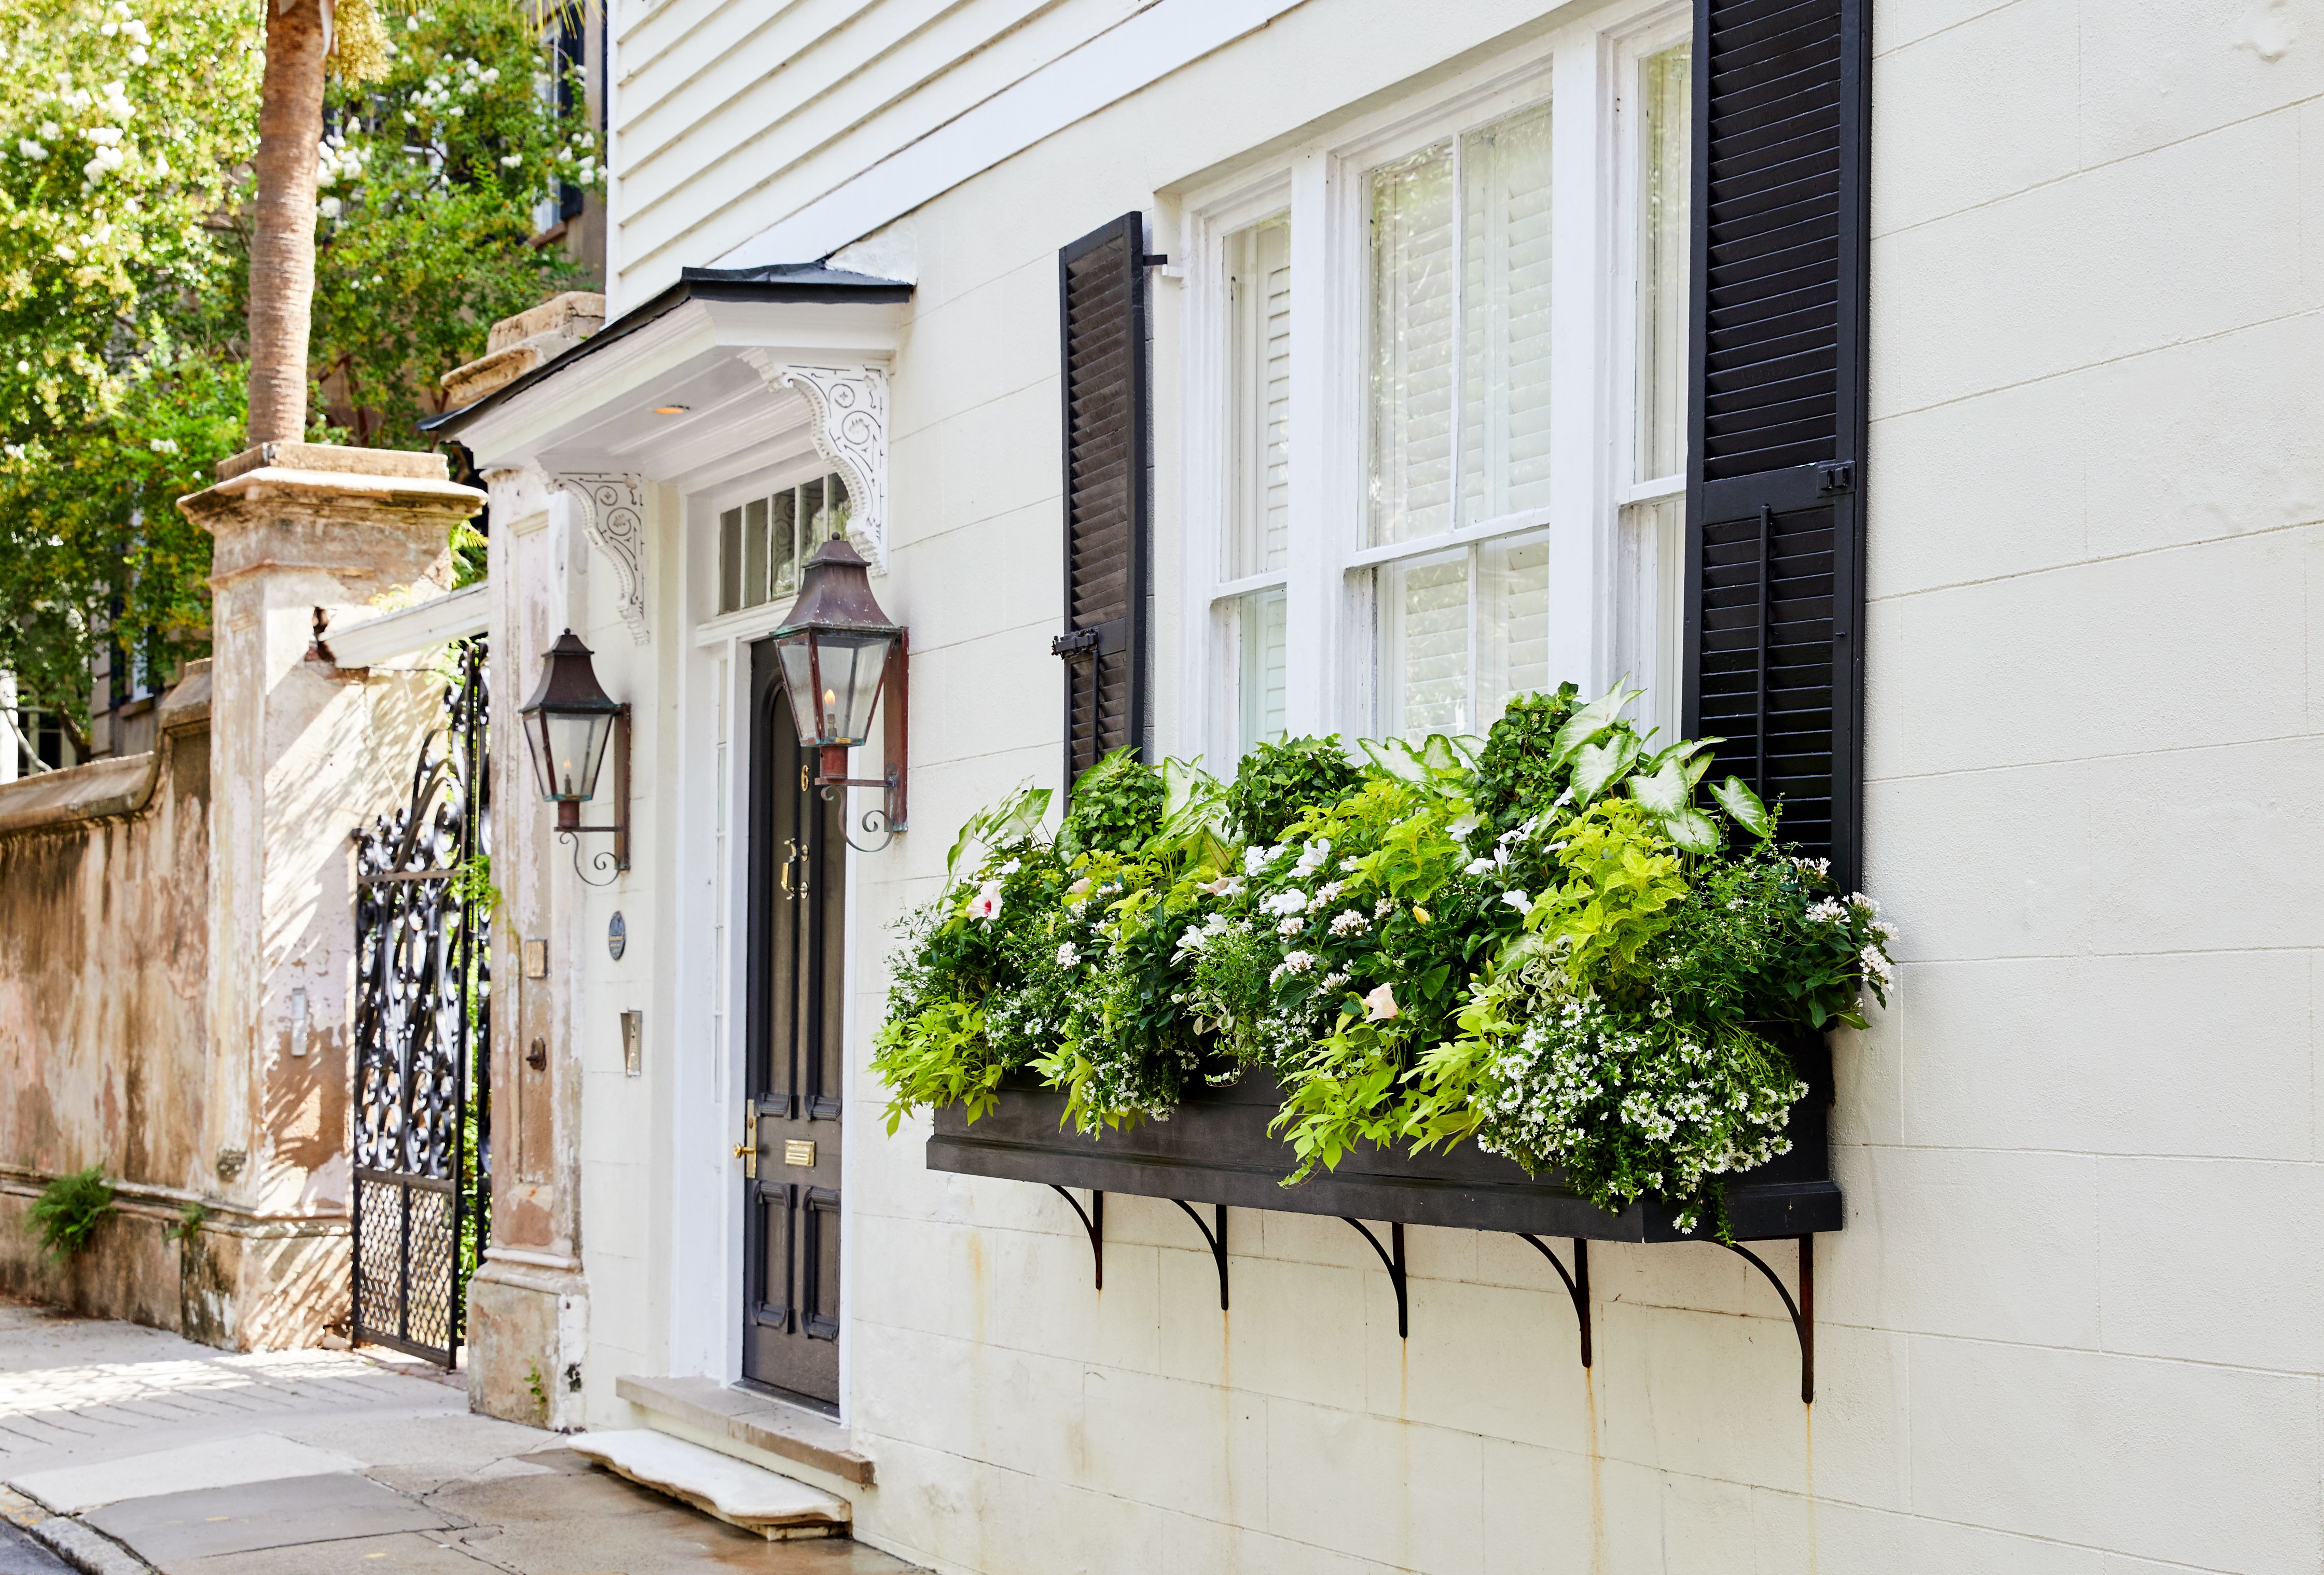
8) Planter railing (softens the look, adds “resort” feel)
If you have railings, build planter boxes into the perimeter (or place freestanding planters along the outside edge).
It’s a design trick that makes the pool feel like a destination, not an appliance.
9) Picture-frame border (cheap upgrade, high impact)
Use a contrasting board color (or a different paver tone) to outline the deck perimeter. It’s the DIY equivalent of adding a crisp haircut:
suddenly everything looks more intentional.
10) The “barefoot lane”
Create a designated walking pathtextured coating, grippier pavers, or a cooler-toned composite sectionfrom pool exit to seating and towel hooks.
This is especially helpful when the rest of the surface gets hot in peak sun.
11) Permeable paver surround zone
In areas that get constantly soaked (like where kids launch themselves out of the pool), permeable systems in adjacent zones can help move water away.
Even standard pavers can reduce standing water compared to a flat, sealed slab.
12) Modular deck tiles (fast refresh for small zones)
For a small seating corner or a transition area, modular deck tiles can be a quick visual upgrade. Just prioritize traction and stability,
and avoid using anything that becomes slippery when wet.
DIY build paths: choose your difficulty level
Not every pool deck project has to start with digging footings. Here are three realistic paths, depending on your budget, timeline, and confidence.
Level 1: Weekend glow-up (no structural framing)
- Deep clean surfaces and remove algae-prone grime.
- Add shade: umbrella sleeves, a shade sail, or a pergola kit over seating.
- Upgrade safety: add grippy mats/runners where people exit the pool.
- Define zones: outdoor rug in the lounge area (dry side), towel hooks near entry.
- Lighting: solar path lights or low-voltage step lights for safer evenings.
Level 2: Ground-level “deck” using pavers or a patio system
If you want a solid surface without building an elevated deck, a paver patio (or a properly compacted gravel/paver hybrid) can be a smart option.
The success of this approach is mostly about base prep and drainage.
- Plan drainage: Aim water to move away from the pool and away from the house.
- Build a stable base: Excavation + compacted base material + leveling layer, then pavers with edge restraint.
- Finish strong: Fill joints, compact, and spot-check for wobble before you declare victory.
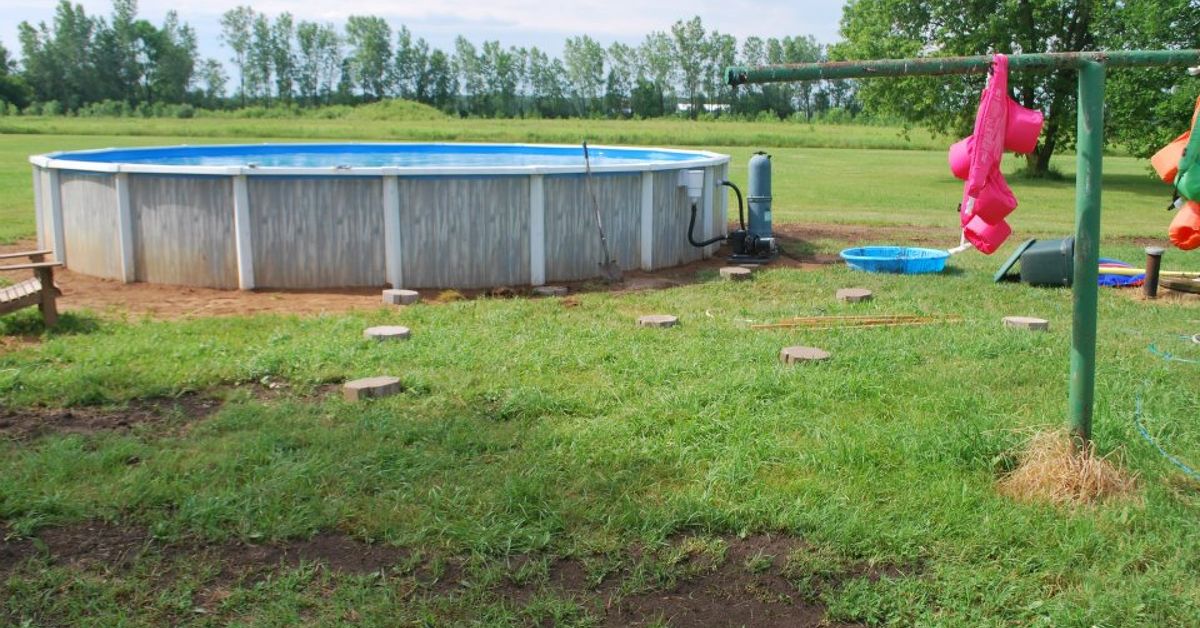
Level 3: Elevated framed deck (best for above-ground pools)
A framed deck is the most classic “pool deck” look, and it’s often the best match for above-ground pools. Because it’s structural, it’s also the
path where you should be most conservative: follow local requirements, use correct connectors, and get a knowledgeable helper if you’re new to framing.
The small details that make your deck feel expensive (even when it isn’t)
Traction is non-negotiable
Pool decks get slippery for two reasons: water, and smooth finishes. Choose textured surfaces, boards with grip patterns, or pavers with natural texture.
If you seal anything, avoid creating a glossy skating rink.
Keep it cooler underfoot
- Use shade strategically over lounging and walking zones.
- Choose lighter colors where possible.
- Consider textured acrylic “cool” coatings for concrete surfaces that bake in the sun.
Drainage makes everything safer (and cleaner)
Standing water encourages slips and algae. Good deck design quietly moves water away. Practical approaches include:
keeping surfaces slightly sloped where appropriate, allowing gaps between deck boards for drainage,
and using paver systems that shed water through joints.
Hardware matters more near pools
Moisture plus pool chemicals can accelerate corrosion. Use connectors and fasteners rated for exterior use and elevated corrosion conditions.
It’s not glamorous, but it’s cheaper than rebuilding.
Maintenance plan (the kind you’ll actually follow)
A pool deck lasts longer when you do small upkeep consistently, instead of one dramatic weekend of regret every two years.
Keep it simple and seasonal.
Monthly (during pool season)
- Quick sweep to remove grit (sand is basically sandpaper for surfaces and finishes).
- Rinse and spot-clean algae-prone corners and shaded areas.
- Check for loose fasteners, wobbly rail sections, or soft spots.
Seasonal
- Wash thoroughly with a deck-safe cleaner and a brush (gentle methods protect the surface).
- Inspect stairs and railings; tighten anything that moves.
- Wood decks: consider re-sealing on a schedule that matches your sun/moisture exposure.
- Concrete/pavers: re-sand joints as needed and keep drainage paths clear.
Common DIY mistakes (so you can skip the learning curve)
- Building for looks instead of water behavior. If water can’t escape, the deck will feel gross and get slippery.
- Underestimating shade. A “perfect” lounge area in full sun becomes a decoration, not a destination.
- Going too smooth. Pool areas need texture. Your feet will thank you.
- Ignoring corrosion. Cheap hardware near a pool can age like milk.
- Skipping local requirements. The fastest way to kill DIY joy is rebuilding after an inspection surprise.
Real-world DIY experiences (500+ words of lessons from the splash zone)
Here’s what DIYers commonly report after building or upgrading pool decksshared as practical “what I wish I knew” themes
rather than fairy-tale success stories. If you’ve ever started a project thinking it’s a “Saturday thing” and ended up eating
dinner out of a takeout container on a stack of pavers… welcome. You’re among friends.
Experience #1: The deck isn’t the projectwater is
Many people start with aesthetics (“I want that modern resort look”) and finish by realizing the real opponent was water flow.
The best-looking surface in the world won’t feel good if puddles form where everyone walks. DIYers often say their biggest upgrade
wasn’t a fancy materialit was fixing the way water moved through the space. Sometimes that meant adding a subtle slope on a patio,
sometimes it meant creating a designated walking path that stayed drier, and sometimes it meant rethinking where the lounge chairs lived.
The surprising part: once water behavior improved, the area looked better, too. Cleaner surfaces, fewer algae issues, and less grit getting tracked around.
Experience #2: “Hot deck” is a real thing, and it changes your design
DIYers in sunny climates often say their biggest regret wasn’t color or layoutit was ignoring heat. Dark surfaces can get uncomfortable fast,
especially in peak afternoon sun. People end up migrating like sunflowers: moving chairs constantly to chase shade. The most satisfied builds tend to include
shade planning from day one: pergola over a corner, umbrella sleeves built into the deck, or a shade sail anchored to posts. Even a small shaded “bay”
can make the pool area usable longer and keep kids from turning into tiny lobsters.
Experience #3: The “entry moment” decides whether the deck feels safe
If the pool entry is awkwardwobbly ladder, tight turn, no landing spacethe whole setup feels sketchy. DIYers who build a stable entry platform with
room to pause, towel off, and step down safely almost always rate that as the best quality-of-life improvement. It’s also where you can add the most value
without building a giant deck: a simple landing, sturdy steps, and good traction. Add a bench or hook rail nearby and suddenly the chaos has a home.
Experience #4: Storage is not optional (unless you love clutter)
Pool gear expands. It just does. Floaties appear. Goggles multiply. Towels become a migrating species. DIYers who add even one storage bench,
a small deck box, or a dedicated “pool wall” with hooks and bins say the area stays calmer and cleaner. It also protects your deck surface:
fewer toys left in wet piles means fewer mystery stains, fewer scuffs, and less trapped moisture.
Experience #5: Mixing materials often feels more “high-end” than using one
A common DIY surprise is how good hybrid designs look: pavers or textured concrete near the splash zone, then wood or composite for lounging.
It creates a natural “wet-to-dry” transition and can reduce maintenance where water is constant. DIYers like this approach because it lets them invest
where it matters most (comfort and seating) while choosing a practical surface where the water hits hardest. It also helps with visual zoning:
your eye reads the space as designed, not accidental.
Experience #6: The project goes faster when you stop trying to be a hero
The happiest DIY stories usually include one smart move: getting help for the parts that truly need it. That might mean asking the local building department
questions early, hiring a pro for electrical work, or getting a knowledgeable friend to sanity-check framing plans. DIY doesn’t have to mean “do everything alone.”
It means you own the vision, the choices, and the effortwithout gambling on safety. Also, your future self would like to keep both eyebrows and all ten toes.
Conclusion
A great DIY pool deck isn’t about the fanciest materialsit’s about smart planning that respects water, heat, traction, and real-life pool chaos.
Start by defining zones, pick a surface that makes sense for your climate and maintenance tolerance, and focus on the safety details that matter most:
stable entry, good drainage, and grippy walking areas. Build in shade and storage, and your pool area will feel less like a backyard “feature”
and more like your favorite summer room.