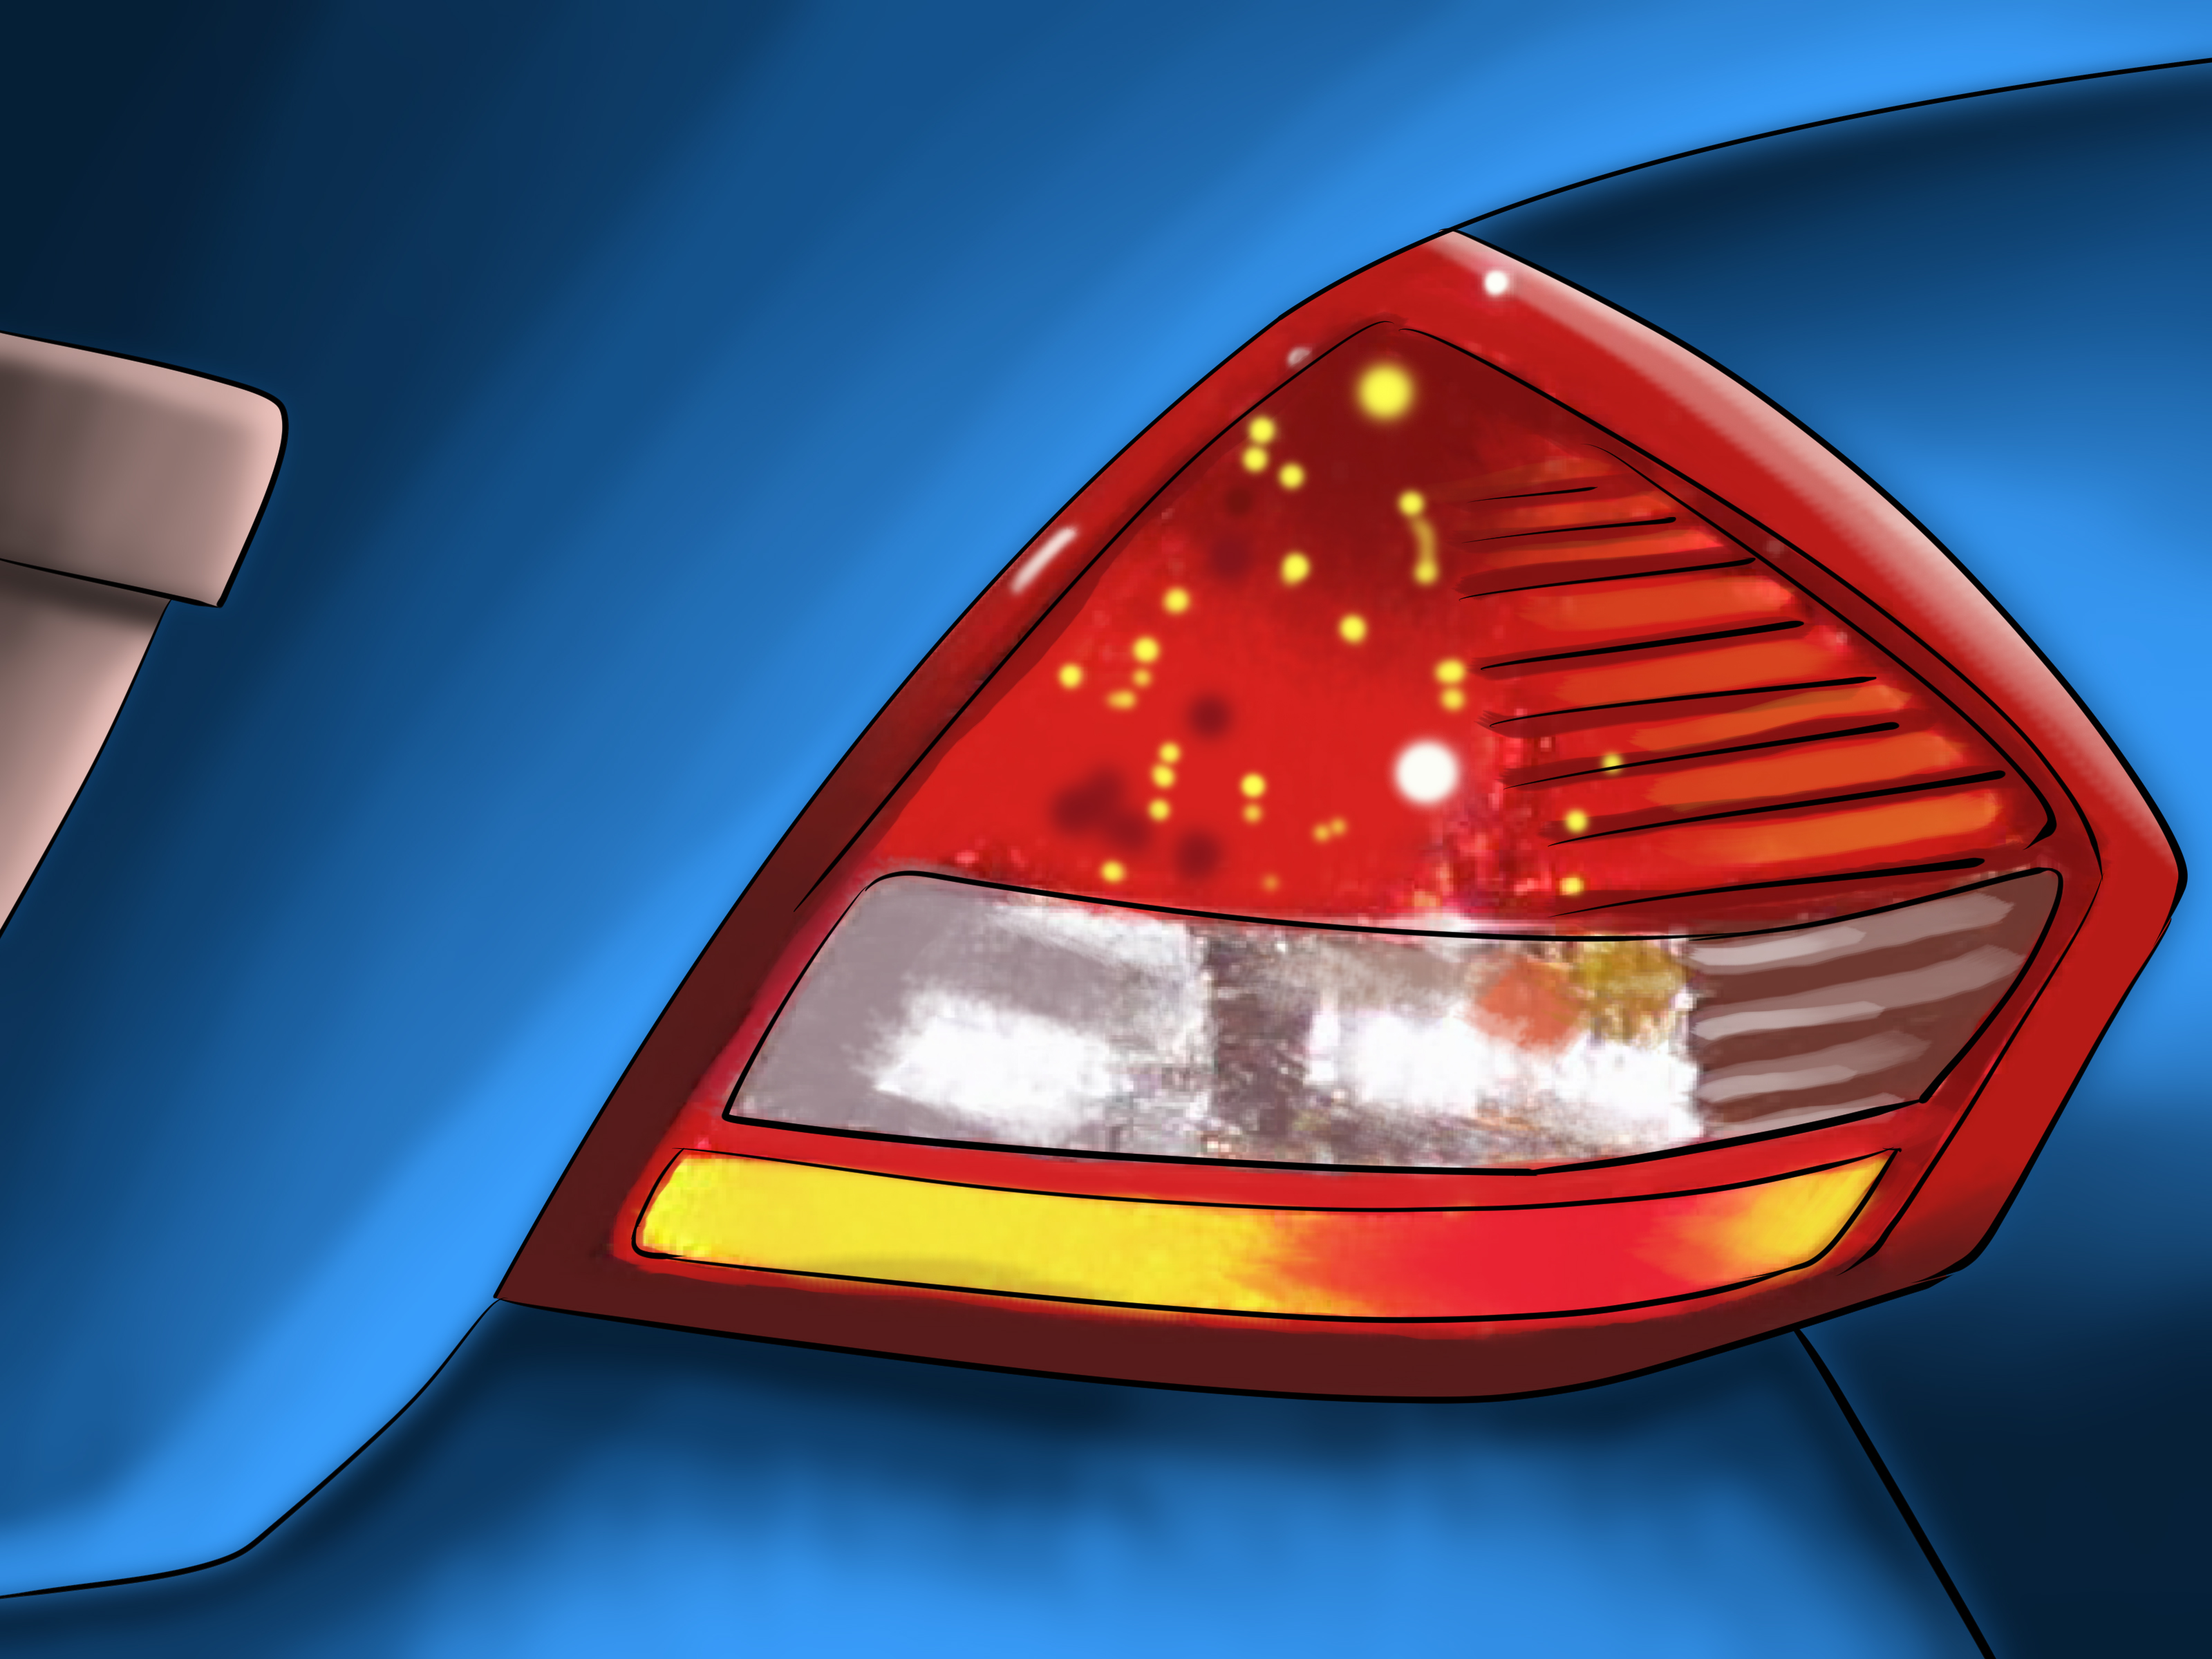

Changing a tail light bulb on a Nissan Versa Hatchback is one of those car jobs that sounds slightly more dramatic than it really is. The phrase “rear combination lamp assembly” may make it seem like you need a NASA badge and a tiny laptop, but in most cases, you need a replacement bulb, a little patience, and maybe a 10 mm socket if your model requires the lamp housing to come out. That is good news, because a burnt-out tail light is not just annoyingit can reduce your visibility, confuse drivers behind you, and attract the kind of attention nobody wants from a patrol car.
This guide explains how to change a tail light bulb on a Nissan Versa Hatchback, with practical notes for the 2007–2012 Versa Hatchback and helpful guidance for the later Versa Note hatchback-style models. Nissan used slightly different rear light layouts and bulb numbers across years, so the smartest move is to confirm your model year, trim, and bulb type before buying parts. Think of it like ordering shoes: “Versa Hatchback” gets you close, but the exact size still matters.
Before You Start: Know What Bulb You Are Replacing
The rear lamp cluster on a Nissan Versa Hatchback may contain several bulbs: the stop/tail bulb, rear turn signal bulb, and backup light bulb. The one most people call the “tail light” is usually the stop/tail bulb, which works as a dim running light when the headlights are on and brightens when the brake pedal is pressed.
For many 2007–2012 Nissan Versa Hatchback models, owner manual information commonly lists the stop/tail bulb as a 21/5-watt dual-function bulb with Nissan-style bulb references such as 12499 or 12499LL. Parts stores may cross-reference these to common bulb families such as 7528, 1157, or other equivalent listings depending on brand and catalog. Later Versa Note models may use different bulb numbers, including W21/5W-style listings. The safest rule is simple: remove the old bulb first, compare the base and number, or check by VIN at a parts counter.
Tools and Supplies You May Need
- Correct replacement tail light bulb for your Nissan Versa Hatchback
- Clean gloves or a paper towel
- 10 mm socket and ratchet, depending on model year
- Small flat trim tool or screwdriver wrapped in tape
- Microfiber cloth
- Dielectric grease, optional and used sparingly
- A helper to press the brake pedal during testing
You do not need a huge toolbox. In fact, if your Versa gives you direct access to the bulb socket from inside the hatch area, this job can be done faster than finding the “safe place” where you put your socket set last month.
Safety First: A Few Boring But Useful Warnings
Park the car on a flat surface, turn off the engine, set the parking brake, and make sure the exterior lights are off. Let the bulb cool if the lights were recently on. Bulbs can get hot enough to make you regret being impatient.
If you need to remove the rear lamp assembly or work near wiring, disconnecting the negative battery cable is a smart safety step, especially on models where Nissan’s repair procedure recommends it. Also, avoid touching the glass part of the new bulb with bare fingers. Oils from your skin can create hot spots and shorten bulb life. The bulb does not need a spa treatment; it needs clean handling.
Step-by-Step: How to Change a Tail Light Bulb on Nissan Versa Hatchback
Step 1: Open the Hatch and Clear the Cargo Area
Open the rear hatch and move anything blocking the lamp area. If your hatchback has cargo panels, bags, sports gear, emergency supplies, or that mysterious umbrella nobody admits buying, move them aside. You need room to access the rear corner of the vehicle where the tail light assembly sits.
Step 2: Find the Rear Lamp Access Area
Look at the inside trim near the tail light. On some Versa Hatchback models, you may find a small access cover that can be removed to reach the bulb sockets. On other versions, especially hatchback-style Versa Note models, you may need to remove the entire rear combination lamp assembly from the outside after loosening fasteners from the hatch opening area.
If there is an access panel, gently pry it open with your fingers or a plastic trim tool. If it resists, do not attack it like it owes you money. Plastic clips get brittle with age, especially on older cars, and broken trim clips have a special talent for disappearing forever.
Step 3: Identify the Correct Bulb Socket
The tail light/brake light bulb is usually positioned within the rear combination lamp assembly. The exact socket location can vary, so compare it with the lens outside the vehicle. If the red lens section is the one not working, trace that area to the matching socket inside.
Many rear bulb sockets remove by turning counterclockwise about a quarter turn, then pulling straight out. If the socket feels stuck, wiggle gently. Avoid pulling on the wires. Wires are not handles, even though they are located exactly where your fingers want to grab.
Step 4: Remove the Old Bulb
Once the socket is out, remove the bulb. Some bulbs pull straight out. Others use a bayonet-style base: push in slightly, turn counterclockwise, and then pull out. Look at the base before forcing anything. If the bulb has small metal pins on the side, it is likely a push-and-turn design. If it has a plastic wedge base, it usually pulls straight out.
Check the old bulb. A broken filament, darkened glass, or loose internal element usually confirms the failure. Sometimes a bulb looks fine but still does not work, so testing with a known-good replacement is often the easiest diagnosis.
Step 5: Install the New Bulb
Put on gloves or hold the new bulb with a clean cloth. Match the old bulb’s base and wattage before installing it. If your old bulb was a dual-function stop/tail bulb, do not replace it with a single-function bulb just because it “kind of fits.” That is how a five-minute repair becomes a comedy with electrical consequences.
Insert the new bulb into the socket. For a bayonet bulb, align the pins, push in, and turn clockwise until it locks. For a wedge bulb, push it in firmly and evenly. If you choose to use dielectric grease, apply only a tiny amount to the base area where appropriate; do not coat the glass or drown the socket.
Step 6: Reinstall the Socket or Lamp Assembly
Place the socket back into the tail light housing and turn it clockwise until it locks. Make sure it seats evenly. If your model required removing the rear lamp assembly, align the guide pins carefully before tightening the bolts. A 10 mm fastener is common on many small Nissan rear lamp assemblies, but do not over-tighten it. Tail light housings are plastic, and plastic prefers “snug” over “bodybuilder handshake.”
Step 7: Test the Tail Light and Brake Light
Before reinstalling every panel and celebrating like you just rebuilt an engine, test the light. Turn on the parking lights or headlights to check the tail light function. Then have a helper press the brake pedal to confirm the brighter brake light function works. If you are working alone, back up near a garage door or wall and watch the reflection. This method is surprisingly effective and makes you feel like a detective, but with fewer dramatic saxophones.
Step 8: Reinstall Trim and Clean the Lens
Once the bulb works, reinstall the access panel, trim cover, or lamp fasteners. Close the hatch and wipe the outside lens with a microfiber cloth. A clean lens improves visibility and makes the repair look finished. It also gives you that pleasant “I fixed something today” feeling, which is cheaper than therapy and usually available in the driveway.
Troubleshooting: What If the New Tail Light Bulb Still Does Not Work?
Check the Bulb Orientation
If the bulb does not light, remove it and check that it is seated properly. Dual-filament bayonet bulbs often have offset pins, meaning they fit correctly in only one orientation. If forced in the wrong way, the bulb may not contact the terminals correctly.
Inspect the Socket
Look for corrosion, melted plastic, loose contacts, or moisture inside the socket. A little greenish corrosion can interrupt the circuit. If the socket is damaged or heat-warped, replacing only the bulb may not solve the problem.
Check the Fuse or Electrical Circuit
If both rear lights are out, or if several lights fail at once, the issue may not be the bulb. Check the owner’s manual for fuse locations and exterior lighting circuit information. On some Versa models, rear lighting circuits may be routed through control modules rather than a simple old-school fuse setup, so do not keep replacing bulbs if the electrical system is clearly not powering them.
Look for Water Inside the Tail Light
Moisture inside the lens can shorten bulb life and corrode contacts. Light fogging after a car wash or rain can be normal, but standing water or repeated bulb failures may mean the housing seal is damaged. In that case, the real fix may be a new tail light assembly instead of another bulb.
Common Mistakes to Avoid
The first mistake is buying the bulb before confirming the year and body style. A Nissan Versa sedan, Versa Hatchback, and Versa Note can have different rear light designs. The second mistake is touching the glass with bare fingers. The third is tightening lamp bolts too hard and cracking the housing. The fourth is replacing the wrong bulb because the brake light, tail light, and turn signal all live close together in the same rear cluster.
Another common mistake is ignoring the other side. If one tail light bulb has burned out after years of service, the opposite side may not be far behind. Replacing bulbs in pairs can save time, especially if both bulbs are the same age. It is not mandatory, but it is practicallike buying socks in pairs instead of pretending one lonely sock is a lifestyle choice.
How Long Does This Repair Take?
For most DIY owners, changing a tail light bulb on a Nissan Versa Hatchback takes 10 to 30 minutes. If the bulb is accessible through an interior panel, it may take less than 10 minutes. If you need to remove the lamp housing, clean a corroded socket, or hunt for the 10 mm socket that has entered the fourth dimension, plan for a little longer.
How Much Does It Cost?
A standard replacement tail light bulb is usually inexpensive, often costing only a few dollars to around the price of a fast-food lunch, depending on brand, bulb type, and whether you choose long-life or LED-style replacements. A shop may charge labor for the repair, but because this job is generally simple, many owners prefer doing it themselves. If the socket, wiring, or whole tail light assembly is damaged, the cost can rise significantly.
Should You Use LED Replacement Bulbs?
LED bulbs can be brighter and may last longer, but they are not always a perfect plug-and-play choice. Some vehicles need bulbs with the correct polarity, proper resistance, and suitable brightness pattern for the reflector housing. A bulb that is bright in your hand may not distribute light correctly inside the tail light lens. For exterior safety lights, fit and function matter more than internet sparkle.
If you upgrade to LED, choose a bulb specifically listed as compatible with your year and trim, then test tail light and brake light operation carefully. Make sure there are no warning lights, flickering, or strange behavior. Your rear lighting system should communicate clearly, not perform a tiny disco show at every stop sign.
of Real-World Experience: What This Job Is Actually Like
The first time many people replace a tail light bulb on a Nissan Versa Hatchback, the biggest challenge is not the bulb. It is figuring out how Nissan hid the access point. The car is compact, the rear lamp area is tucked into the hatch corner, and the trim panel can make you wonder whether you are supposed to pry, twist, pull, or politely negotiate. The best experience-based advice is to slow down and look carefully before using tools. A flashlight helps more than confidence here.
Older Versa Hatchbacks can have trim pieces that feel stubborn because the plastic has lived through years of summer heat, winter cold, grocery loading, and hatch slamming. If a panel does not release immediately, do not force it with a bare screwdriver. Wrap the tool in tape or use a plastic trim tool. A scratched panel will not affect the bulb, but it will stare at you every time you open the hatch, silently judging your impatience.
When the socket finally comes out, take a second to observe how it was positioned. Many DIY repairs go sideways during reassembly because the person remembers the hard partgetting it apartbut forgets the boring parthow it lined up. A quick phone photo before removing the bulb can save several minutes later. This is one of those tiny habits that makes you look like a professional, even if you are working in flip-flops in the driveway.
Another useful lesson is to compare the old bulb and new bulb side by side before installation. The base style, pin position, glass size, and wattage should match. Parts catalogs are helpful, but vehicles age, trims vary, and previous owners sometimes install whatever bulb was available during an emergency. If the old bulb is wrong, copying it is not ideal; however, if the new bulb clearly does not match the socket, do not force it. Forced bulbs can damage contacts or get stuck, which turns a cheap repair into a very annoying afternoon.
Testing is also more important than people think. A dual-filament stop/tail bulb can partially fail. The tail light may work while the brake light does not, or the brake light may work while the running light is dead. That is why you should test both functions. Turn on the headlights to check the dim tail light, then press the brake pedal to check the brighter brake function. If you are alone, use a wall, window, garage door, or even the shiny bumper of another parked vehicle as a reflection surface. Just do not rely on “I think it works.” Rear lights are not a place for optimism.
Finally, keep a spare bulb in the glove box or cargo area once you know the correct type. Tail light bulbs often fail at inconvenient times: at night, before a trip, during rain, or five minutes after you proudly told someone your car “never gives me trouble.” A spare bulb, small cloth, and basic tool can turn a roadside annoyance into a quick fix. The Nissan Versa Hatchback is friendly to budget-minded owners, and this repair is one of the easiest ways to keep it safe, legal, and ready for daily driving.
Final Thoughts
Learning how to change a tail light bulb on a Nissan Versa Hatchback is a useful skill for any owner. It saves money, keeps your car visible, and helps prevent unnecessary stops for a simple lighting issue. The key is to confirm the correct bulb, handle the new bulb cleanly, avoid forcing plastic parts, and test both the tail light and brake light before calling the job done.
Note: This guide is written for common Nissan Versa Hatchback and Versa Note hatchback-style rear light layouts. Always verify the exact bulb number by model year, trim, VIN, owner’s manual, or the old bulb before purchasing a replacement.