Learning how to crochet a hat for beginners sounds like the kind of project that should come with dramatic music, a cozy fireplace, and a grandmother who somehow counts stitches while watching three soap operas. Good news: you do not need any of that. You only need yarn, a crochet hook, a little patience, and the willingness to pull out a few stitches without declaring war on the entire fiber arts community.
A crochet hat is one of the best beginner projects because it is useful, giftable, and forgiving. Scarves can go on forever like a streaming show with too many seasons, but a hat has a clear beginning, middle, and end. You start with a simple foundation, build the crown, shape the sides, add a brim, and finish with a neat little “look what I made!” moment.
This guide walks you through a beginner-friendly beanie in 12 practical steps. You will learn what supplies to use, how to measure for fit, how to crochet in the round, how to increase stitches, how to shape the hat, and how to finish it neatly. The goal is not perfection. The goal is a warm, wearable hat that does not look like it lost an argument with a yarn basket.
What You Need Before You Start
For a beginner crochet hat, choose medium weight yarn, also called worsted weight yarn, or bulky yarn if you want a faster project. Worsted weight yarn is easy to control, widely available, and not too thin. Bulky yarn works up quickly, which is excellent for impatient humans, also known as most beginners.
Basic supplies
- One skein of medium or bulky yarn
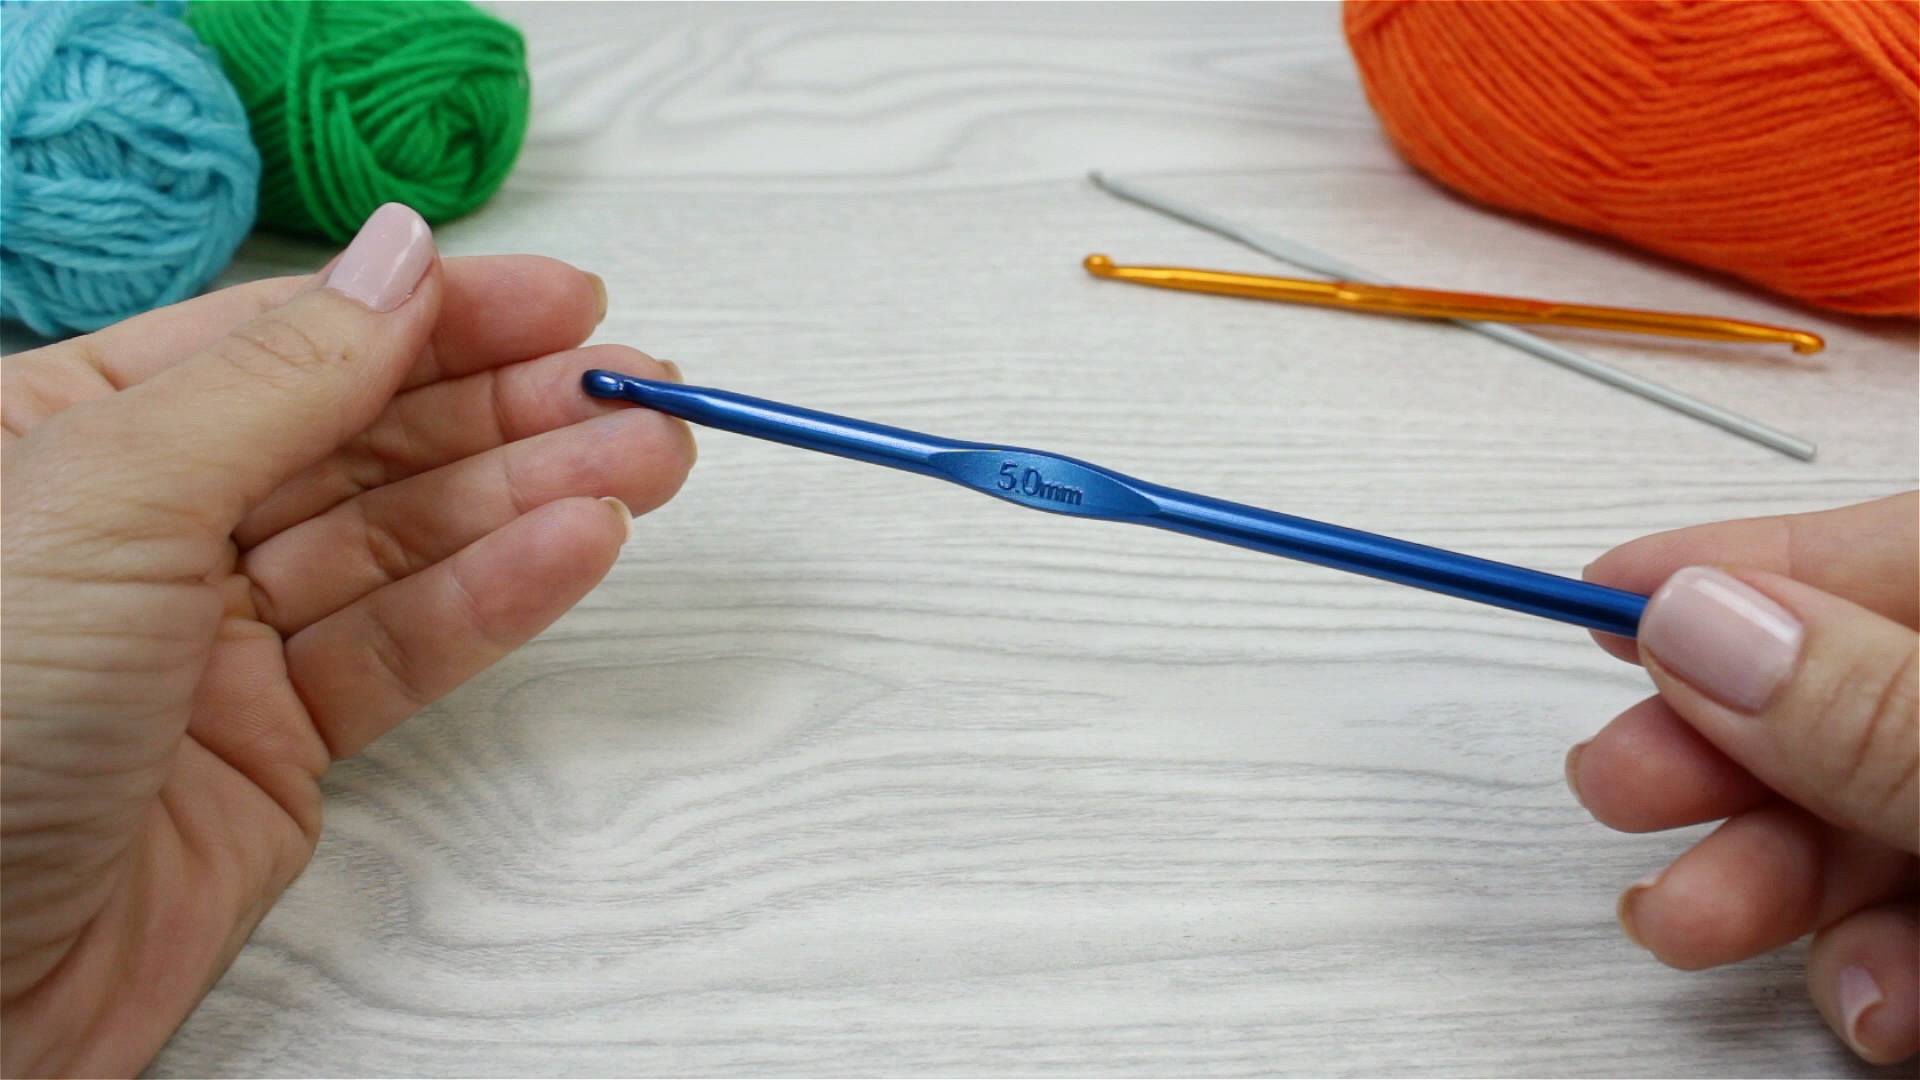
- A crochet hook that matches your yarn label, often 5.5 mm to 6.5 mm for medium yarn
- Scissors
- A yarn needle for weaving in ends
- Stitch markers or a small piece of contrasting yarn
- A soft measuring tape
If you are making your first hat, use a smooth, light-colored yarn. Dark fuzzy yarn may look stylish, but it hides stitches like it has something to confess. Light yarn lets you see where your hook should go, which saves time and possibly your sanity.
Common Crochet Terms for This Hat
Crochet patterns use abbreviations because writing “half double crochet” 86 times would make everyone quietly leave the room. Here are the beginner terms you need for this hat:
- ch: chain stitch
- sl st: slip stitch
- sc: single crochet
- hdc: half double crochet
- dc: double crochet
- st: stitch
- rnd: round
- inc: increase, usually two stitches worked into one stitch
This tutorial mainly uses half double crochet because it is the friendly middle child of crochet stitches. It is taller than single crochet, shorter than double crochet, and gives a soft, flexible fabric that works nicely for hats.
How to Crochet a Hat for Beginners: 12 Steps
Step 1: Measure the Head
Wrap a soft measuring tape around the widest part of the head, usually across the forehead and around the back. For many adult women, head circumference is about 21 to 23 inches. For many adult men, it is about 22 to 24 inches. If you are making the hat as a surprise gift, use average sizing, but remember that real heads are not manufactured in a factory with identical settings.
A crochet hat should usually be slightly smaller than the head measurement because crochet stretches. This is called negative ease. For example, if the head measures 22 inches, a finished hat circumference around 20 to 21 inches can fit comfortably, depending on yarn stretch and stitch tension.
Step 2: Choose the Right Yarn and Hook
For beginners, medium weight acrylic or wool-blend yarn is a smart choice. Acrylic is budget-friendly and easy to wash, while wool blends offer warmth and bounce. Cotton can work, but it has less stretch, so the hat may feel less forgiving.
Check the yarn label for the recommended hook size. If your stitches are tight and stiff, go up one hook size. If your stitches are loose and floppy, go down one hook size. Crochet tension is personal. Some people crochet tightly like they are negotiating with the yarn. Others crochet loosely like the yarn is on vacation. Both are normal.
Step 3: Make a Gauge Swatch
Gauge means how many stitches and rows you get in a certain measurement, often four inches. Beginners sometimes skip this step because it sounds boring. That is how hats become soup bowls or tiny decorative thimbles.
Crochet a small square using the stitch you plan to use for the hat, such as half double crochet. Measure how many stitches fit across four inches. If you have more stitches than expected, your stitches are tight. If you have fewer stitches, your stitches are loose. Adjust your hook size until the fabric feels comfortable and flexible.
Step 4: Start With a Magic Ring or Chain Circle
Most beginner beanies start at the crown, which is the top of the hat. A magic ring creates a clean, adjustable center with no big hole. To make one, loop the yarn around your fingers, insert the hook into the ring, pull up a loop, chain one or two, and crochet your first round into the ring. Then pull the yarn tail to close the center.
If the magic ring makes you want to dramatically stare out a window, use the chain-circle method instead. Chain four, join with a slip stitch to form a ring, and work your first stitches into the center. It may leave a small hole, but your hat will survive.
Step 5: Crochet the First Round
For a simple half double crochet hat, begin with 8 to 10 half double crochet stitches in the ring. A common beginner option is 10 hdc. Place a stitch marker in the first stitch of the round so you know where each round begins. Without a marker, the round can disappear like socks in a dryer.
Pull the center tail snug if you used a magic ring. Do not yank so hard that the yarn snaps. You want firm, not superhero.
Step 6: Increase to Shape the Crown
To make the flat circle at the top of the hat, you need increases. An increase means placing two stitches into the same stitch. This widens the circle evenly.
A basic increase pattern might look like this:
- Round 1: 10 hdc into the ring
- Round 2: 2 hdc in each stitch around, 20 stitches
- Round 3: 1 hdc, then 2 hdc in next stitch; repeat around, 30 stitches
- Round 4: 2 hdc, then 2 hdc in next stitch; repeat around, 40 stitches
- Round 5: 3 hdc, then 2 hdc in next stitch; repeat around, 50 stitches
- Round 6: 4 hdc, then 2 hdc in next stitch; repeat around, 60 stitches
This pattern spreads the increases evenly so the crown grows into a circle instead of a ruffled pancake. If it starts waving like a lasagna noodle, you may be increasing too much. If it cups too early, you may need more increases.
Step 7: Check the Crown Diameter
The crown diameter helps determine hat size. Lay the circle flat and measure across the widest point. For many adult hats, the crown diameter is often around 6.5 to 7.5 inches before you stop increasing, depending on yarn, hook, stitch, and desired fit.
You can estimate the needed crown diameter by dividing the desired hat circumference by 3.14. For example, if you want a 21-inch hat circumference, 21 divided by 3.14 is about 6.7 inches. Crochet math is not glamorous, but it does keep your hat from becoming a yarn lampshade.
Step 8: Crochet Even Rounds for the Body
Once the crown is wide enough, stop increasing. Work one half double crochet in each stitch around. These even rounds form the sides of the hat. You will notice the flat circle begin to curve downward. This is the exciting part where the project finally admits it is a hat.
Keep using your stitch marker. Move it up at the start of each round. Count your stitches every few rounds to make sure you have not accidentally added or lost stitches. One surprise stitch may not ruin everything, but ten surprise stitches are no longer a mistake; they are a design decision you may not want.
Step 9: Measure the Hat Length
Try the hat on if possible, or measure from the crown to the lower edge. A standard adult beanie often measures about 8 to 9 inches long. If you want a folded brim, make it longer, around 10 to 12 inches, depending on how deep you want the fold.
The best beginner method is to pause and check often. Crochet grows faster than expected, especially with bulky yarn. One more round can be the difference between “cute beanie” and “cozy helmet for a garden gnome.”
Step 10: Add a Simple Brim
A brim gives the hat a finished look and helps it stay in place. For the easiest brim, work several rounds of single crochet around the bottom edge. Single crochet creates a tighter fabric, which adds structure.
For a ribbed brim, crochet front post and back post stitches, or make a separate ribbed band with rows worked in the back loop only and sew it to the hat. Beginners may prefer the simple single crochet brim first. You can always get fancy later, after you and your yarn have established mutual trust.
Step 11: Fasten Off and Weave in Ends
When the hat is the right length, cut the yarn, leaving a tail about six inches long. Yarn over and pull the tail through the final loop to fasten off. Thread the tail onto a yarn needle and weave it back and forth through nearby stitches.
Do not simply cut the tail close to the knot. That is how ends sneak out later and wave at people. Weave the tail in several directions so it stays secure. Trim the excess once it is hidden.
Step 12: Customize Your Hat
Now comes the fun part. Add a pom-pom, a faux fur topper, a folded brim, stripes, color blocking, or a small handmade tag. You can also make the hat slouchier by adding extra length before the brim.
If this is your first crochet hat, take a photo before giving it away. Not because the hat is leaving for college, but because finishing a handmade project deserves proof. Your first hat may not be perfect, but it is a real object made from a long piece of yarn and your own two hands. That is basically soft wizardry.
Beginner Crochet Hat Pattern Example
Here is a simple adult-sized pattern framework using half double crochet. Adjust the stitch count, hook size, or number of rounds based on your gauge and fit.
Simple adult beanie framework
- Make a magic ring.
- Round 1: Work 10 hdc into the ring.
- Round 2: Work 2 hdc in each stitch around, 20 stitches.
- Round 3: Work 1 hdc, then 2 hdc in next stitch; repeat around, 30 stitches.
- Round 4: Work 2 hdc, then 2 hdc in next stitch; repeat around, 40 stitches.
- Round 5: Work 3 hdc, then 2 hdc in next stitch; repeat around, 50 stitches.
- Round 6: Work 4 hdc, then 2 hdc in next stitch; repeat around, 60 stitches.
- Rounds 7 and beyond: Work 1 hdc in each stitch around until the hat reaches your desired length.
- Brim: Work 2 to 4 rounds of single crochet.
- Fasten off, weave in ends, and add optional decoration.
This is a flexible beginner formula, not a one-size-fits-every-head law. If your yarn is thicker, you may need fewer rounds or fewer stitches. If your yarn is thinner, you may need more. Always measure as you go.
Common Beginner Mistakes and How to Fix Them
The hat is too big
Your gauge may be too loose, your hook may be too large, or you may have increased for too many rounds. Try using a smaller hook or stopping the increase rounds earlier.
The hat is too small
Your stitches may be tight, or the crown diameter may not be wide enough. Go up a hook size or add another increase round before working the sides.
The crown is wavy
A wavy crown usually means there are too many increases. Remove one increase round or space your increases farther apart.
The crown curls too soon
If the circle starts cupping before it reaches the right diameter, you may not be increasing enough. Add more increases evenly around the round.
The seam looks obvious
Joined rounds can create a visible seam. Working in a continuous spiral can reduce that line, but you must use a stitch marker carefully. For a first hat, either method is fine. A visible seam is not a tragedy; it is a reminder that a human made the hat, not a suspiciously perfect robot.
Tips for Making Your First Crochet Hat Look Better
Keep your tension relaxed and consistent. Beginners often grip the hook tightly, especially when concentrating. Try to loosen your shoulders and let the yarn glide through your fingers. Crocheting should not feel like arm wrestling a spaghetti noodle.
Count your stitches at the end of every increase round. This small habit prevents big problems later. Use stitch markers generously. There is no prize for remembering everything without help.
Choose simple colors for your first hat. Solid yarn makes it easier to see mistakes and understand stitch structure. Once you are comfortable, experiment with stripes, variegated yarn, or textured stitches.
Finally, block the hat lightly if needed. Blocking means shaping the finished piece with gentle moisture or steam, depending on the fiber. Always check the yarn label first. Acrylic yarn can react badly to too much heat, so treat it gently.
Personal Experience: What Beginners Usually Learn While Crocheting a Hat
The first thing most beginners learn while crocheting a hat is that yarn has a personality. Sometimes it behaves beautifully. Sometimes it splits, tangles, rolls off the table, and acts like it has somewhere more important to be. This is normal. Your job is not to control every inch of yarn like a tiny fiber dictator. Your job is to guide it, stitch by stitch, until it becomes something useful.
One of the most helpful beginner experiences is learning to read your stitches. At first, every loop may look like every other loop. Then, after a few rounds, you begin to notice the little V-shapes at the top of each stitch. You see where the hook should go. You can tell when a stitch is too tight or when you accidentally skipped one. This moment feels small, but it is huge. It is the difference between guessing and understanding.
Another common experience is discovering that counting matters more than confidence. A beginner may feel certain the round has 60 stitches, only to count and find 58, 61, or “let us not discuss this number publicly.” That is why stitch markers are so useful. They turn a circular project into a manageable map. Mark the first stitch of every round. Count during increase rounds. Your future self will thank you with fewer dramatic sighs.
Fit is another lesson. Many beginners assume that if they follow a pattern exactly, the hat will fit exactly. But yarn thickness, hook size, personal tension, and head size all affect the result. Two people can use the same pattern and create slightly different hats. That is not failure. That is handmade reality. Measuring the crown diameter and checking the hat length as you go is far more reliable than blindly trusting the pattern and hoping for the best.
Beginners also learn that frogging is part of crochet. “Frogging” means ripping out stitches because “rip it, rip it” sounds like a frog. Cute name, mildly painful activity. Still, pulling out a few rounds is not wasted time. It teaches your hands what went wrong. Maybe the increases were too close together. Maybe the hook was too small. Maybe the brim needed two fewer rounds. Every correction improves the final hat and your next project.
The best experience, however, is the first time the project looks like a real hat. At the start, it is just a circle. Then it becomes a bowl. Then suddenly, after several even rounds, it becomes wearable. That transformation is deeply satisfying. You made fabric from yarn. You shaped it to fit a head. You created warmth. That is why crochet is addictive in the best possible way.
If your first hat has a slightly uneven brim, a tiny gap at the top, or one round that looks suspiciously different from the others, keep it anyway. Wear it, gift it, or save it as your “before” picture. The next hat will be smoother. The one after that will be faster. Soon you will be casually saying things like “I just whipped up a beanie,” which is a very powerful sentence in the cozy arts world.
Conclusion
Learning how to crochet a hat for beginners is less about memorizing rules and more about building confidence one round at a time. Start with simple yarn, use the right hook, measure carefully, count your stitches, and do not panic when something looks odd. Crochet is wonderfully fixable. A beginner hat teaches you the magic ring, increases, working in the round, shaping, brims, finishing, and the noble art of pretending you meant to make that first quirky version.
Once you finish your first crochet hat, you will understand why so many makers keep going. Hats are quick, practical, personal, and endlessly customizable. Make one in a favorite color, add a pom-pom, try a folded brim, or create matching hats for friends and family. Just be warned: once people learn you can crochet hats, they may start hinting about birthdays, holidays, and “accidentally” cold ears.
Note: This article is designed for beginner crocheters and provides a flexible learning method. Always adjust yarn, hook size, stitch count, and hat length based on your own gauge and the wearer’s measurements.