If you have ever watched a Zelda speedrun, a chaotic Mario Kart lobby, or a suspiciously intense Animal Crossing island tour on Twitch and thought, “I could do that too”, good news: you absolutely can. The less-good news is that Nintendo Switch streaming is not quite as plug-and-play as streaming from some other consoles. The Switch does not offer native Twitch broadcasting, so you need a few extra pieces of gear and a little setup magic.
The good news is that once you understand the system, streaming Nintendo Switch games on Twitch becomes surprisingly manageable. You do not need a spaceship command center. You do not need a producer named Chad barking camera cues. You just need the right hardware, the right software, and a setup that will not collapse the second you say, “Hey chat, can you hear me?”
This full guide walks you through everything: what gear you need, how to connect your Nintendo Switch to Twitch through a capture card, how to set up OBS or Streamlabs, how to fix common problems, and how to make your first stream feel less like a tech rehearsal and more like an actual show.
Can You Stream Nintendo Switch Games Directly to Twitch?
Not directly, no. Unlike some other consoles, the Nintendo Switch does not include a built-in Twitch live streaming feature. To stream gameplay live, you need to send the Switch’s video signal from the dock into a capture card, then into a computer running streaming software such as OBS Studio or Streamlabs.
There is also one very important catch: the Nintendo Switch Lite is not the right tool for this job. Because it is a handheld-only system and does not output video to a TV, it cannot be used for a standard live gameplay capture setup. If you want to stream Switch gameplay on Twitch, you need a regular Nintendo Switch or a Nintendo Switch OLED model.
What You Need to Stream Nintendo Switch on Twitch
Before you touch a single cable, gather your gear. This is the part where many people realize streaming is 40% gaming, 30% cable management, and 30% wondering where the second HDMI cable went.
- Nintendo Switch or Nintendo Switch OLED with its dock
- A capture card such as an Elgato, AverMedia, NZXT, Razer, or another compatible HDMI capture device
- A Windows PC or Mac capable of running streaming software
- Two HDMI cables
- A monitor or TV for passthrough gameplay
- A USB cable for connecting the capture card to your computer
- Streaming software like OBS Studio or Streamlabs Desktop
- A Twitch account
- A microphone, headset mic, or USB mic for commentary
- An optional webcam if you want your face on stream
If you are trying to keep costs low, the must-haves are the docked Switch, a capture card, a computer, and streaming software. A webcam is optional. A mic is not technically optional if you want people to stay longer than eight seconds.
Step 1: Get Your Twitch Channel Ready
Create or clean up your Twitch account
If you do not already have a Twitch account, create one first. If you already have one, take a few minutes to make it look alive. Add a profile image, write a short bio, and decide what kind of Nintendo Switch streamer you want to be. Cozy farm goblin? Competitive Splatoon menace? Mario Party chaos agent? Brand matters, even when the brand is “I panic during boss fights.”
Set your stream title, category, and tags
Inside the Twitch Creator Dashboard, use Stream Manager to edit your stream info before you go live. Pick the correct game category, write a clear title, and add tags that genuinely describe your stream. If you are playing Mario Kart 8 Deluxe, say that. If you are doing a first playthrough of Tears of the Kingdom, say that too. Titles that are specific usually perform better than vague ones like “come hang out lol.”
Turn on VODs and basic moderation
Enable saved broadcasts so your streams do not disappear into the digital void the second you end them. Also set up basic moderation tools before your first stream. Turn on chat rules, use follower or verification settings if needed, and make life easier for Future You, who should not have to moderate trolls while trying to dodge a blue shell.
Step 2: Connect the Nintendo Switch to Your Capture Card
This is the physical setup. It sounds intimidating until you realize it is basically just making your Nintendo Switch take a small detour through the capture card.
- Place your Nintendo Switch in its dock.
- Connect the dock to power.
- Take the HDMI cable coming from the Switch dock and plug it into the HDMI IN port on your capture card.
- Use a second HDMI cable to connect the capture card’s HDMI OUT port to your TV or monitor.
- Connect the capture card to your computer with its USB cable.
- Turn on the Switch and make sure the image appears on your monitor or TV.
If you do not see anything on your screen, do not panic immediately. Check that the Switch is seated properly in the dock, confirm the dock has power, and make sure your HDMI cables are going into the right ports. HDMI IN and HDMI OUT are close friends, but they are not interchangeable.
Step 3: Install OBS or Streamlabs and Add Your Switch
Most beginners use either OBS Studio or Streamlabs Desktop. OBS is free, widely used, and flexible. Streamlabs can feel friendlier for beginners who want built-in overlays and alerts. For most people, OBS is the best place to start because it gives you a clean, powerful setup without too much fluff.
Connect your Twitch account
Open OBS, go into the settings, and connect your Twitch account or enter your Twitch stream key. If you are new, OBS’s Auto-Configuration Wizard is worth using. It helps choose sensible settings based on your computer and internet connection instead of letting you randomly select options and hope for divine intervention.
Add the capture card as a source
Now create a scene in OBS and add your capture card:
- In the Sources box, click the plus sign.
- Select Video Capture Device.
- Create a new source and name it something obvious, like “Switch Capture.”
- Select your capture card from the device list.
- Confirm that the Nintendo Switch gameplay appears in the preview window.
If your capture card also carries audio, you should see game sound appear in the OBS audio mixer. If not, check your capture device properties and audio monitoring settings. Audio bugs are the gremlins of streaming. They show up uninvited and love attention.
Add your microphone and webcam
Add your mic as an audio input source if OBS does not already detect it. If you want facecam, add your webcam as another video capture device and place it in a corner of your scene. Keep it small enough that it does not block important game HUD elements. Covering your health bar with your forehead is rarely a winning production choice.
Build a simple scene collection
You do not need a fancy setup for your first stream. A basic three-scene collection works great:
- Starting Soon scene
- Live Gameplay scene
- Be Right Back scene
That is enough to look organized without turning your stream into a semester-long graphic design project.
Step 4: Choose the Right Twitch Stream Settings
This is where many new streamers sabotage themselves by aiming too high. Yes, 1080p60 sounds glorious. No, it is not always the smartest first move.
If your PC, capture card, and internet connection are solid, a 1080p 60fps stream can look excellent. But if your upload speed is limited or your computer is doing its best impression of a toaster, start with 720p 30fps or 720p 60fps. A stable stream beats a crispy-looking slideshow every time.
Good beginner settings
- Resolution: 1280×720 to start, then move up later if everything is stable
- Frame rate: 30fps for easier performance, 60fps for action-heavy games
- Bitrate: enough to support your chosen resolution smoothly; many streamers use around 6000 kbps for 1080p60 when their connection can handle it
- Rate control: CBR
- Keyframe interval: 2 seconds
A practical rule: if you want to push a 6 Mbps stream, give yourself more upload speed than that. You want breathing room, not a connection that faints every time someone else in the house opens a video app.
Step 5: Go Live on Twitch
Once your scenes are ready, your title is set, and your Switch gameplay is visible in OBS, you are almost there.
- Open your Twitch Creator Dashboard and confirm your stream title, game category, and tags.
- Check your mic level and capture card audio in OBS.
- Make sure your webcam looks decent if you are using one.
- Do a short private or test recording first.
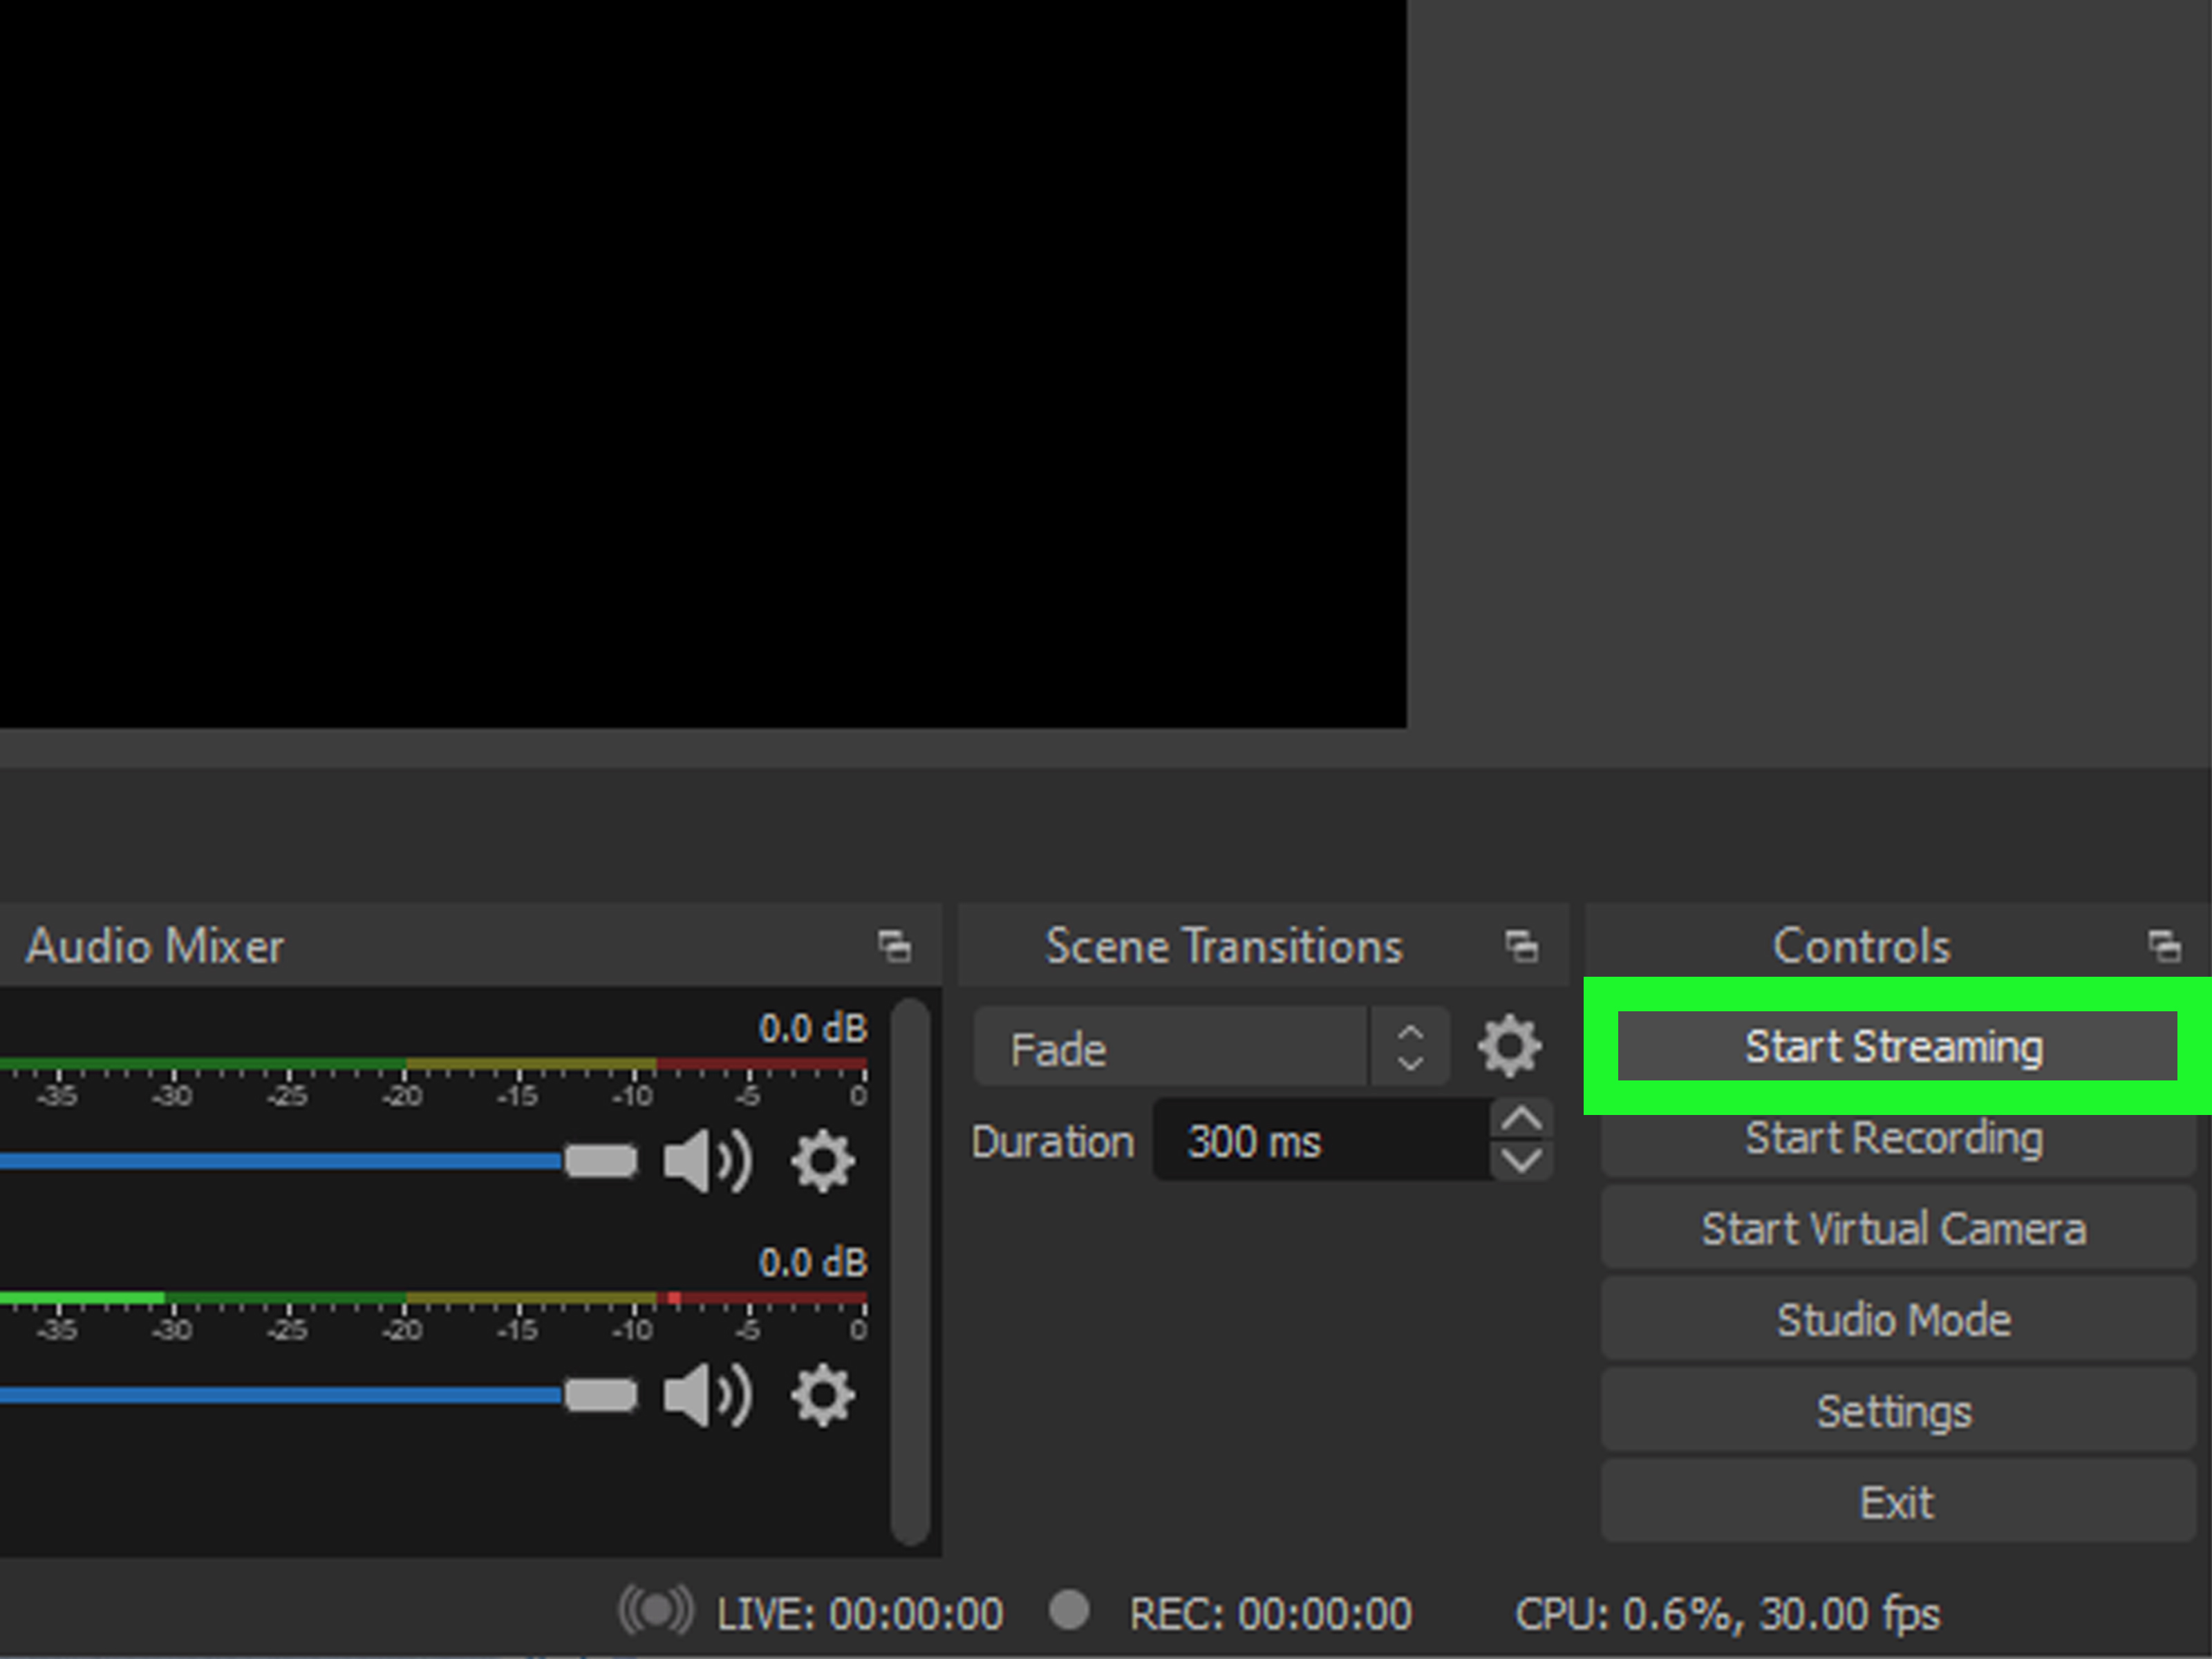
- Click Start Streaming in OBS.
- Watch your Twitch channel from another device to confirm the stream is live and sounds correct.
That last step matters. Never trust the preview alone. OBS can look perfect while Twitch receives a stream that sounds like a microwave arguing with a leaf blower.
Common Problems and How to Fix Them
No video from the Switch
Double-check the dock, HDMI path, and capture card connection. The Switch must be docked correctly, the dock must be powered, and the HDMI cables must be in the right IN and OUT ports.
You can see video but there is no game audio
Open the capture device settings in OBS and confirm audio is enabled. Also check your desktop audio and audio monitoring settings. Some capture cards handle video just fine while quietly forgetting audio exists.
The preview is laggy
Do not play from the OBS preview if it feels delayed. Play from the passthrough monitor or TV connected to the capture card output. That path is usually more responsive than the software preview.
Your stream is dropping frames
Lower the bitrate, lower the resolution, reduce the frame rate, close background programs, or switch to a hardware encoder if your system supports it. Streaming is basically a negotiation between ambition and thermodynamics.
Your mic is out of sync with gameplay
Use audio sync offset settings in OBS. Sometimes the capture card introduces a tiny delay, and your mic arrives first. You are not becoming psychic. Your audio just needs alignment.
How to Make Your Nintendo Switch Stream Better
Once the technical side works, the next goal is making people want to stay. Great Nintendo Switch streams are not only about gameplay quality. They are about energy, clarity, and consistency.
- Talk often. Even simple commentary makes a huge difference.
- Use game-specific titles. This helps search and sets expectations.
- Pick accurate tags. They help the right viewers find you.
- Keep overlays clean. Do not bury the game under boxes, labels, and animated confetti.
- Create a rough schedule. Regularity helps more than perfection.
- Test before every stream. Five minutes of checking can save an hour of regret.
If you want to grow faster, clip your best moments and share them elsewhere. Twitch is great for live discovery, but short clips often do the heavy lifting when it comes to getting people interested in your channel.
Do You Need Expensive Gear to Start?
No. You need reliable gear, not luxury gear. A basic setup with a decent capture card, a serviceable mic, a standard webcam, and a regular docked Switch is enough to get started. Many new streamers overbuy before they even know whether they enjoy streaming long term. Start with solid basics. Upgrade when a real bottleneck appears.
In most cases, the first upgrades that matter are audio quality, lighting, and workflow tools. Viewers will forgive a modest webcam much faster than they will forgive harsh mic noise, bad levels, or a stream that cuts out mid-match.
Real-World Experiences: What New Switch Streamers Usually Learn the Hard Way
One of the most common early experiences with Nintendo Switch streaming is realizing that the setup looks simple on paper and somehow turns into a tiny home theater project in real life. The first stream often starts with optimism, followed by ten minutes of cable swapping, followed by someone in chat saying, “We can see the game but there’s no sound.” It is a rite of passage. Annoying, yes, but also normal.
Another big lesson is that streaming from a Nintendo Switch feels different from streaming a PC game. Because the gameplay is coming through a capture card, there is always a temptation to watch the software preview window on your computer. Most people try this exactly once before realizing the preview can feel delayed. The smarter experience is playing from the passthrough display and letting OBS do its thing in the background. The moment people switch to that habit, everything usually feels smoother and more natural.
New streamers also tend to discover that Nintendo games attract a different kind of audience energy. Switch viewers often show up for comfort games, nostalgia, party games, and community-friendly chaos. A hardcore shooter stream can sometimes survive on raw gameplay skill alone, but Switch streams usually do better when the streamer talks, reacts, jokes around, or invites viewers into the experience. If you are playing Mario Kart, viewers want the race. If you are playing Animal Crossing, they want the vibe. If you are playing Smash Bros., they want both the vibe and at least one dramatic overreaction.
There is also the deeply humbling experience of hearing your own stream audio for the first time. A lot of people think their microphone sounds fine until they listen back and discover they are either whispering like a ghost in a library or peaking like they are announcing the end of the world. The good part is that this gets better quickly. After a few test recordings, most streamers learn where to place the mic, how loudly to speak, and how to balance game audio so it does not stomp all over their voice.
Then there is the emotional side. The first few Nintendo Switch streams can feel awkward because live content is a strange mix of gaming and hosting. You are playing a game, watching audio meters, glancing at chat, and trying not to sound panicked when something breaks. But after a handful of sessions, a pattern starts to form. You build a pre-stream checklist. You learn your favorite scene layout. You know exactly which cable is the dramatic one. What felt clumsy starts to feel routine.
And that is really the biggest shared experience: improvement comes fast once you stop trying to make the first stream perfect. The stream does not need to be flawless. It needs to be watchable, stable, and authentically yours. The first goal is not becoming a top Twitch creator overnight. The first goal is getting your Switch gameplay live, sounding decent, and ending the stream with the thought, “Okay, that actually worked.” That moment is small, but it is the one that gets most people hooked.
Final Thoughts
If you want to stream Nintendo Switch games on Twitch, the formula is pretty simple: use a docked Switch, connect it through a capture card, run the feed into OBS or Streamlabs, set up your Twitch channel properly, and test everything before going live. That is the real path. No fake shortcuts, no mystery menu, no magical “broadcast” button hidden behind Mario’s mustache.
Start with a clean, stable setup. Prioritize audio. Keep your titles and categories accurate. Use beginner-friendly settings first. Then stream consistently enough to get comfortable. Once you have done that, you can start polishing the fun stuff like overlays, alerts, community games, and clips.
In other words, do not wait until your setup is perfect. Build a working stream, press go live, and let your Nintendo chaos begin.