A hibachi grill is the tiny overachiever of the grilling world: small enough to ride shotgun on a camping trip,
hot enough to give your dinner that “wow, you actually know what you’re doing” sear, and simple enough that you
don’t need an engineering degree to operate it. But choosing the right hibachiand using it without turning your
cookout into a smoky soap operatakes a little know-how.
This guide breaks down what a hibachi grill is (and what it isn’t), how to pick one that fits your life, and how
to cook on it like you meant to do that on purpose.
What “Hibachi” Means (and What It Doesn’t)
Let’s clear up the most common hibachi confusion right away: in Japan, a traditional hibachi is more like a
charcoal brazier used for heat (and sometimes cooking), not the big flat-top “dinner-and-a-show” setup most
Americans picture. In the U.S., “hibachi grill” usually means a small, portable charcoal grilloften tabletop
sizeddesigned for direct, high-heat cooking.
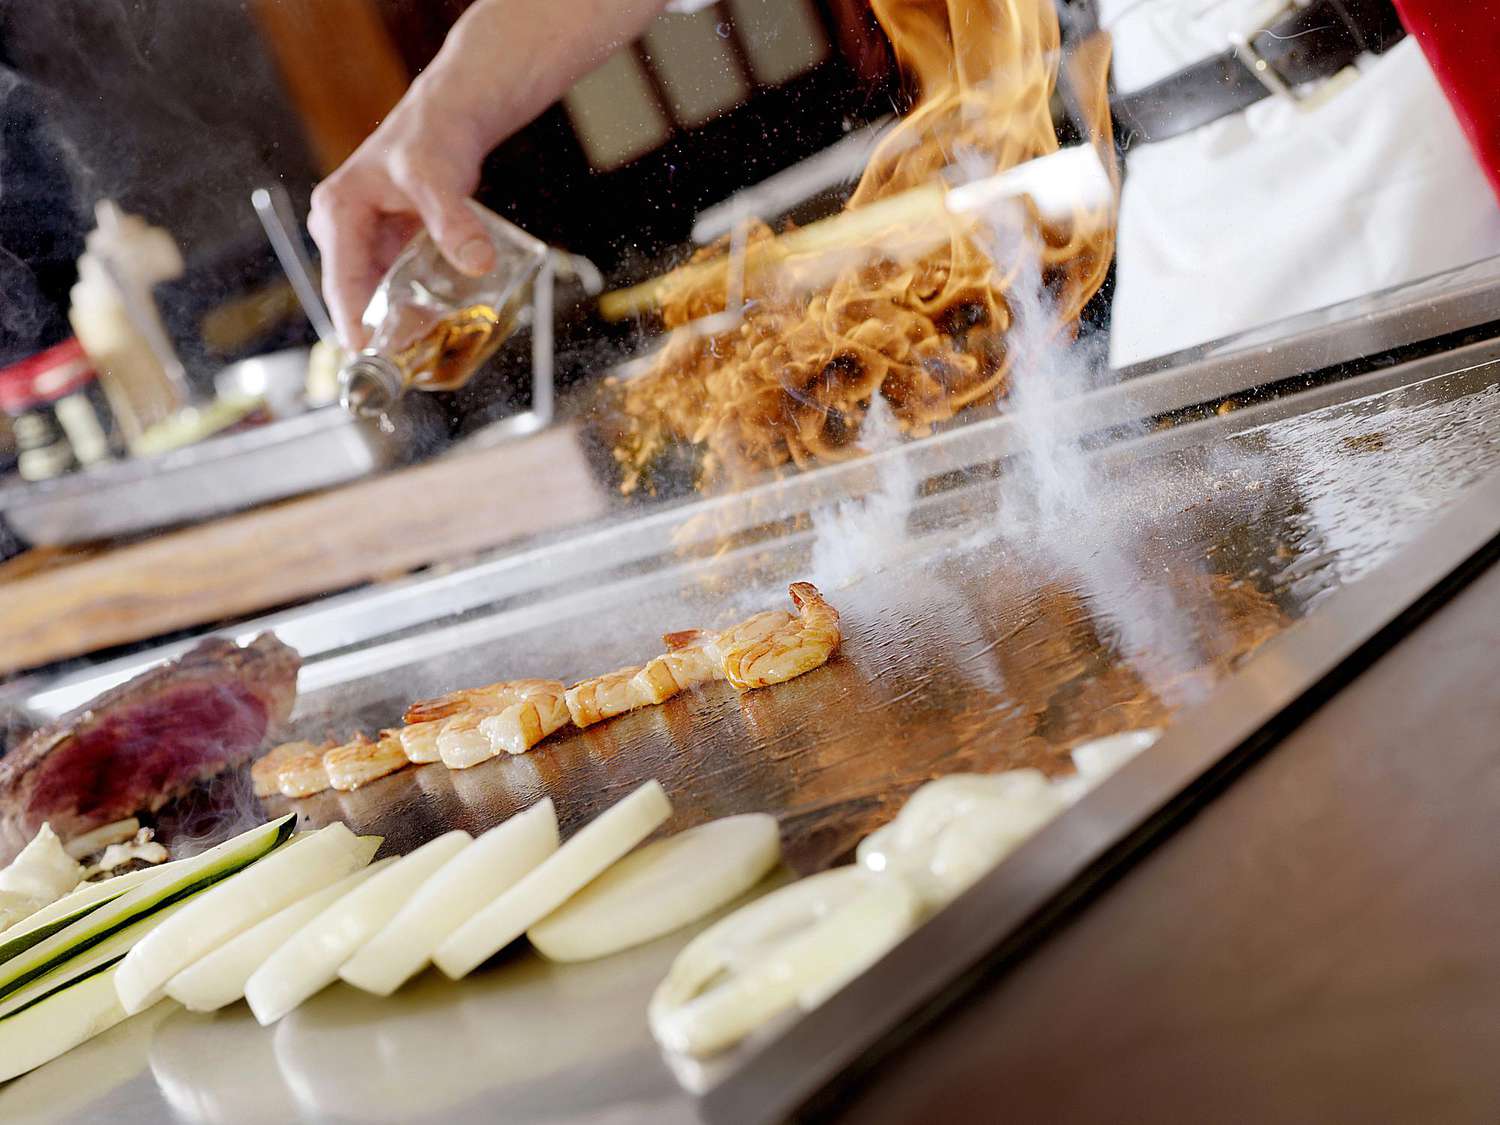
Meanwhile, the restaurant experience where a chef flips shrimp into their hat and builds an onion volcano?
That’s typically teppanyaki, cooked on a flat steel griddle (a “teppan”). The language gets blurry in
everyday conversation, but for shopping and cooking purposes, think like this:
- U.S. hibachi grill: compact charcoal grill, usually with a grate over coals.
- Teppanyaki: flat-top griddle cooking (often gas or electric).
- Japanese-style charcoal tabletop grills: you may also see names like shichirin or konro.
Translation: if you want smoky charcoal flavor in a small footprint, you’re in the right place.
Why People Love Hibachi Grills
Hibachi grills are popular for the same reason food trucks are popular: they pack a lot of flavor into a small
space. Here’s what you’re getting when you go hibachi-style.
High heat, fast cooking
Most hibachi grills place food close to the coals, which means quick searing and a “charcoal-kissed” flavor that’s
hard to fake. Thin cuts, skewers, burgers, shrimp, and vegetables absolutely thrive here.
Portability and simplicity
A hibachi grill can be a tailgate hero, a camping MVP, or a backyard sidekick when you don’t feel like firing up a
full-size grill. It’s also great for small households because you can cook dinner without heating the entire
neighborhood.
Direct control (once you know the trick)
Charcoal cooking is part heat, part airflow, and part patience. Hibachi grills teach you that quicklywhich is
either a fun skill or a personal attack, depending on your mood. The good news: once you learn a few basics (we’ll
get there), it becomes incredibly repeatable.
How to Choose a Hibachi Grill
Choosing a hibachi grill is less about “the best hibachi grill ever created by humankind” and more about “the one
that matches where and how you’ll actually cook.” Use the checklist below to avoid buying a grill that looks cute
online but makes you cry in real life.
1) Start with where you’ll cook
- Backyard or driveway: You can go heavier and sturdier. Stability matters more than ultra-portability.
- Parks, camping, tailgating: Look for compact size, secure lids/handles (if included), and easy ash cleanup.
- Apartment living: Check building/HOA rules firstmany places restrict charcoal grilling on balconies or near structures.
2) Pick the right size (bigger than you think, smaller than your ego)
Most first-time hibachi buyers underestimate how much room food needs. If you plan to cook for more than two
people, choose a grill with enough grate space for:
- At least 6–8 skewers or
- 2–4 burgers plus a “cool side” area or
- A mix of protein and vegetables without stacking food like laundry
If you’re cooking for one or two, a smaller tabletop charcoal grill is perfectly fineas long as it has decent
airflow and doesn’t wobble like a baby giraffe.
3) Material matters: heat retention vs. weight
Hibachi grills come in a few common material styles:
- Cast iron: Excellent heat retention and durability, but heavy. Great for steady backyard cooking.
- Steel (often coated): Lighter and usually more portable. Quality variesthicker metal holds heat better.
- Ceramic (some Japanese-style tabletop grills): Holds heat extremely well; can be fantastic for steady cooking, but can be heavier and more fragile.
If you want “set it and sear” performance, go heavier. If you want “grab it and go,” pick something lighterbut
don’t sacrifice stability.
4) Airflow control is the difference between “chef” and “smoke gremlin”
The best portable charcoal grills (including hibachi-style models) let you control airflow. Look for:
- Bottom vents (to feed oxygen to the coals)
- Adjustable openings you can tweak while cooking
- A design that doesn’t choke itself when ash builds up
More airflow generally means hotter fire; less airflow calms things down. If your grill has zero vent control, you
can still cookbut you’ll be managing heat mostly by coal amount and food placement.
5) Adjustable grate height: a “nice to have” that feels like a superpower
Some hibachi grills let you raise or lower the cooking grate. That’s useful because hibachi cooking is typically
very close to the coalsgreat for searing, not always great for thicker foods. Height adjustment gives you more
control without having to play hot-coal Jenga mid-meal.
6) Ash management and cleanup (future-you will care a lot)
Small charcoal grills can get messy fast. Features that make life easier:
- An ash pan or easy way to dump ash safely after cooling
- Grates that lift out without a wrestling match
- Durable interior that won’t flake or rust after a few uses
Cleaning is also part safety: built-up grease and gunk can increase flare-ups and unpleasant smoke.
7) The accessories that actually help (not just “grill influencer” stuff)
If you’re building a practical hibachi kit, focus on these essentials:
- A charcoal chimney starter (cleaner, more reliable lighting than soaking coals in chemicals)
- Long-handled tongs and a sturdy spatula
- Heat-resistant gloves for moving grates or managing vents
- An instant-read thermometer for safe doneness
- Metal skewers (or soaked wooden skewers) for classic hibachi-style cooking
How to Use a Hibachi Grill (Safely and Deliciously)
Hibachi cooking is simple, but it’s still fire + food + outdoor conditions. Treat it with respect, follow your
grill’s manual, and (especially for teens) grill with a responsible adult nearby.
Step 1: Set up a safe grill zone
- Only use charcoal grills outdoors in open airnever indoors, garages, tents, or enclosed spaces.
- Place the grill on a stable, non-flammable surface away from siding, railings, and overhangs.
- Create a “no-go” zone around the grill so people and pets don’t wander into the hot area.
- Keep water nearby for basic safety and cleanup (and because someone will spill something).
Step 2: Light charcoal without wrecking the flavor
A chimney starter is a popular way to light charcoal efficiently and avoid the “lighter fluid aftertaste” problem.
However you light your coals, aim for a clean burn and wait until coals are ashed over (gray on the outside) before
cooking. That’s your signal that the fire is established and cooking will be more consistent.
Once the coals are ready, spread them based on what you’re cooking. Which brings us to the most useful trick in
charcoal grilling:
Step 3: Build a two-zone fire (your hibachi’s cheat code)
Two-zone cooking means you create:
- A hot zone for searing (coals concentrated in one area)
- A cooler zone for finishing, holding, or avoiding flare-ups
On a hibachi grill, the “cool zone” might be smaller than on a big kettle grill, but even a modest temperature
difference helps. It lets you sear, then slide food away from intense heat to finish cooking more gently.
Step 4: Preheat the grate, then oil the foodnot the grill
Give the cooking grate time to heat up so food doesn’t stick. For oiling, a simple approach is to lightly oil the
food (or use a minimal amount of oil on a folded paper towel held with tongscarefully) rather than pouring oil
into the fire zone. Less dripping fat = fewer flare-ups and less bitter smoke.
Step 5: Cook hibachi-style foods that shine on high heat
Hibachi grills are at their best with foods that cook relatively fast. Some reliable favorites:
- Skewers: chicken pieces, shrimp, beef strips, mushrooms, bell peppers, zucchini, onions
- Thin cuts: flank steak slices, pork chops pounded thinner, chicken thighs trimmed for even thickness
- Burgers and sausages: great sear, quick cookingjust watch flare-ups
- Vegetables: corn, asparagus, broccolini, sliced eggplant, thick onion rounds
Pro move: cut ingredients to a similar thickness so everything finishes around the same time. “Even cooking” is
basically “less stress,” and we’re all trying to live longer here.
Step 6: Use a thermometer for safe doneness (guessing is for game shows)
Color can lie. A thermometer won’t. If you’re cooking common cookout staples, safe minimum internal temperatures
are widely recommended at:
- Poultry (including ground poultry): 165°F
- Ground meats (like burgers): 160°F
- Fish: 145°F
- Whole cuts of beef/pork/lamb (steaks, chops): 145°F with a short rest time
Step 7: Shut down and clean up like a responsible grill wizard
When you’re done cooking, let coals burn down naturally and cool completely before disposal. Never dump hot coals
into a trash can (trash cans are not designed for surprise lava). Once everything is cool:
- Remove ash to improve airflow next time.
- Scrape the grate while it’s still slightly warm (not scorching) for easier cleaning.
- Wipe down exterior surfaces to prevent rust and buildup.
Common Mistakes (and Easy Fixes)
Mistake: Cooking too soon
If you throw food on while charcoal is still actively smoking and not ashed over, you’re more likely to get harsh
smoke and uneven heat. Fix: wait for a more settled fire and preheat the grate.
Mistake: Overcrowding the grate
Too much food at once drops the temperature and traps steam. Fix: cook in batches and keep a
warm “holding area” on the cooler side.
Mistake: Fighting flare-ups with panic
Flare-ups happen when fat hits coals. Fix: move food to the cooler zone, close vents slightly if
you have them, and trim excess fat when possible.
Mistake: Forgetting the wind
Wind can supercharge airflow and spike heat. Fix: set up in a sheltered outdoor spot (without
enclosing the grill) and rotate food more often.
Mistake: Treating hibachi like “set it and forget it”
Hibachi grilling is hands-on. Fix: prep ingredients first, keep tools nearby, and stay focused.
This is not the time to run inside and start reorganizing your sock drawer.
Real-World Hibachi Experiences: What You Learn After Actually Using One
Reading tips is helpful, but hibachi grills are one of those things you truly understand after you’ve cooked on
one a few times. Real life introduces variables that product descriptions mysteriously forget: wind, impatient
friends, that one person who “just wants to check the food” (with their bare hands), and the eternal question of
where you’re supposed to set the hot grate for five seconds without melting the universe.
One of the first “aha” moments people have is that hibachi grilling is more like stovetop cooking outdoors
than traditional “lid down, wait 20 minutes” backyard grilling. Because the food sits close to the heat, you’re
flipping, sliding, rotating, and making tiny decisions every minuteespecially with skewers. It’s fun, but it’s
not the best choice if you want to disappear into the house and come back as the mysterious grill legend who
“somehow” made dinner.
Another big lesson: the grill is small, so your prep matters more. If the chicken is cut into
big chunks and the peppers are sliced thin, your meal won’t finish together. After a couple of runs, most people
naturally start cutting everything to similar thickness, grouping skewers by cook time, and keeping a simple
staging plate system: raw on one side, cooked on the other, and nothing ever crosses back. It’s not glamorous,
but it’s how you avoid turning dinner into a guessing game.
Heat management also feels different in the real world. On a calm day, a hibachi can run steady and predictable.
On a windy day, that same grill can behave like it just drank three energy drinks. You learn quickly to position
yourself so the wind isn’t blasting directly through the coals, and you also learn that a two-zone setupeven if
it’s a “tiny two-zone”is your best friend. Having one slightly cooler spot to park food for 60 seconds can save
a batch of skewers from going from “golden” to “why is it suddenly charcoal?”
Then there’s the social side. Hibachi grills are naturally interactive because they sit at a convenient height
and cook fast. That’s a pluspeople can watch and you can serve in waves. But it also means you need a
tool routine: tongs always in the same spot, a heat-safe plate for cooked food, and a clear “hot
zone” boundary so nobody leans in too close. The first time someone reaches over the grill to grab a phone or a
drink, you’ll understand why experienced grillers become oddly passionate about “grill zones.”
Finally, the most satisfying hibachi experience is the moment you realize you can cook a complete meal with
almost no fuss: a handful of skewers, vegetables that actually taste exciting, and a quick sear that makes
everything feel restaurant-worthy. The hibachi becomes less of a novelty and more of a reliable cooking tool.
And yes, you may start looking at random foods in your fridge thinking, “Could I skewer that?” That’s normal.
That’s growth.
Wrap-Up: The Hibachi Sweet Spot
A hibachi grill is a small charcoal grill with big potential: high heat, great flavor, and a hands-on cooking
style that makes weeknight meals and weekend hangouts feel more fun. Choose one based on where you’ll cook, how
many people you’ll feed, and whether you want portability or heavyweight stability. Then cook smarteruse a
two-zone setup, preheat properly, and rely on a thermometer for safety.
Once you get a few sessions under your belt, hibachi grilling stops feeling “fussy” and starts feeling
beautifully simple: fire, food, and that unbeatable charcoal aroma doing its thing.