Day 3 of a handmade ballerina doll project is where the magic gets real. Day 1 is optimism (“This will be adorable!”). Day 2 is cutting and stitching while pretending you love tracing tiny curves. Day 3? Day 3 is when your doll stops being “a stack of fabric shapes” and starts looking like someone who might demand a name, a tutu, and a dramatic backstory involving a sold-out Nutcracker performance.
If you’re working from a free pattern-style tutorial (like the well-loved Remodelaholic ballerina doll project), think of this article as a maker-friendly companion: practical techniques, sanity-saving shortcuts, and a few “learned-the-hard-way” notesall written in plain American English, with enough humor to keep the seam ripper from becoming your emotional support tool.
Why a Handmade Ballerina Doll Is the Ultimate Scrapbuster Gift
A ballerina doll is basically a tiny stage for creativity. You can personalize skin tone, hair color, leotard style, skirt shape, and even the vibesweet recital kid, serious studio student, or “I only dance when the snacks are right.” It’s also a smart project for small fabric leftovers: quilting cotton scraps, a bit of tulle, ribbon bits, and those random buttons you keep “for later” (we’ll talk about when buttons are a yes and when they’re a hard no).
Bonus: a soft doll is a gift that photographs well. And if it photographs well, it also looks like you had your life together weeks agoeven if you actually started three days before the party. Not judging. Just acknowledging a widespread crafting lifestyle.
Materials That Behave (So You Don’t Have to Wrestle Your Doll)
Fabric choices for a smooth, sturdy doll
For the body and most clothing pieces, a mid-weight, tightly woven cotton is a reliable go-to. It sews cleanly, holds shape, and doesn’t stretch into a sad noodle when stuffed firmly. If you want texturesay, hair or decorative accentsvelvet and corduroy can add dimension, but keep them in “small areas” territory so the bulk doesn’t fight your seams.
If you’ve ever tried cheap felt for a frequently handled doll, you know the heartbreak: pilling, fuzziness, and that “why does she look dusty already?” effect. Save felt for tiny appliqués (or crafts that won’t be hugged nightly).
Stuffing, thread, and the tools that make you look like a pro
Use a quality stuffing (polyester fiberfill is common) and work in small tufts, not big wads. Big wads create lumps; lumps create regret. You also want a turning toolanything blunt and narrow can work (a chopstick, a knitting needle, or a dedicated turning tool). If you make dolls often, you’ll eventually develop strong opinions about turning tools the way some people develop strong opinions about pizza crust.
For thread, choose a sturdy all-purpose polyester or cotton/poly blend for construction seams. For facial features and decorative details, embroidery floss gives you color control and a softer, handmade finish.
Pattern Prep Without the Headache
Even if you’re using a free pattern, treat it like a “draft,” not gospel. Before cutting your favorite fabric, print and test on scrap. Check that the size looks right for the child (or shelf) it’s destined for. If you scale the pattern up or down, keep an eye on seam allowances and turning openingstiny limbs at tiny scale can be harder to turn than a stubborn jar lid.
Also: mark your pieces. When you’re juggling skin fabric, hair fabric, leotard fabric, skirt fabric, sock fabric, and the tiny shoe shapes, everything starts looking like “some kind of oval.” A quick pencil mark on the wrong side (“arm,” “leg,” “front,” “back”) is a surprisingly powerful form of self-care.
Day 3: The “Building Session” That Brings Her to Life
Day 3 is where you assemble, sculpt, and refine. Your goal is a doll that looks intentionalnot like she survived a washing machine tornado. This phase usually includes turning and stuffing the limbs, shaping the body, closing openings neatly, attaching limbs securely, and moving into face and hair decisions (aka the part where you stare at a blank doll head like it’s judging you).
Turning tiny limbs without inventing new swear words
Before you turn anything right-side out, trim seam allowances to reduce bulk and clip curves carefully so the fabric can spread and lay smooth after turning. Don’t cut into your stitch lineyour doll does not need surprise ventilation. For narrow arms and legs, slow turning is better than heroic yanking. Push the closed end gently, ease the seam along, and let the fabric roll rather than fight.
If your limbs feel impossibly narrow, consider a straw-and-skewer trick: the straw supports the fabric while you nudge the end through. It’s weirdly satisfying when it worksand mildly insulting when it works too well and makes you realize you’ve been suffering unnecessarily for years.
Stuffing for smooth curves (not lumpy sausage energy)
Stuff in small pieces, packing firmly where you want structure (like the torso) and a bit lighter where you want softness (like a skirted hip area). A great habit is to pause every so often and roll or massage the stuffed area gently between your hands to distribute filling evenly. If you spot a lump, pull some stuffing out and restuff; it’s faster than pretending you won’t see it forever once the doll is finished.
Pay special attention near openings: if you don’t fill close to the edge, the seam can sag once closed. Think of it like a pillow cornercorners and ends need extra care or they look tired.
Closing openings neatly: the invisible finish that makes people gasp
When it’s time to close turning openings, an invisible hand stitch (often called a ladder stitch) is the secret sauce. Done well, it pulls the seam together like a zipper made of patience. Match your thread color, take small, even bites of fabric, and pull gently every few stitches to keep the seam tidy without puckering.
Attaching arms and legs so they survive real play
Placement matters. Before you sew anything on permanently, pin the limbs in place and check symmetry from multiple angles. Tilt the doll, rotate her, and look at her like a kid would: if one arm looks like it’s waving while the other looks like it’s asking for help, adjust before stitching.
For attachment, use strong thread and reinforce stress points. If the doll is for a young child, prioritize secure stitching over fancy joint movement. If it’s for an older child or decorative use, you can explore jointing styles that allow arms to swing more freelyjust keep durability in mind.
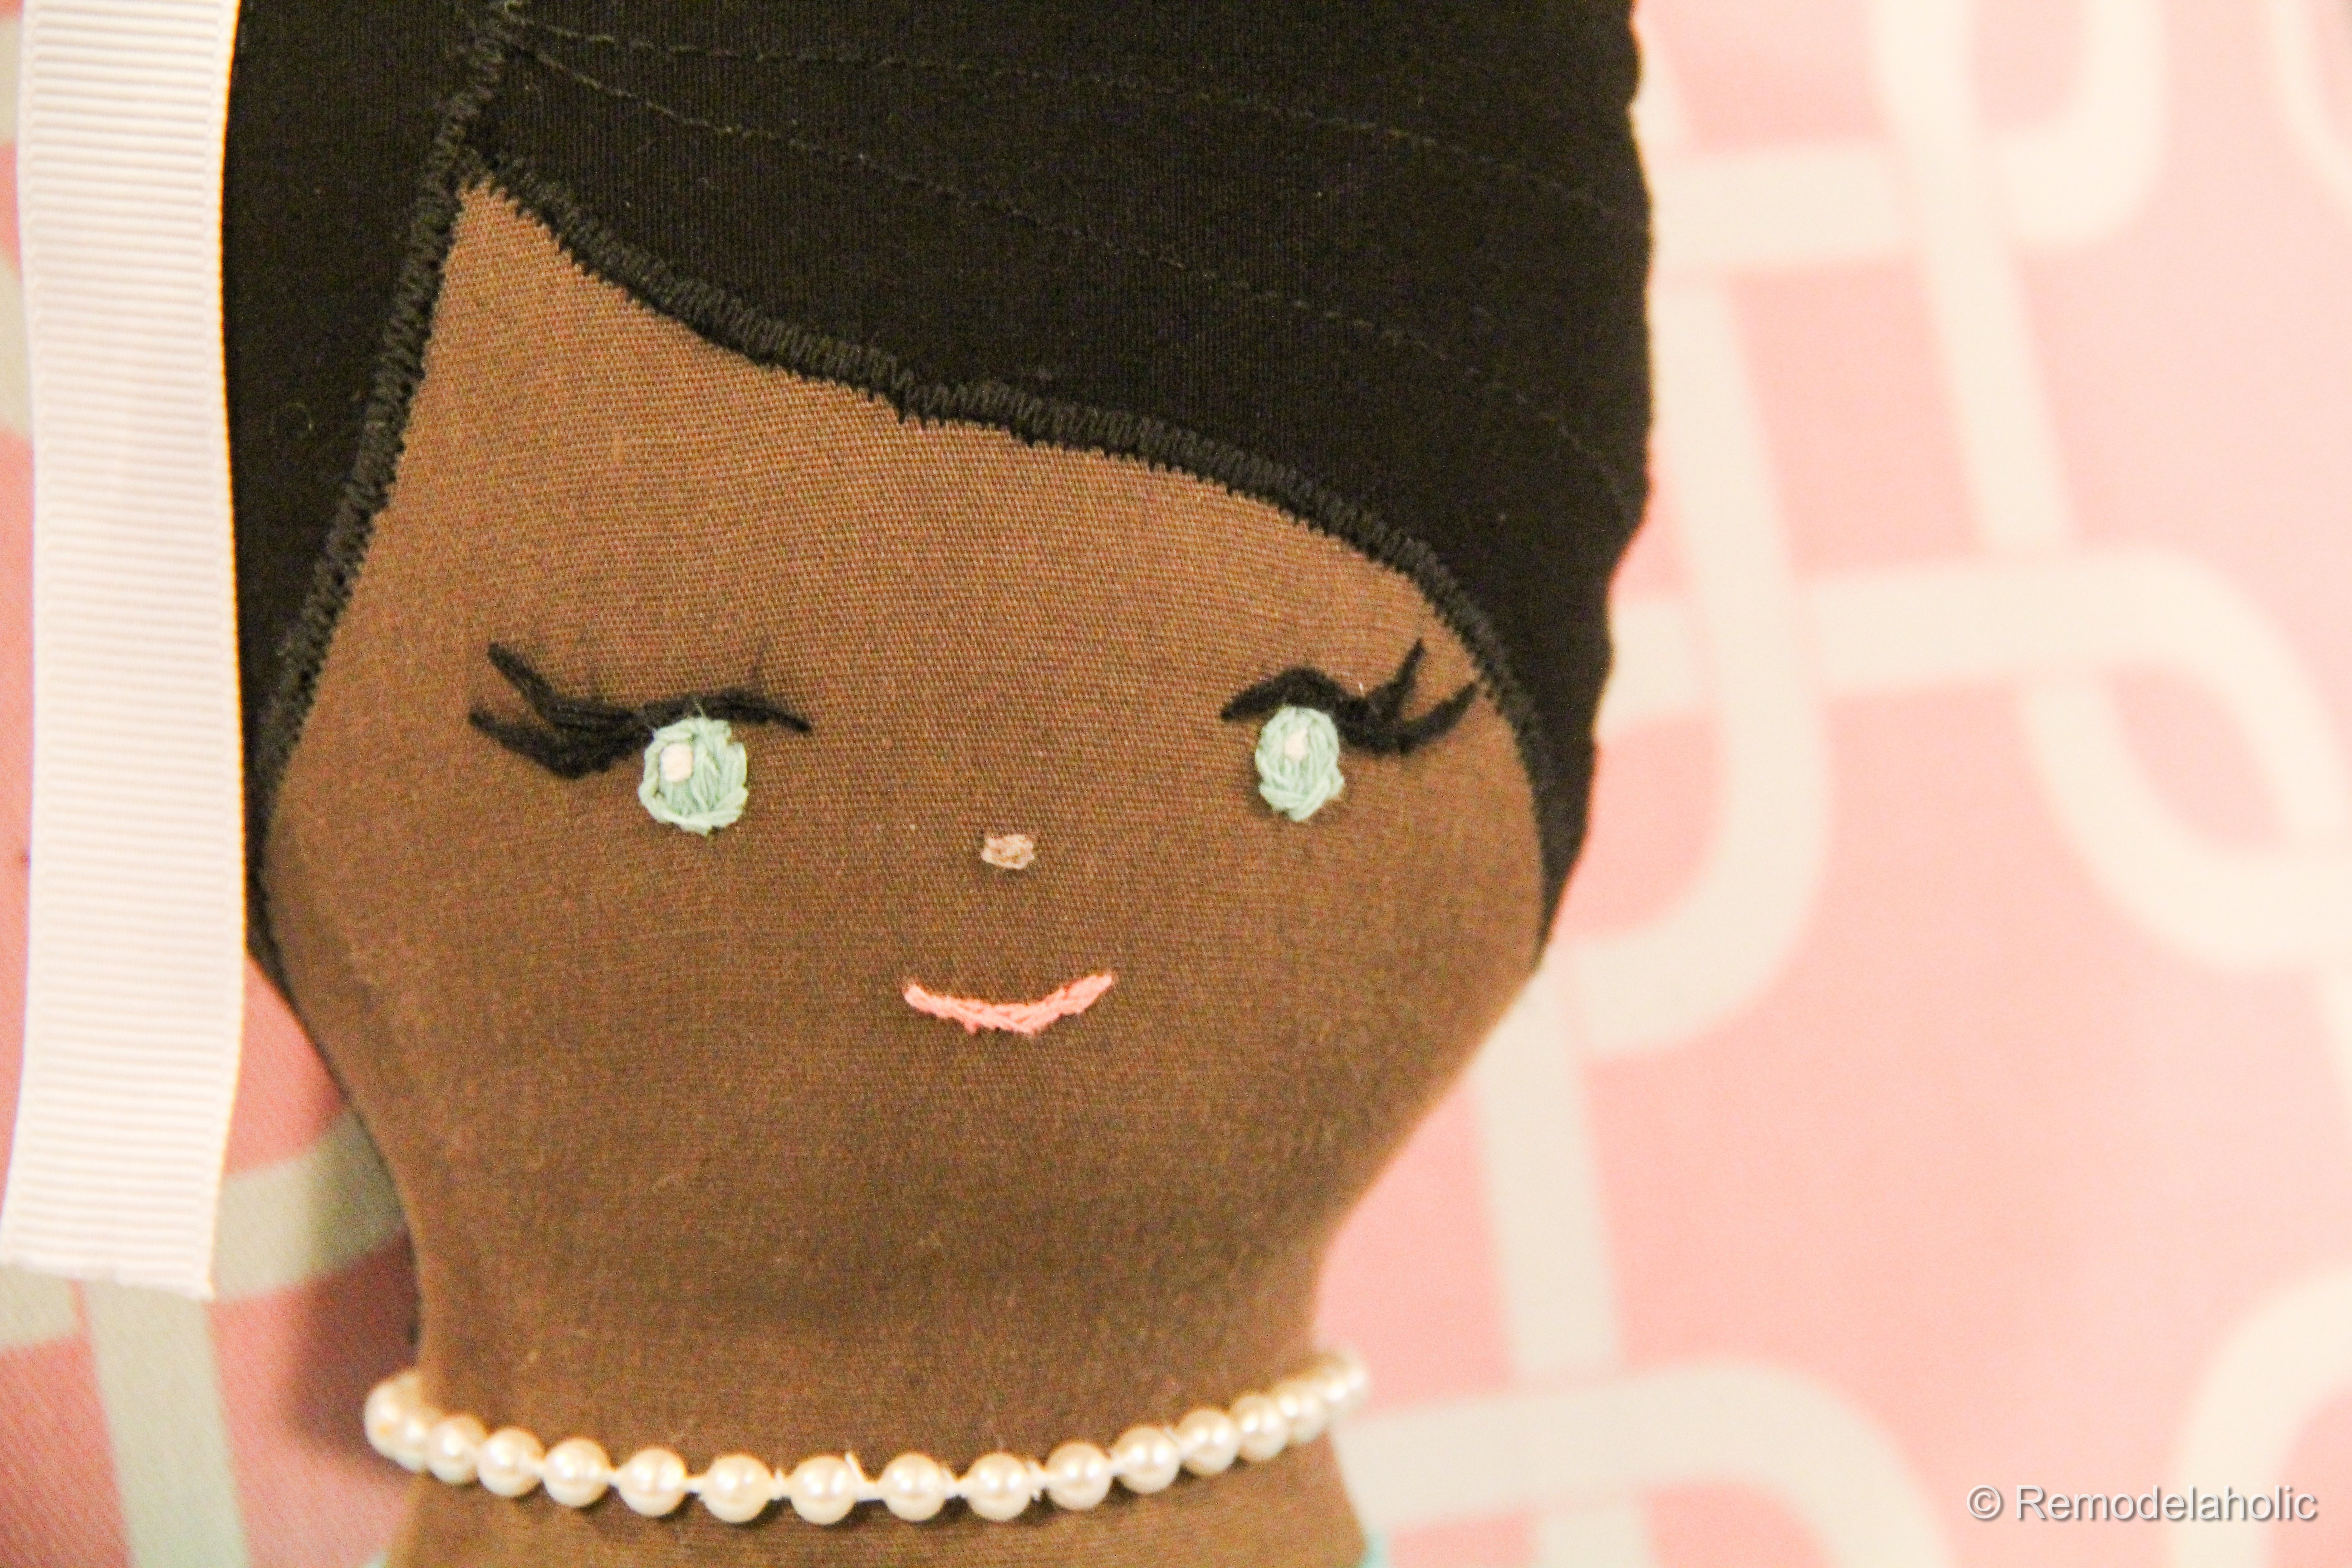
Face Time: Sweet Expressions Without Risky Parts
The safest “cute face” for a child’s doll is usually embroideryno hard plastic eyes, no glued-on bits that can pop off, and no tiny accessories that turn into a choking hazard the minute an adult blinks. A face can be simple and still full of personality: two small eyes, a soft mouth, and a hint of cheek color can look warm, classic, and timeless.
How to place features so she looks charming (not haunted)
Here’s the trick most makers learn: features that are too high on the head often look startled. Features placed slightly lower can read sweeter and more “childlike.” Lightly mark placement points with a removable pencil or disappearing ink, then step back before stitching. If possible, mirror-check: fold the face gently in half to confirm your eye marks land evenly.
Stitches that work well for doll faces
Common choices include small knots for eyes (French knots can work beautifully), backstitch for a delicate mouth line, and satin stitch for a tiny nose if you want one. Keep it minimal; a doll face is more like a logo than a portrait. Too much detail can shift from “adorable” to “oddly intense,” and no doll needs that kind of pressure.
For rosy cheeks, you can use fabric-safe blush methods like gentle rubbing with a textile crayon or lightly applied pigment designed for fabric. Always test on a scrap firstsome fabrics grab color like they’ve been waiting for this moment their entire lives.
Hair and the Classic Ballerina Bun
Ballerina hair is great because it’s basically built-in structure. A bun looks intentional even when you’re improvising. You can create hair using fabric “cap” pieces, yarn hair, embroidery floss hair, or a mix. Yarn wefts are popular because they’re easy to style: braids, twists, buns, and tiny updos are all on the table.
A sturdy yarn-hair approach that holds up
One reliable method is creating yarn “wefts” (rows) and sewing them down in layers so the hair looks full without being bulky. For a bun, gather yarn into a coil and stitch it securely at the crown. Add a small ribbon bow or fabric flower for recital energy. If the doll is intended for kids under three, skip detachable accessories and use embroidery floss details instead of add-ons.
Tutu, Skirt, and Slippers: The Details That Sell the Look
Easy tutu options: gathered, layered, or no-sew
Tulle can be gathered into a skirt, layered for fluff, or even tied into a no-sew tutu style (especially helpful when you’re short on time or patience). If you want a more “dressy” look, a cotton skirt with a tulle overlay gives structure plus sparkle. Keep the waist finish comfortablestiff seams at the waist are a doll’s equivalent of wearing jeans after Thanksgiving dinner.
Ballet slippers and ribbons (without the fuss)
Slippers can be as simple as fabric shoe shapes stitched, turned, and slipped over the feet, or they can be embroidered “shoe lines” directly on the doll for a clean, child-safe finish. Ribbons look adorable as crisscross wraps, but they should be secured firmly, and the ends should be finished so they don’t fray. If you’re adding any ribbon tails or bows, consider the doll’s age audience firstcute isn’t worth risky.
Safety and Longevity: Make It Cute and Kid-Appropriate
If the doll is for a child under three, avoid small parts and detachable embellishments. That means no buttons, no beads, no loose jewelry, and no glued-on plastic eyes. Embroidery and stitched-on details are your best friends here. Also consider washability: prewash fabrics when possible, use colorfast materials, and avoid trims that bleed dye or fall apart.
If you ever plan to sell handmade dolls (even small-batch), you’ll want to look closely at U.S. toy safety expectationsespecially around small parts, age grading, and applicable testing standards. Even if you’re only gifting, it’s smart to build in “safe by design” habits from the start.
Troubleshooting: Fast Fixes for Common Doll Problems
- Lumpy limbs: Pull out stuffing, break it into smaller tufts, restuff slowly, and shape as you go.
- Wavy seams on curves: Clip/notch seam allowances more carefully, and press before turning when the fabric allows.
- One arm is higher: Re-pin and measure from the shoulder seam or neckline reference points before stitching down.
- Face looks “off”: Remove stitches early rather than hoping it will “grow on you.” It won’t. The doll will simply stare forever.
- Tutu too flat: Add an extra layer or shorten the tulle strips slightly so they puff outward.
Make It Yours: Personalization Ideas That Feel Special
Personalization is where a handmade doll becomes a keepsake. Match hair color to the child, choose a leotard color from their recital outfit, or stitch a tiny initial on the skirt hem. If you’re making multiple dolls, vary the details: different bun placements, different skirt silhouettes, or a mix of ballet slipper styles. A set of ballerinas with unique looks feels like a tiny dance classminus the tuition.
And if you’re gifting, consider adding a simple “doll passport” tag: the doll’s name, the date, and a note like “Made with love (and at least one seam ripper moment).” It’s charming, honest, and very on-brand for handmade life.
Conclusion: Day 3 Is Where the Doll Gets Her Spark
Day 3 is the turning point: stuffing becomes sculpting, seams become structure, and your ballerina starts to look like a real character. Take your time on the “building” stepssmooth stuffing, neat closures, and secure limb attachment do more for the final look than any fancy trim ever will. Once the foundation is solid, the fun detailstutu fluff, ribbon accents, bun perfectionget to shine without falling apart mid-twirl.
So whether you’re making one special doll or a whole troupe, lean into the process. Your stitches don’t have to be flawless. They just have to be strong, thoughtful, and made with care. (And if you do have to unpick a seam? Congratulations: you are officially a real sewist.)
Maker Experiences: What “Day 3” Teaches You (About Dolls and About Yourself)
By the time you hit Day 3, you’ve usually learned one important truth: dollmaking is not just sewingit’s decision-making in tiny proportions. It’s the moment you realize that a quarter-inch shift can change an expression, that “just a little more stuffing” can turn elegant legs into superhero calves, and that symmetry is a beautiful concept that sometimes needs to be negotiated with, like a toddler at bedtime.
Most makers have a “turning limbs” moment where they stare at a narrow tube of fabric and think, Surely the laws of physics don’t apply to this. Then you find the right toolmaybe a chopstick, maybe a hemostat, maybe something you grabbed from the kitchen drawerand suddenly you feel like you unlocked a hidden level. The experience is weirdly empowering. You didn’t just turn a fabric tube; you outsmarted it.
Stuffing is its own personality test. If you rush, the doll shows you immediately with lumps, dents, and awkward corners. If you go slowsmall tufts, gentle shaping, pausing to smooth with your handsthe doll rewards you with clean contours and that “store-bought but better” look. A lot of makers notice they develop a rhythm: stuff, smooth, check the seam, stuff, smooth, check again. It’s almost meditative, right up until a tuft of stuffing tries to escape the opening like it’s making a break for freedom.
Then there’s the face, which is usually the emotional peak of Day 3. A blank doll head can feel intimidating because it’s basically a tiny stage where every stitch is a decision. Many people find it helps to step back, take a quick photo, and look at the face through a camera viewyour brain spots uneven placement faster that way. And yes, nearly everyone has had the experience of making one eye, loving it, making the second eye, and immediately wondering why the second eye is living a completely different life. The good news: embroidery floss is forgiving, and removing stitches early saves your sanity later.
Hair and bun work tends to be where “function” and “cute” wrestle in the ring. If you add too much yarn hair, it can get bulky and hard to secure. If you add too little, you’ll see the base fabric and wish you’d layered more. Over time, makers learn that ballerina hair is the perfect compromise: you don’t need endless length, you just need enough fullness to coil into a bun that looks intentional. And once the bun is stitched down securely, the doll instantly looks finishedeven if the tutu is still waiting on the side like an impatient understudy.
The funniest Day 3 experience is how quickly you start talking to the doll like she’s part of the household. You’ll hold her up, tilt her head, and think, “Okay… you look like a ‘Clara.’” Or you’ll catch yourself adjusting her skirt and saying, “Ma’am, this is a rehearsal.” This is normal. Dollmaking invites storytelling. The doll becomes a character, and the project becomes more than thread and fabricit becomes a little memory you can hand to someone else.
And finally, Day 3 teaches you a kind of crafty honesty: handmade doesn’t mean perfect. It means chosen. You chose fabrics. You chose colors. You chose stitches that are safe, durable, and sweet. You chose to make something with your hands in a world where it’s easier to click “add to cart.” That choice shows up in the final dollevery time someone hugs it, sets it on a bed, or carries it around like a tiny friend with a tutu and big dreams.